Invite to Sign on PDF documents
This page explains how to submit a document from E-Folder for signing using Invite to Sign.
| Before you begin: The document must already be a PDF uploaded to E-Folder, in any folder or subfolder. Only the user who uploaded the document can invite others to sign it. |
Step 1
Select the document
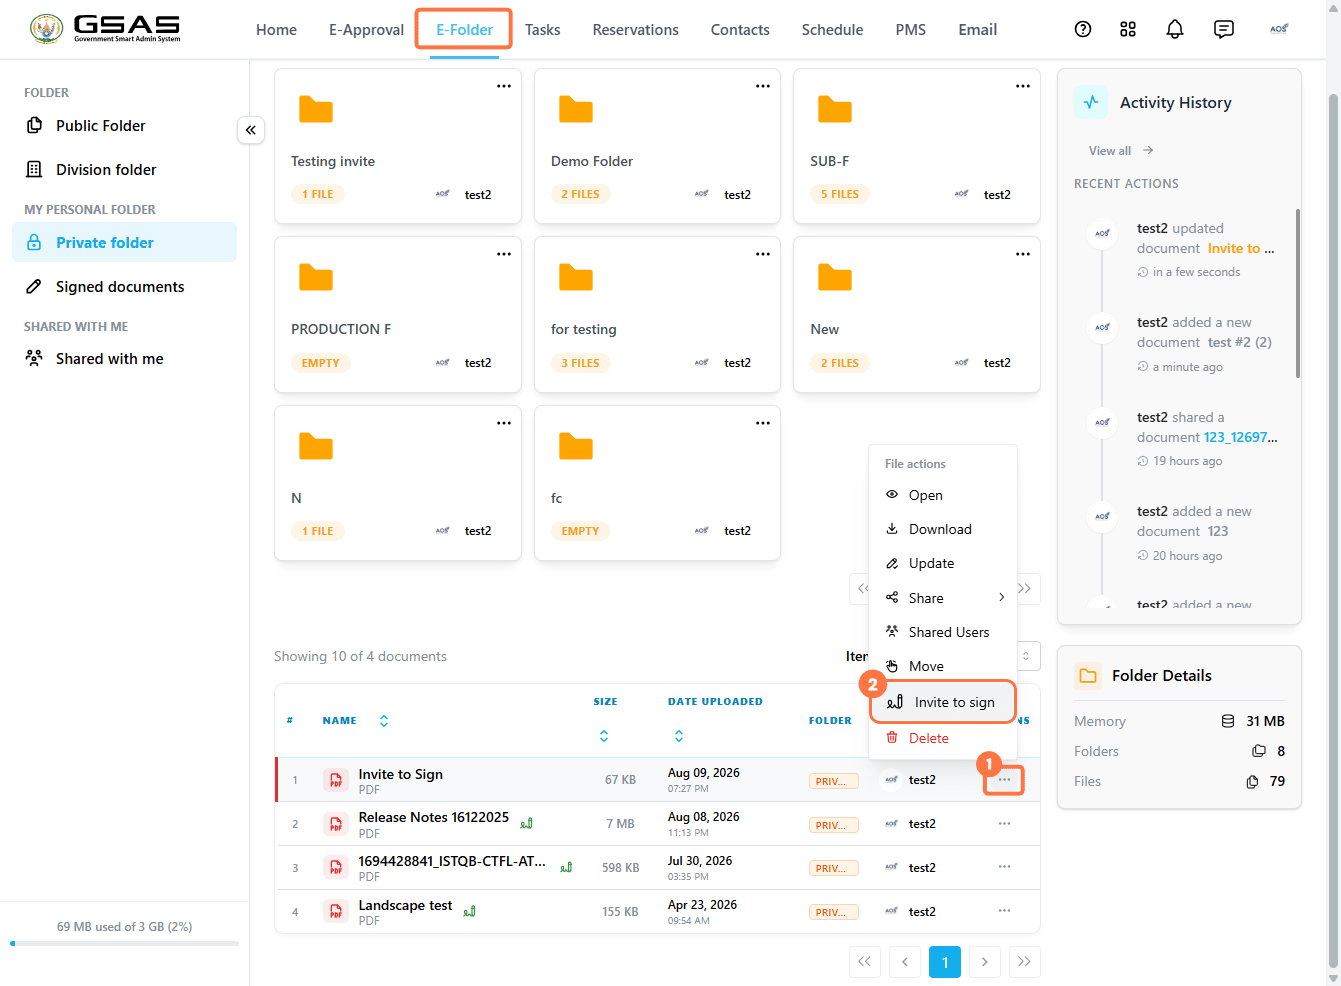
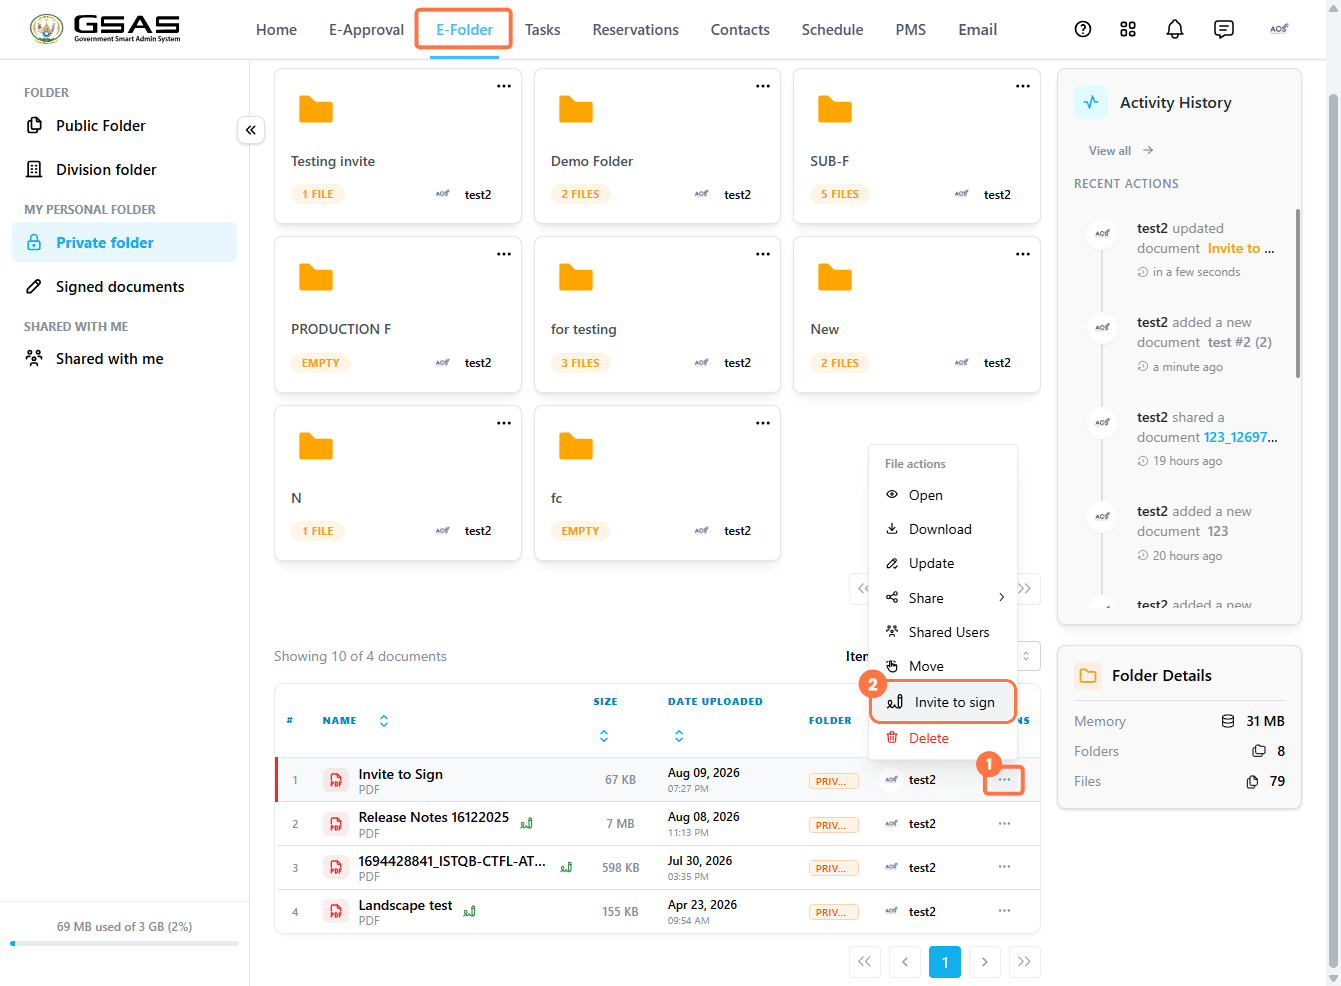
- Go to E-Folder and find the document.
- Click the ⋯ icon on the document row.
- Click Invite to sign.
Step 2
Place a signature field and assign it
The signature editor opens, with the Signature Fields panel on the left and the document on the right.
- Drag the Signature field from the left panel onto the page where the signature should go.
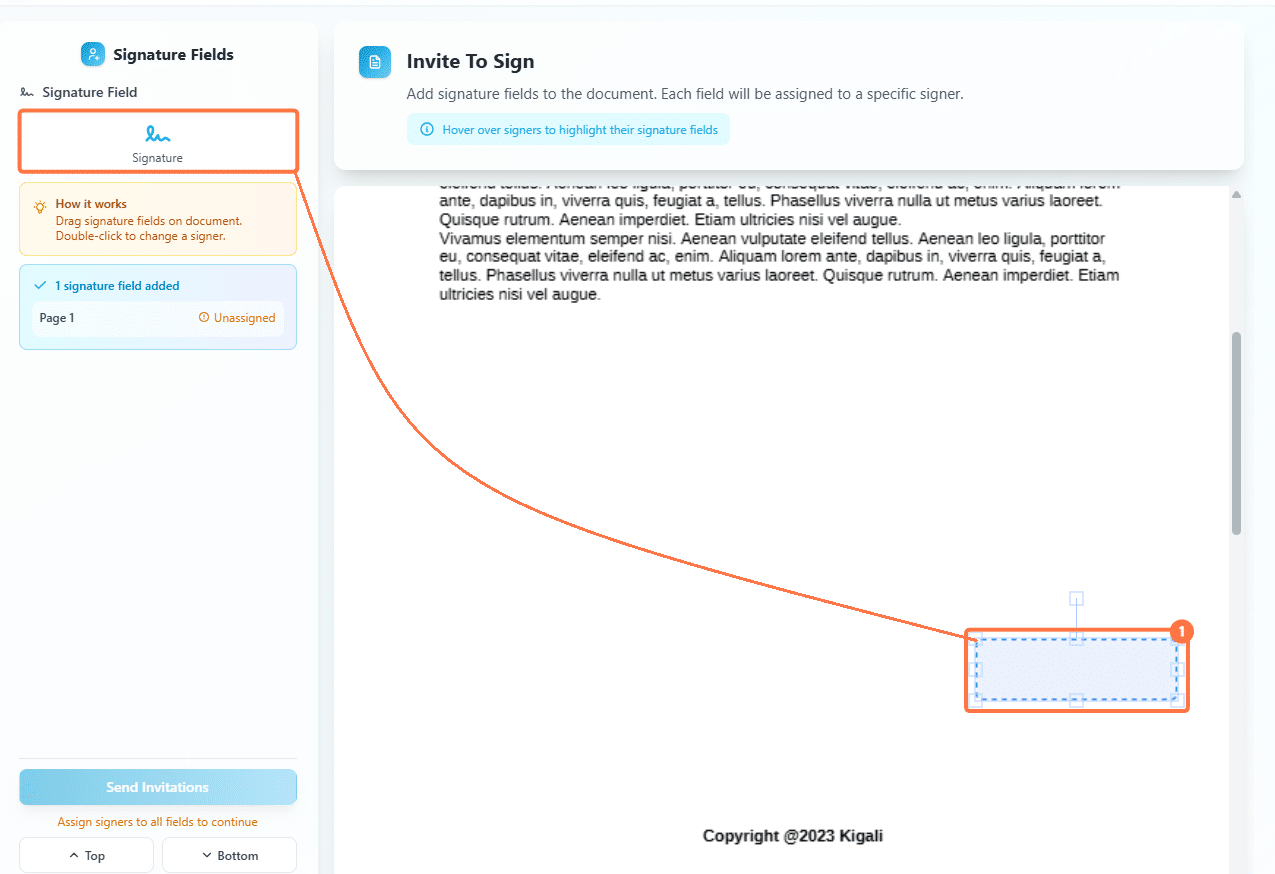
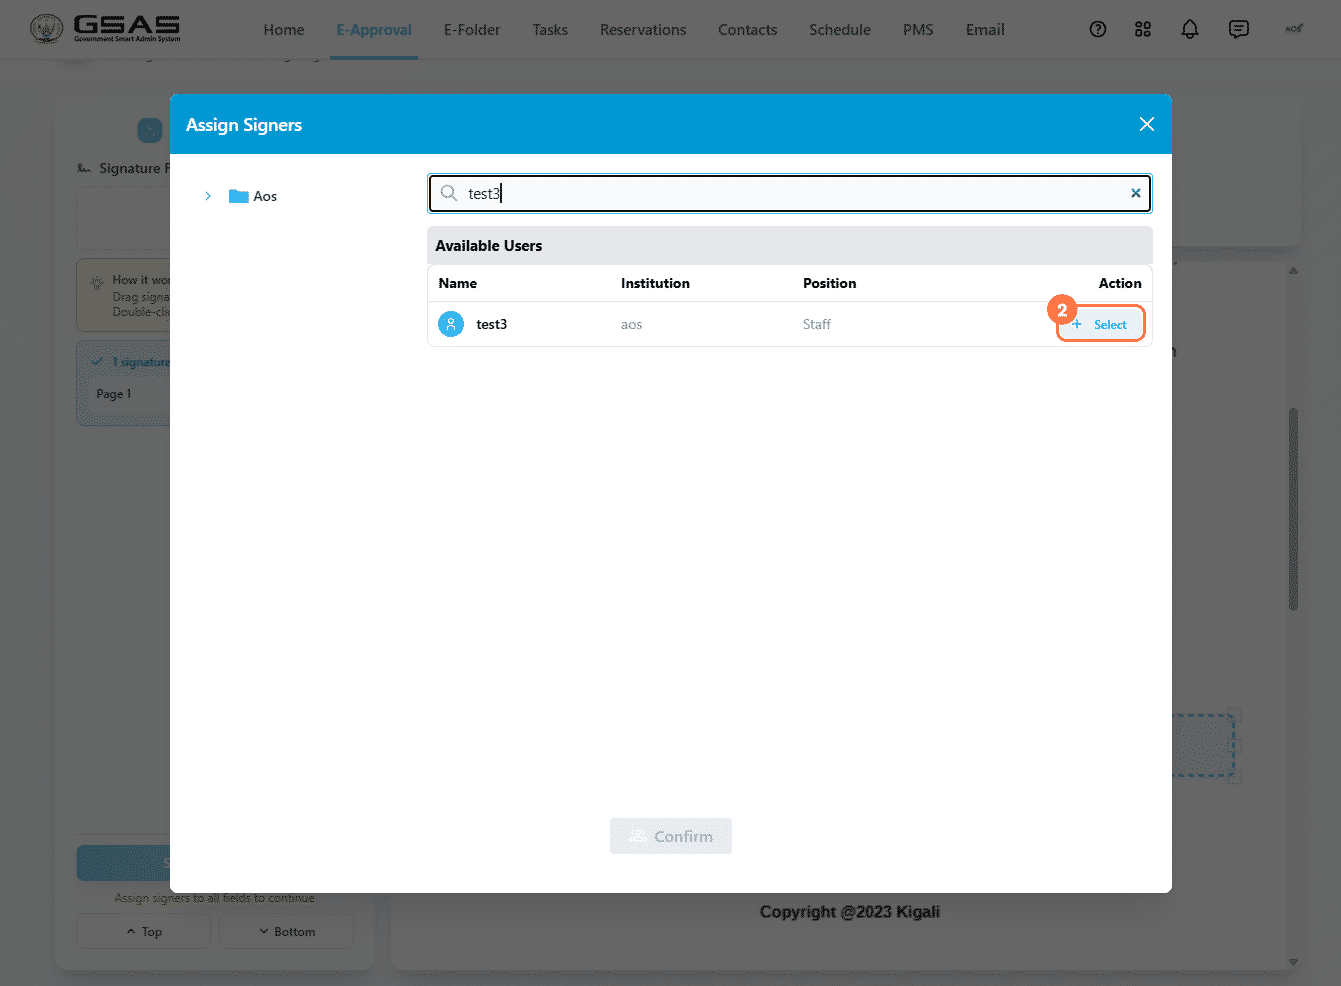
- As soon as you drop the field, the Signers window opens automatically. Search for the user you want to assign and Select them. Only users in your own institution appear here.
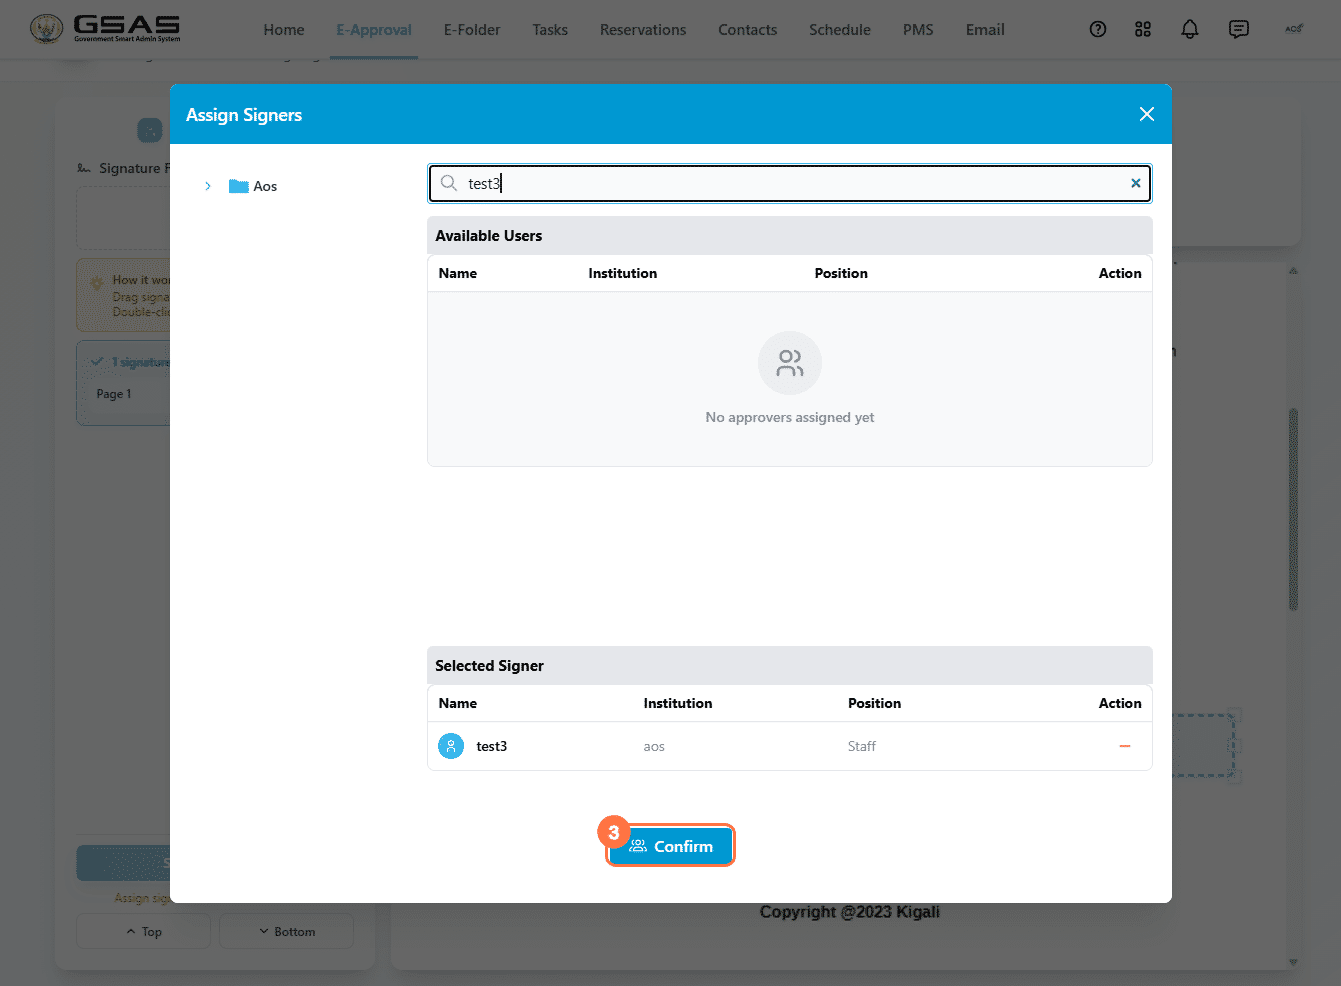
- Confirm they appear under Selected Signer, then click Confirm.
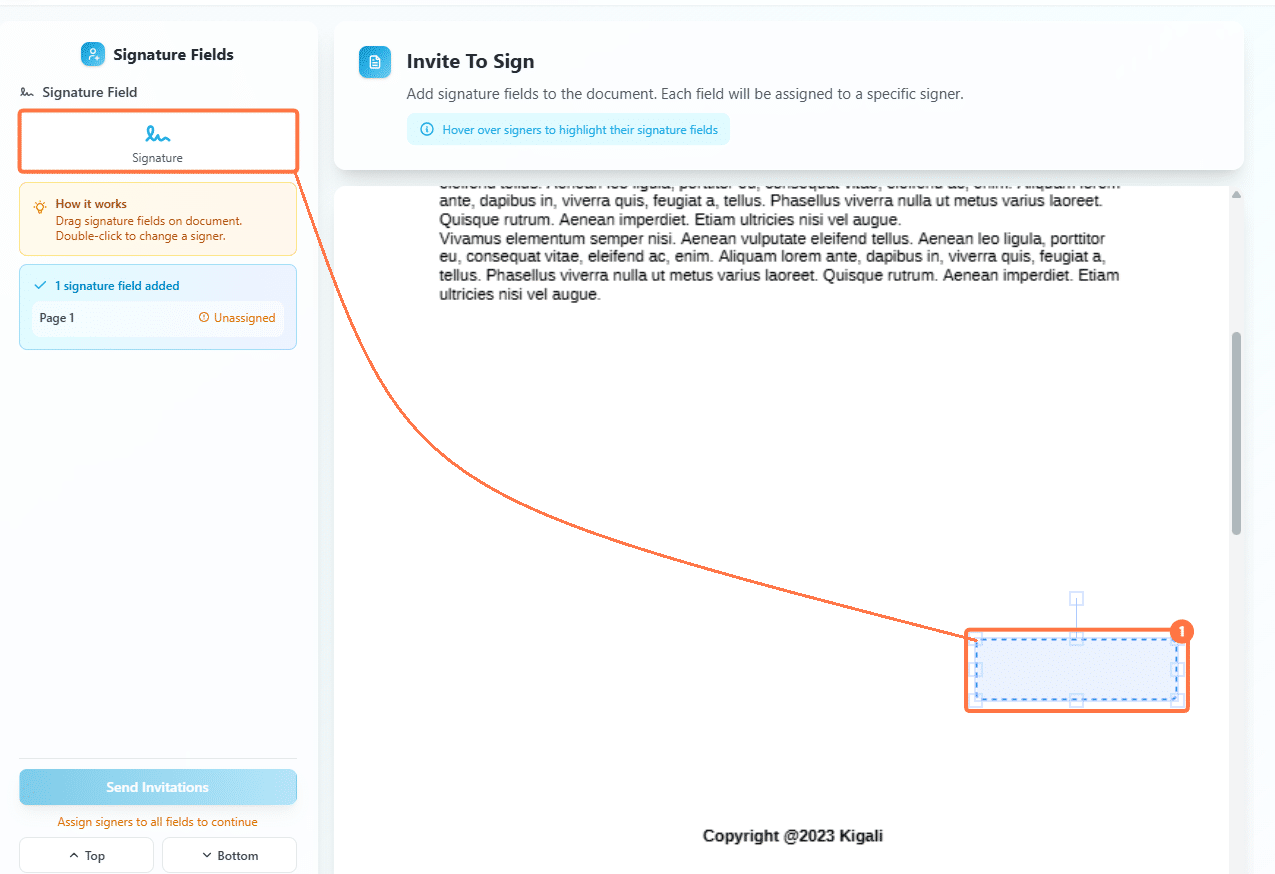
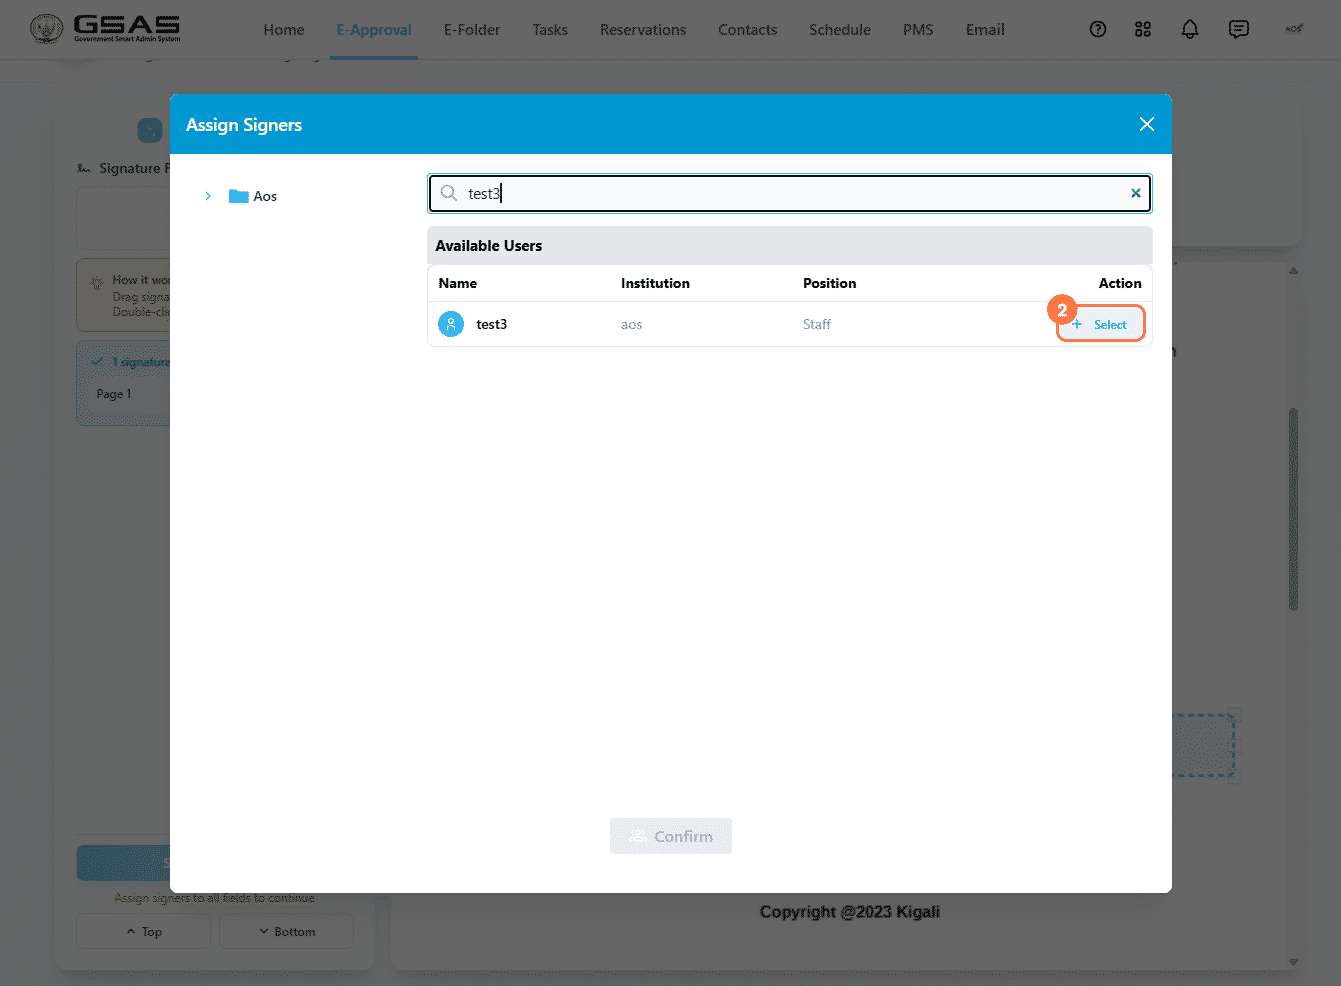
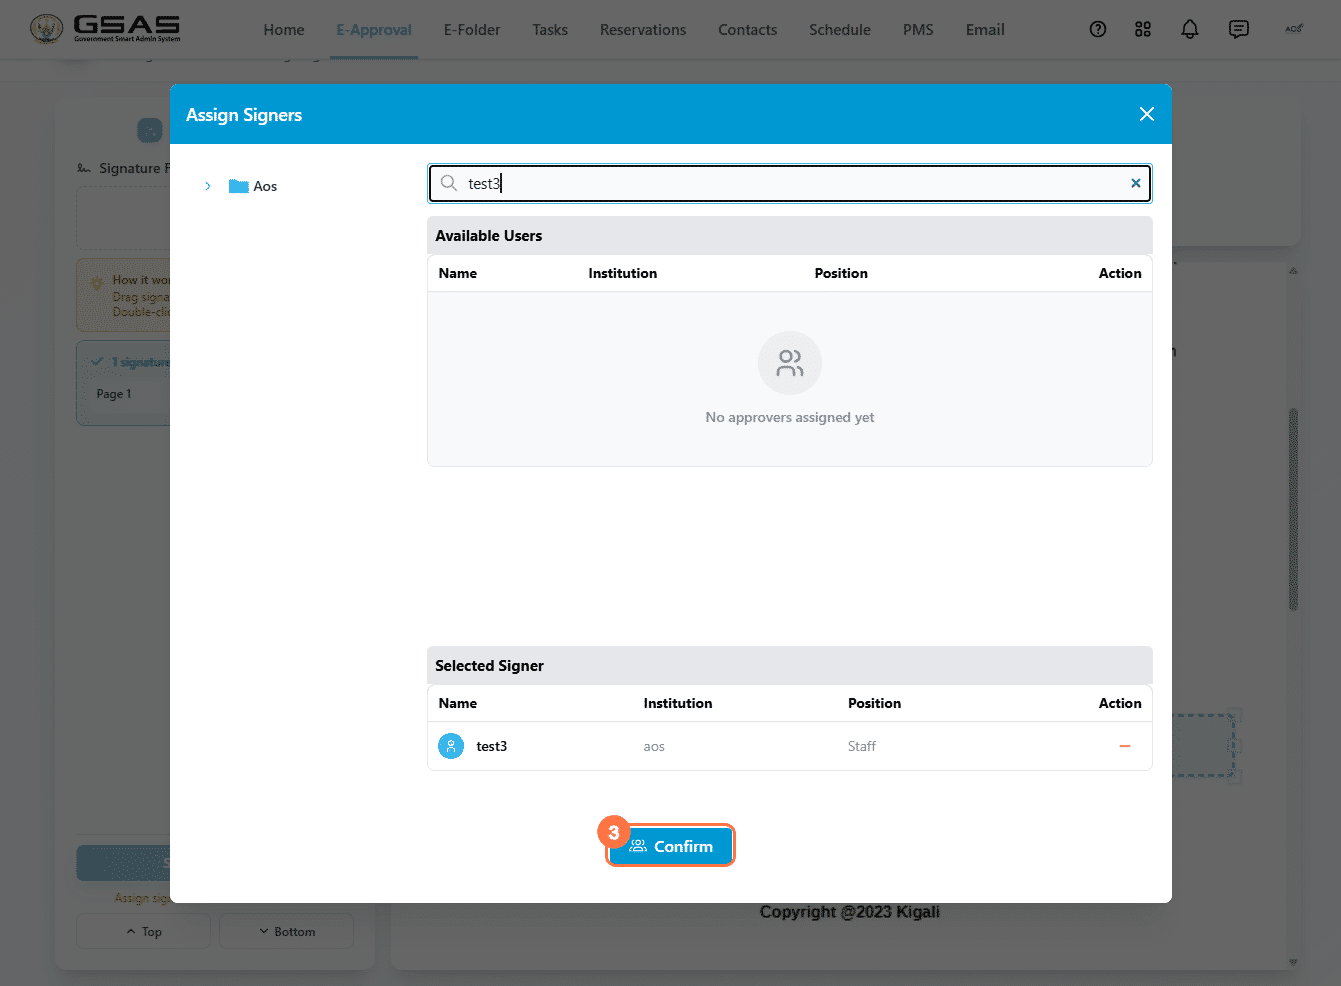
Repeat for every signer you need. You can place more than one signature field on the same page and if the same person needs to sign in more than one spot, just assign them to each field.
| Signing order: Signers sign in the order the fields were assigned, not the order they appear on the page. |
To change who a field is assigned to, double-click it and select a different user.
Step 3
Send the request
Once every field has a signer assigned, click Send Invitations. The first signer is notified by email. As each signer completes their signature, the next signer in the order is notified automatically.
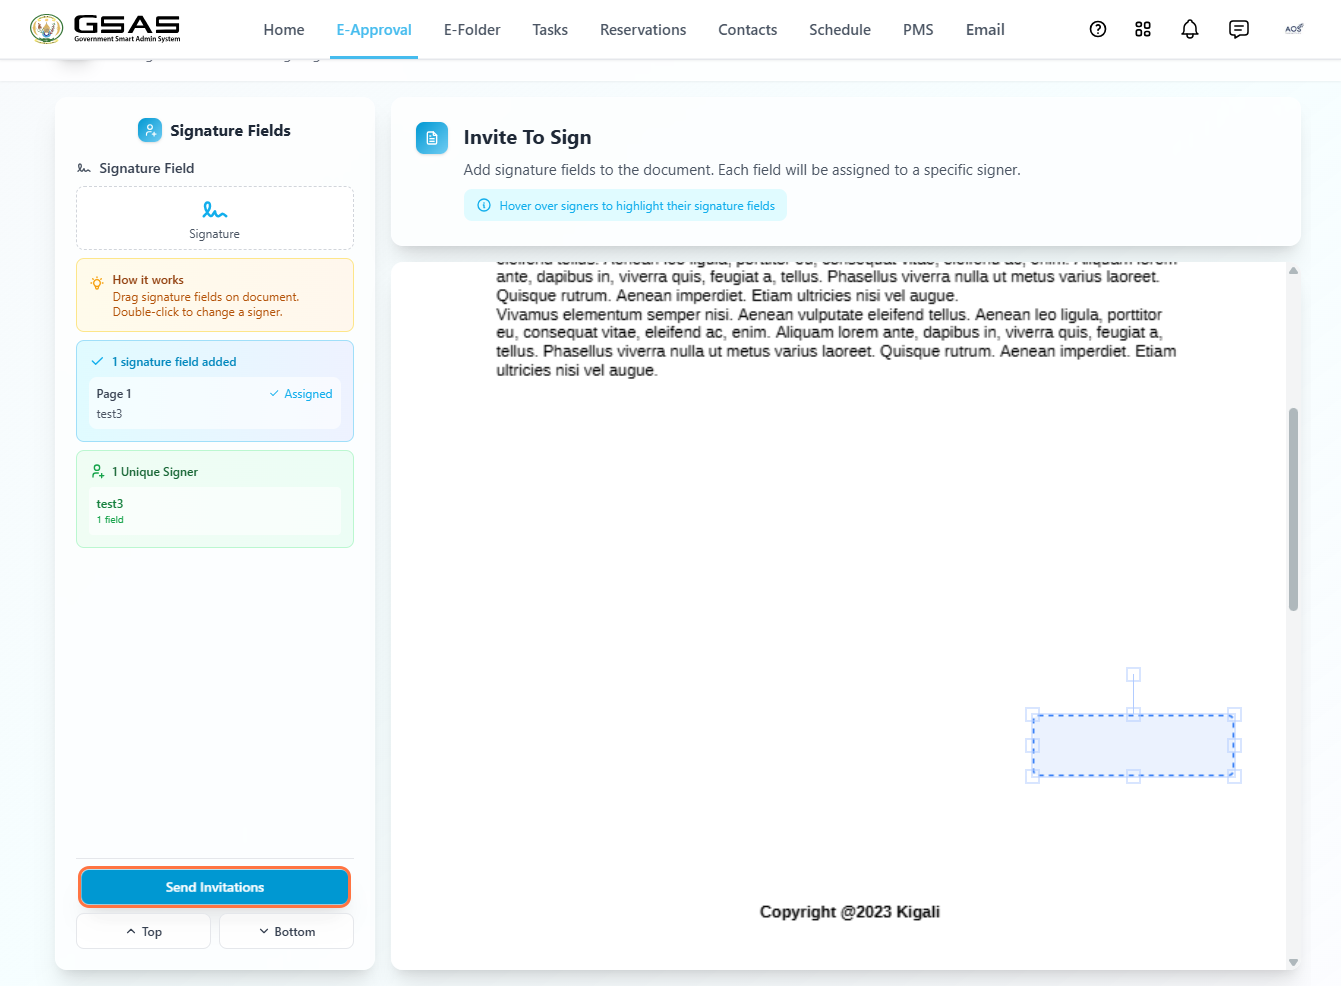
| Note: As soon as you send the invitations, the document appears in your Submitted folder in e-Approval, and in the Signed documents folder in e-Folder. |
Step 4
Signing the document
- Go to E-Approval > Internal > To be processed.
- Open the document.
- Click Sign to proceed, or Reject to decline.
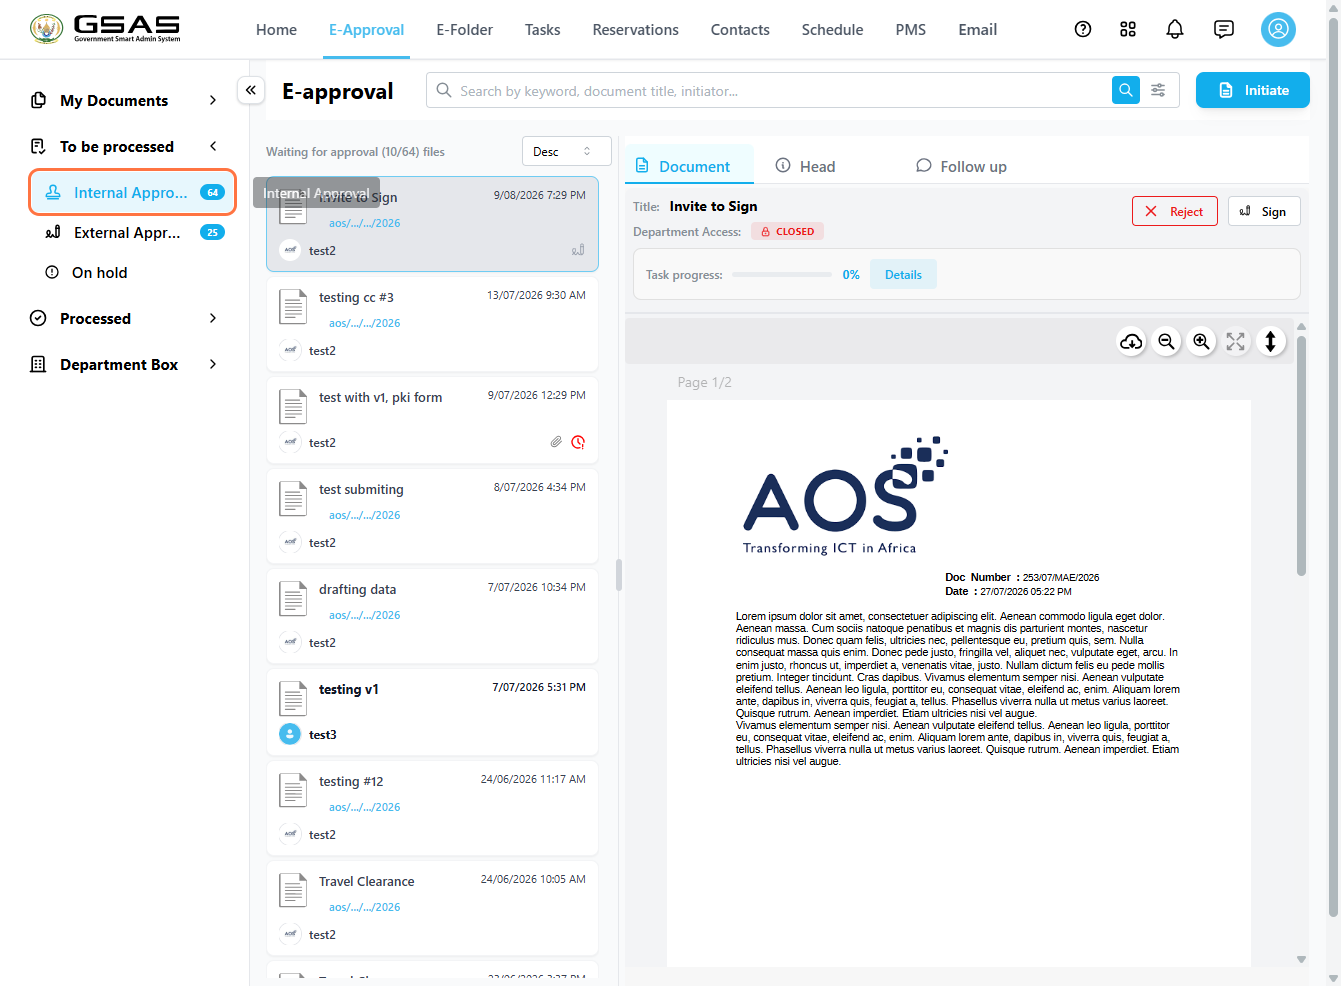
Clicking Sign opens the Document Elements panel, showing the list of signers and where each one stands (signed or pending). Drag your registered signature into the signature field placed for you.

Once you're happy with the position, click Complete.
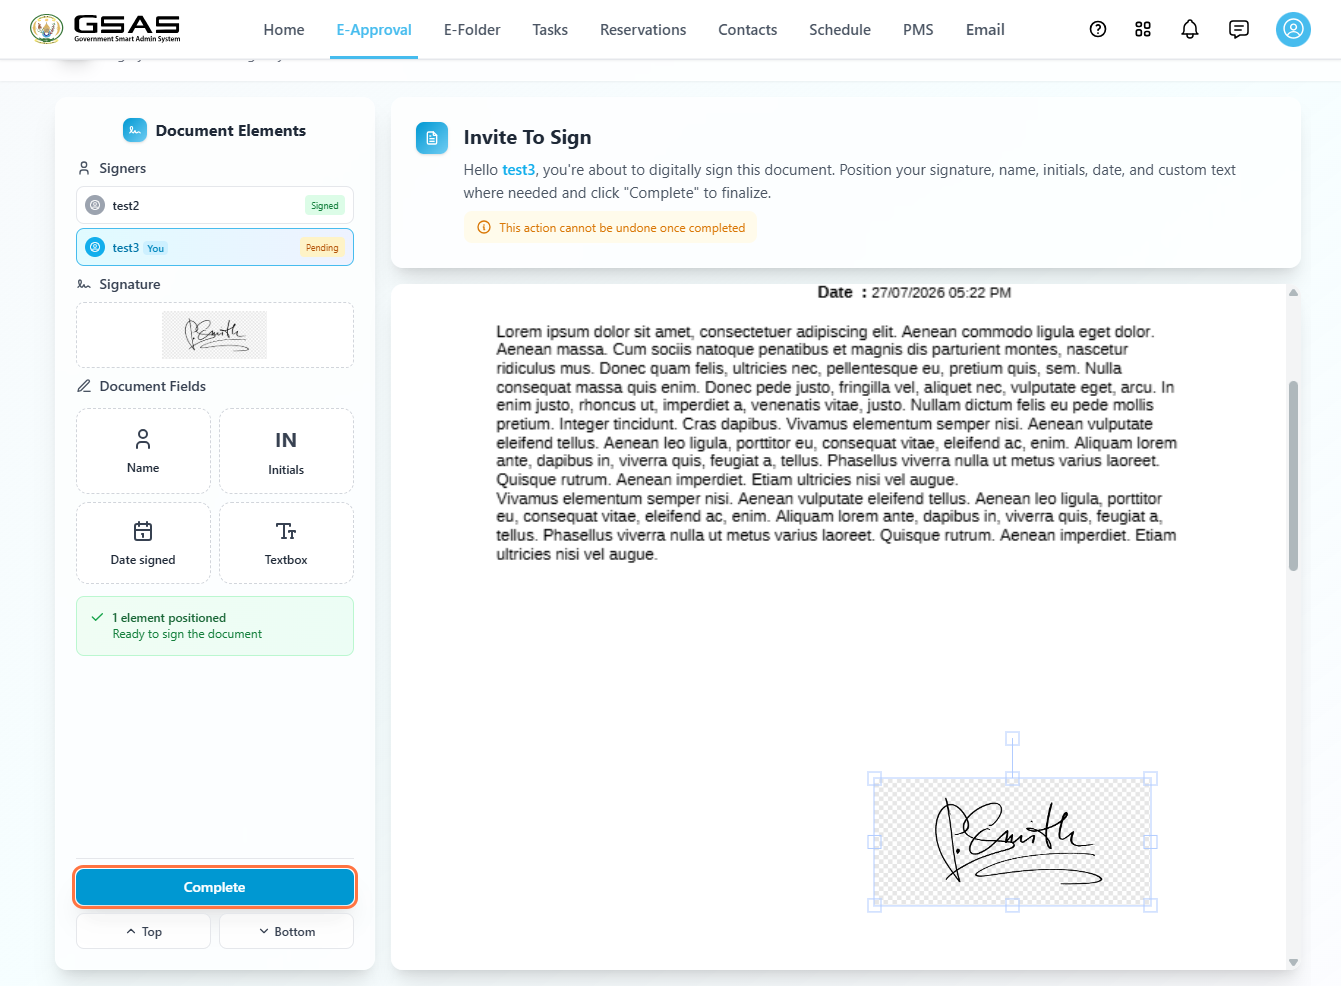
If you'd like, you can also drag optional Document Fields onto the page yourself; Name, Initials, Date signed, or a Textbox. These aren't required. Once you're done, click Complete.
| Rejecting: Clicking Reject sends the document back to the inviter's Rejected folder in E-Approval. |
Every user involved can track the document from E-Approval:
- Inviter: the document sits in Submitted from the moment invitations are sent, and moves to Processed > Completed once every signer has signed.
- Signer : the document sits in To be processed > Internal Approval as it awaits their approval.
- Signer, after signing: it moves to their Ongoing folder if there are signers after them, or to their Completed folder if they were the last signer.
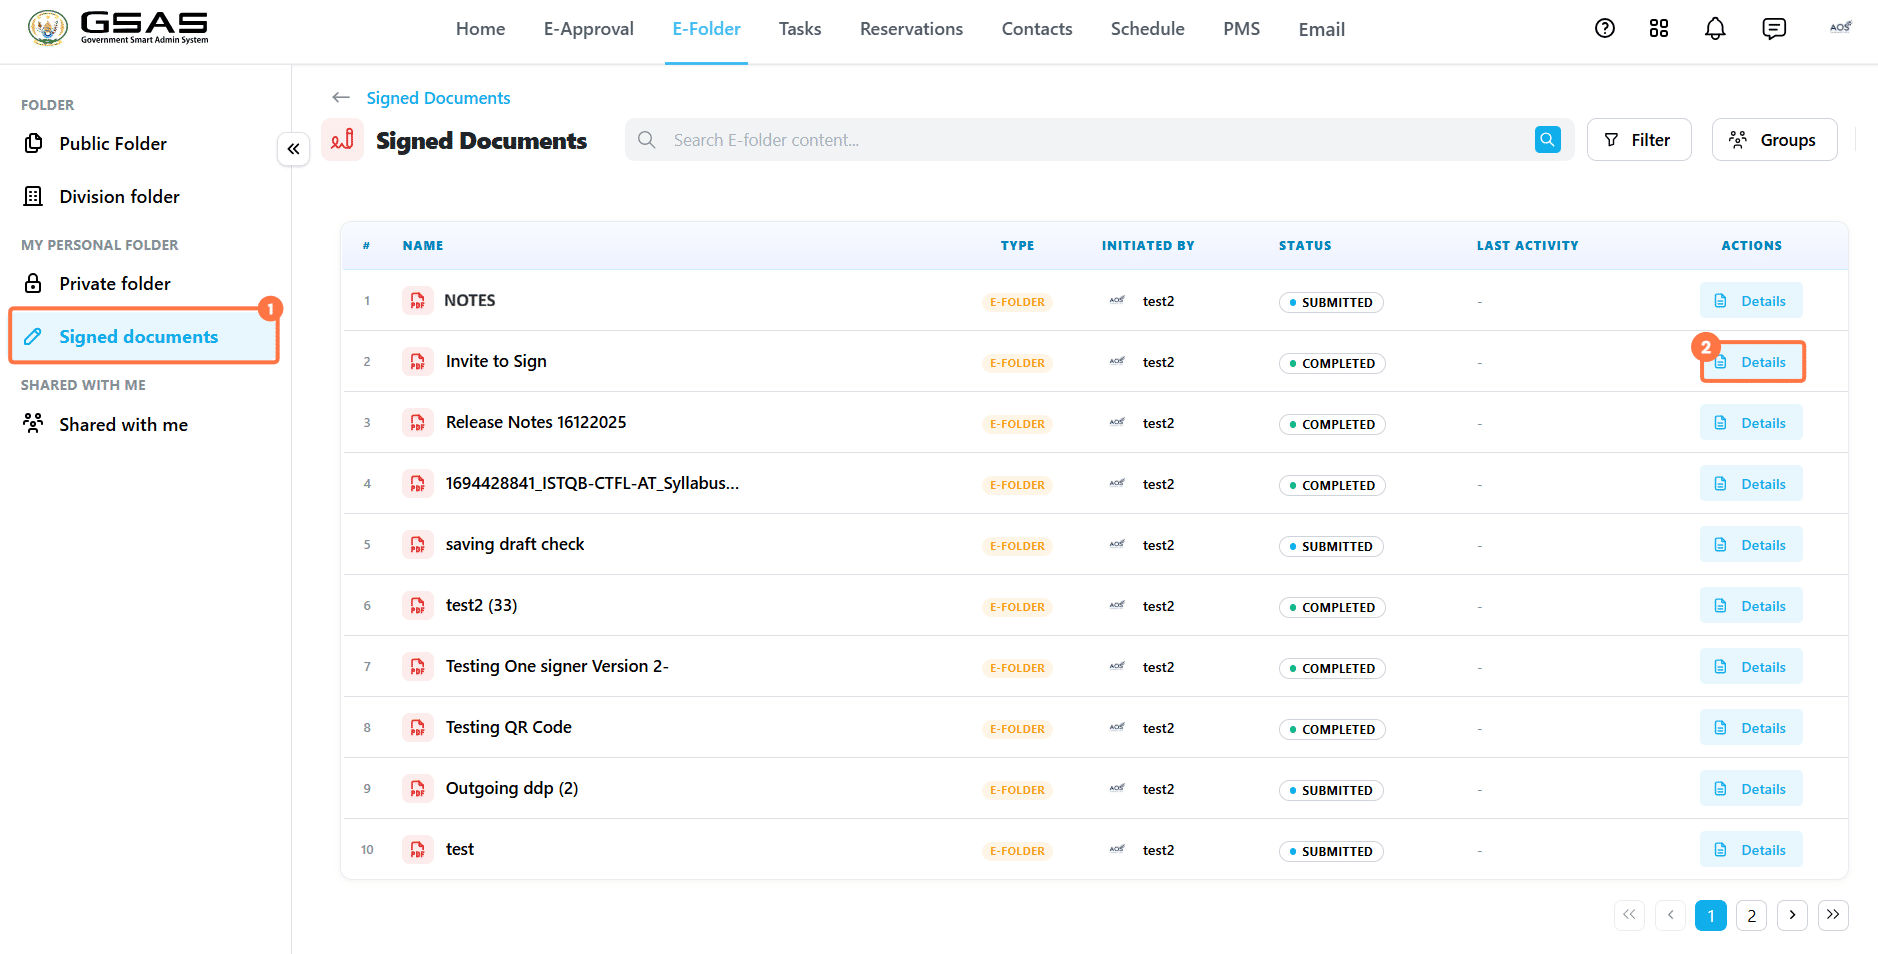
The document is also saved in the inviter's E-Folder > Signed documents.
- Go to E-Folder.
- Under My Personal Folder, click Signed documents.
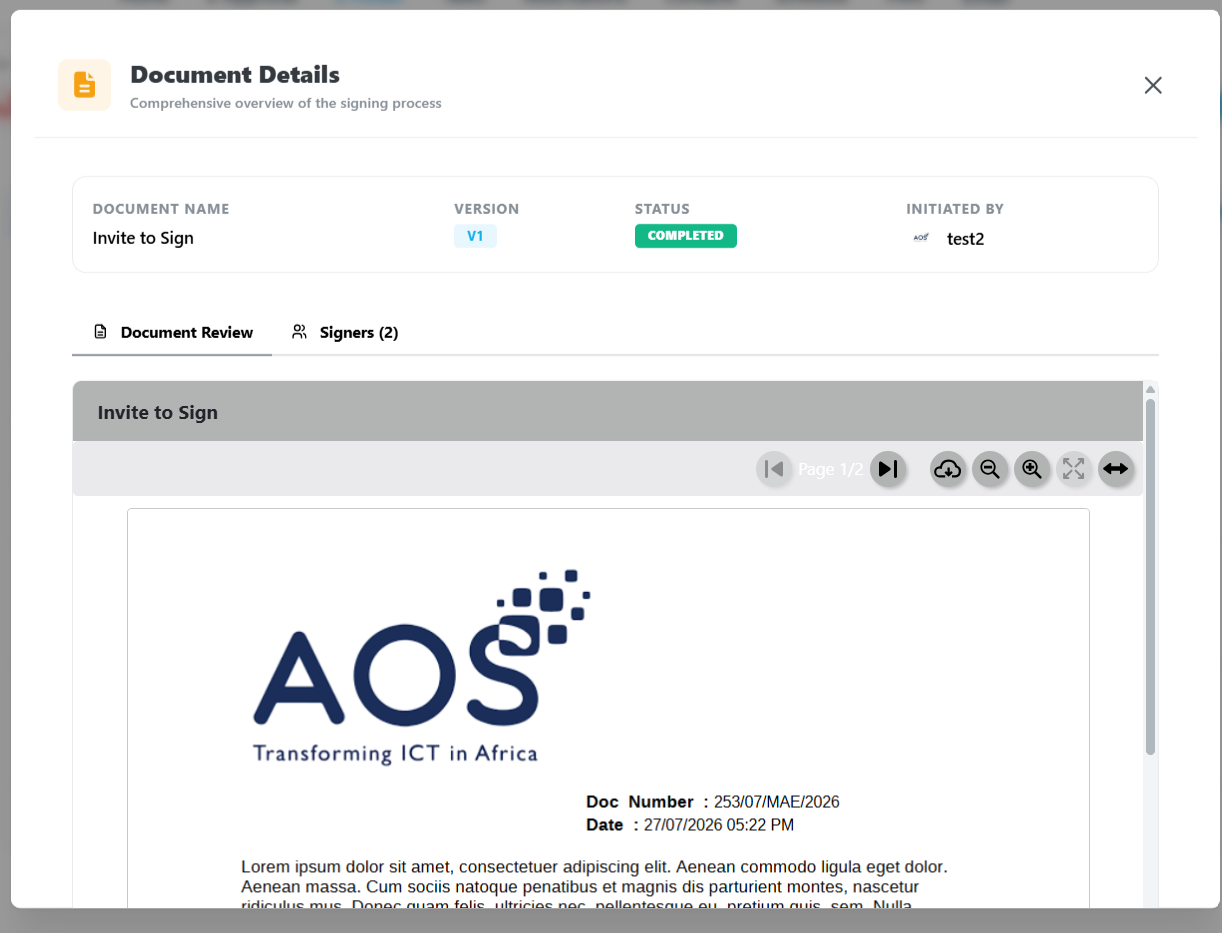
- Click Details next to the document to view it.