Share document as Task
This page explains how to create a task directly from a registered document in E-Approval. The task is linked to the original document, assigned to selected users, and can be tracked from both the document view and the Tasks module.
| Before you begin: The document must already be registered under Registered received or Registered dispatched. See the Registering documents page to learn how to register documents. |
Step 1
Open the registered document
- Go to E-Approval.
- Open Department Box.
- Click Registered received or Registered dispatched, depending on where the document was registered.
- Select the document you want to share as a task.
Step 2
Share the document as a task
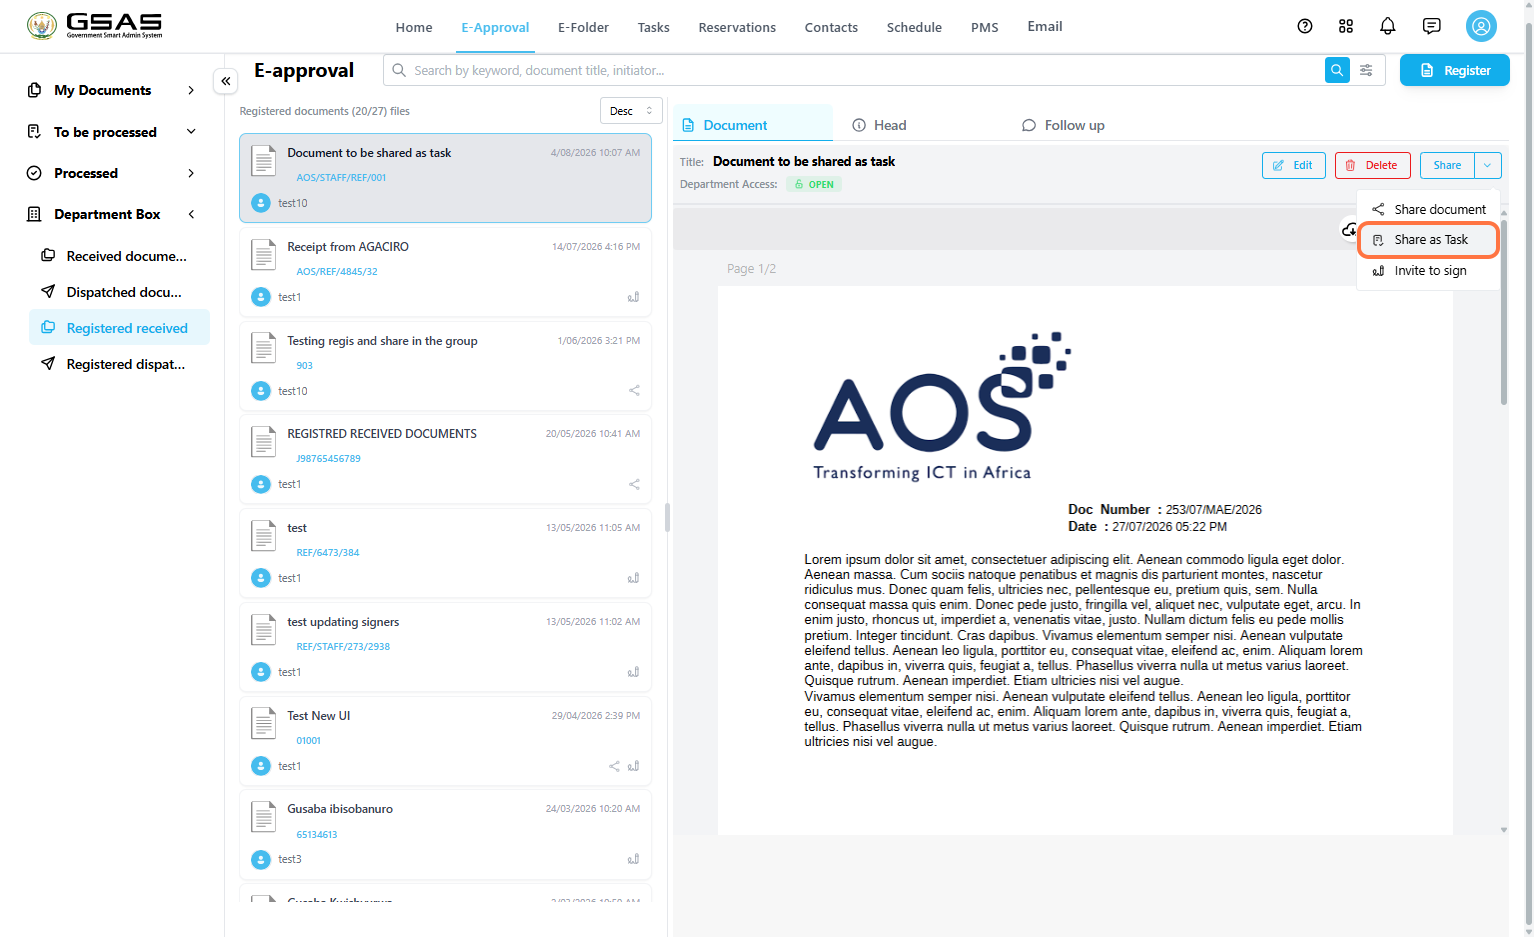
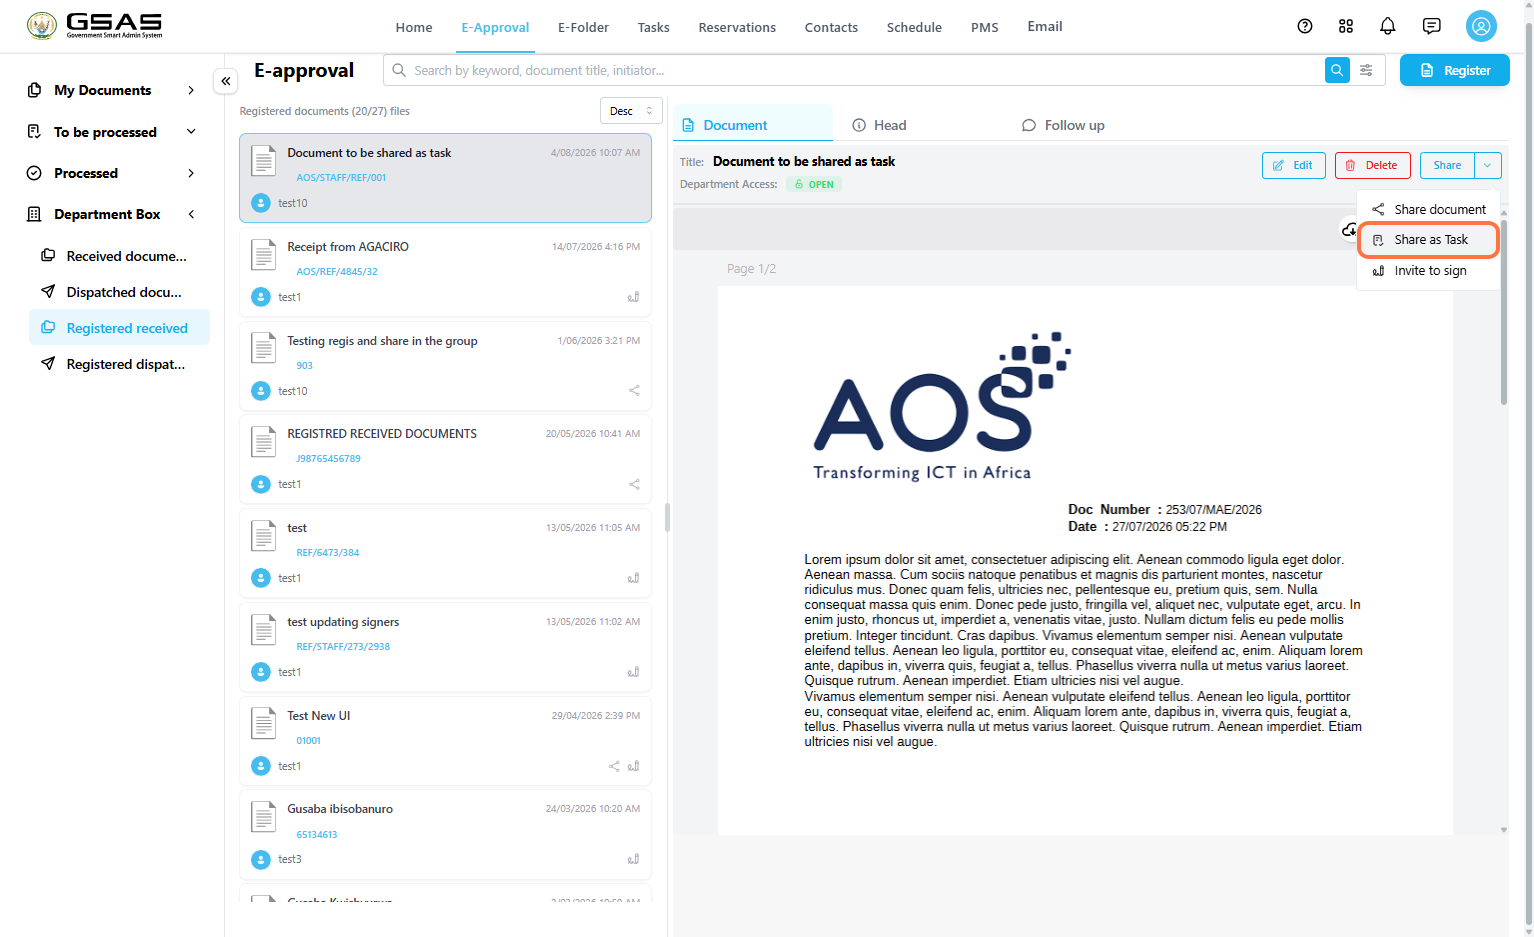
- Click the arrow next to the Share button.
- Select Share as Task.
Step 3
Fill in the task details
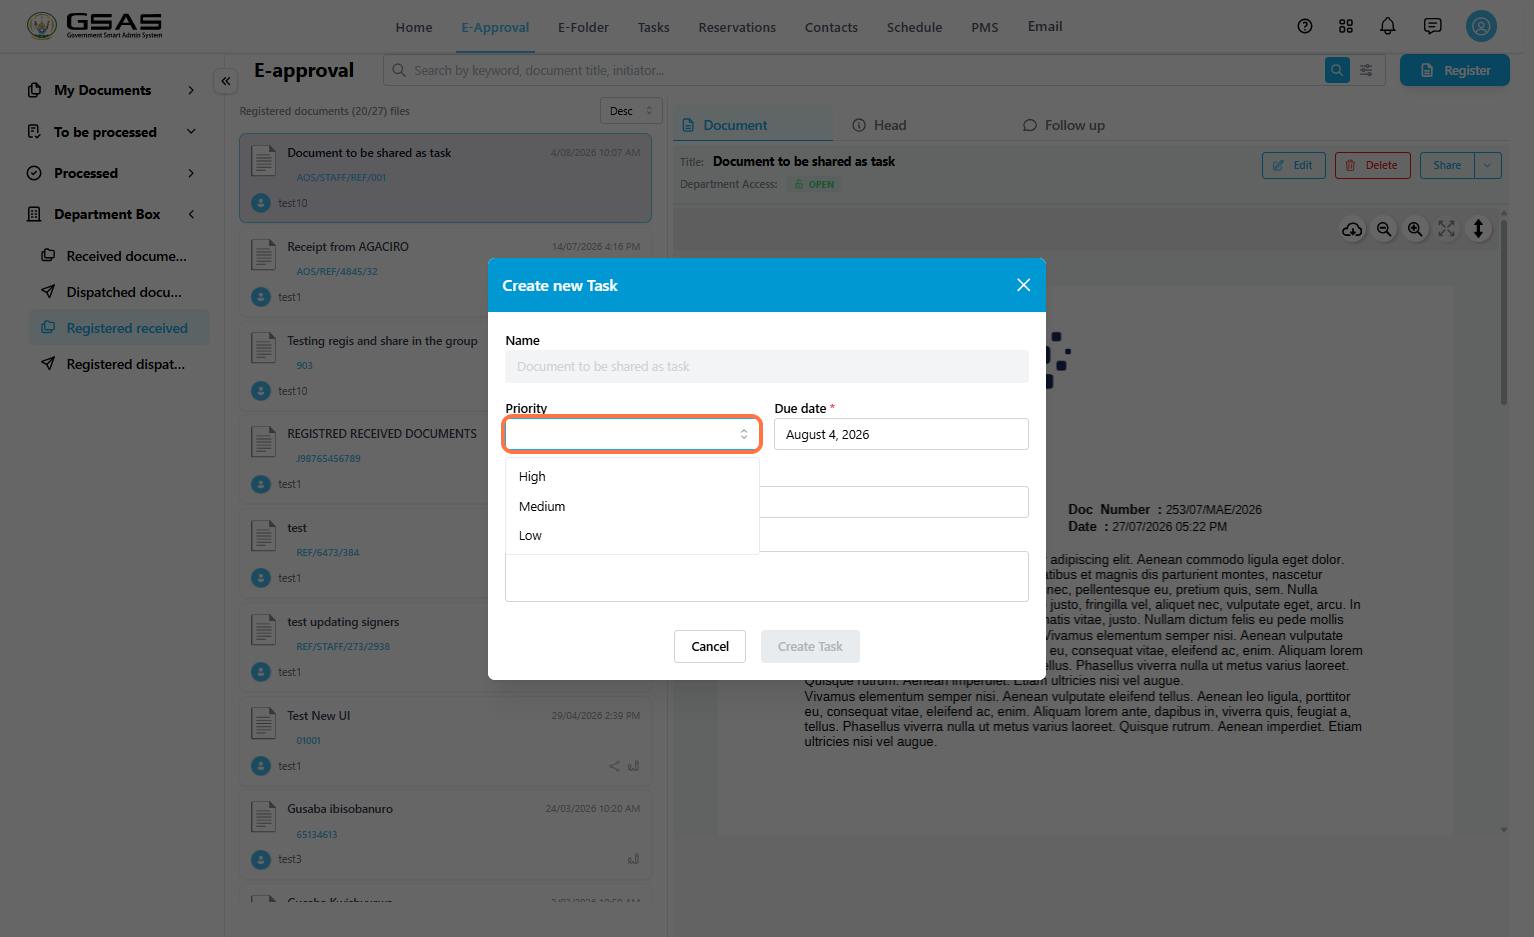
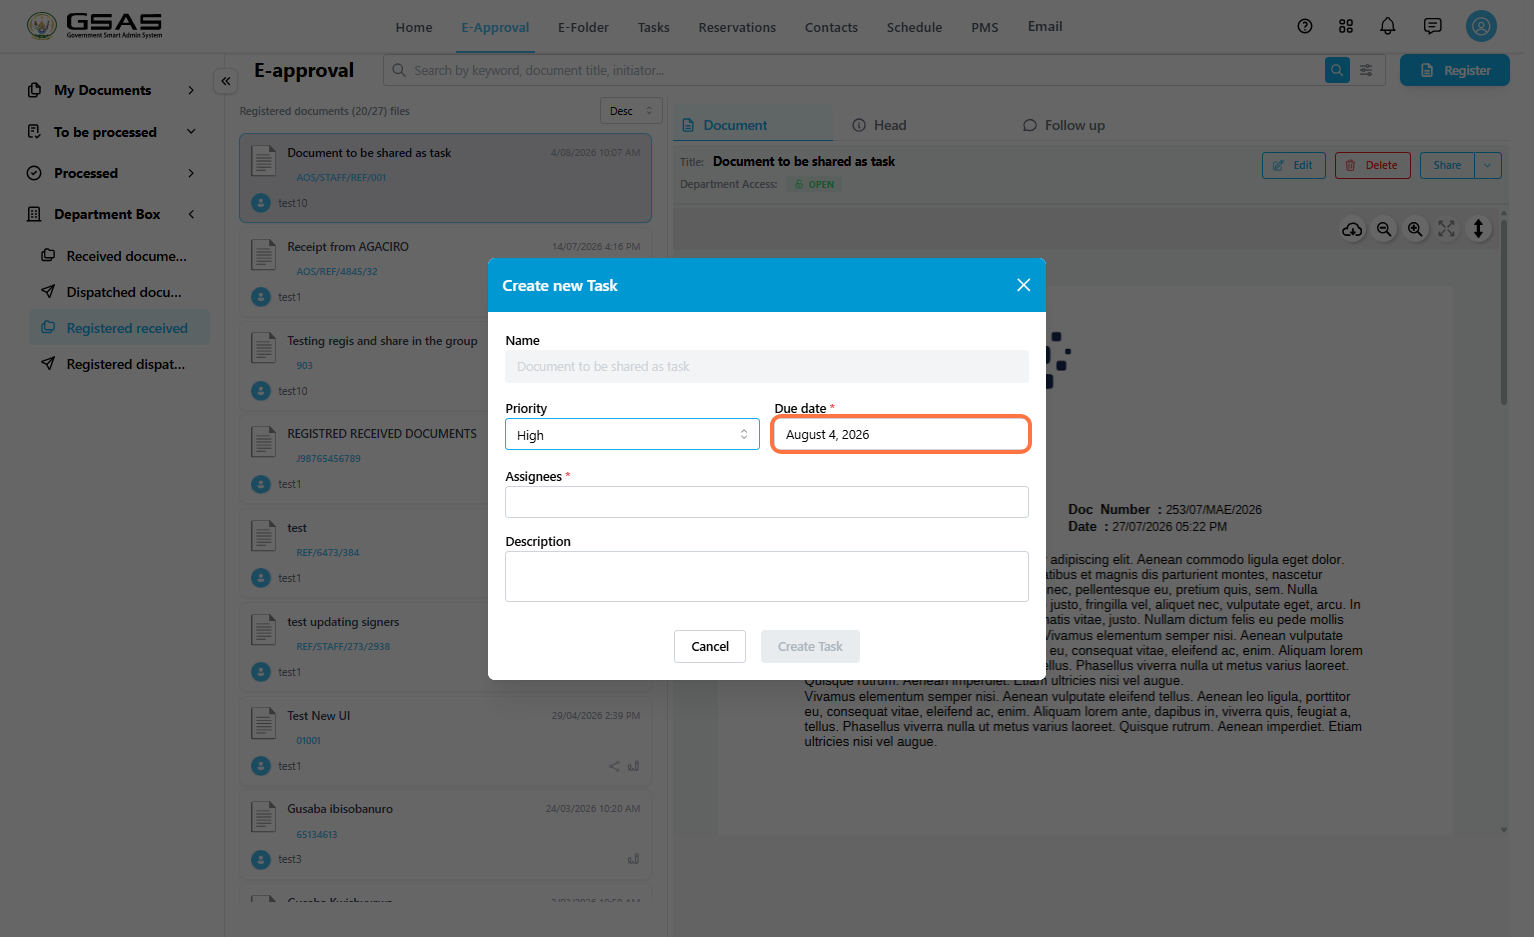
The Create new Task window opens. The task name is filled automatically as the document title.
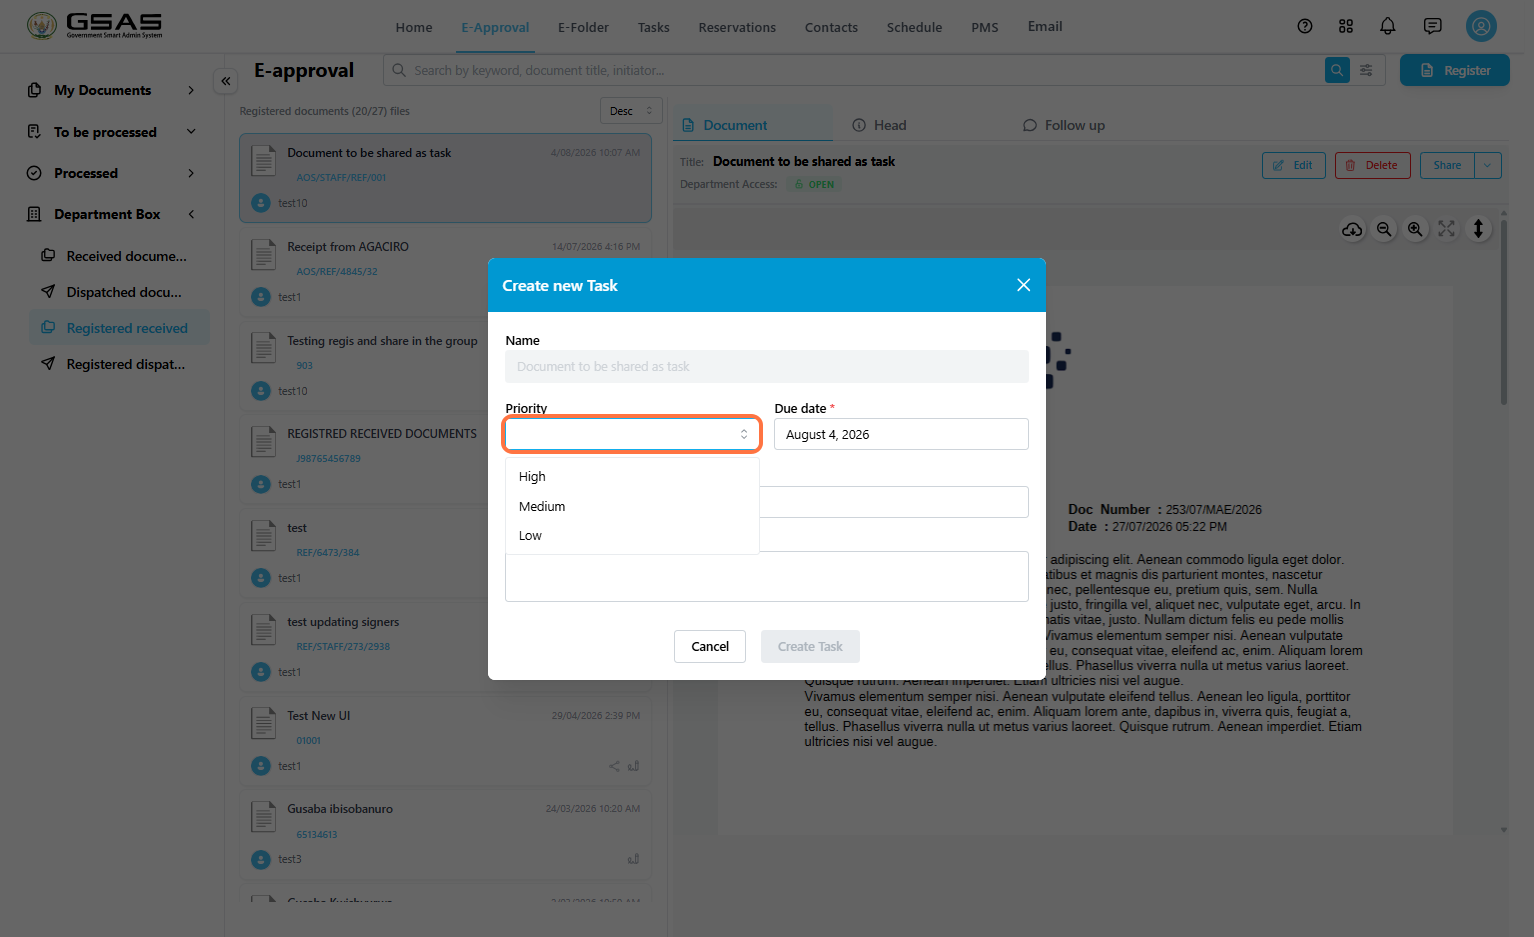
- Select the task Priority.
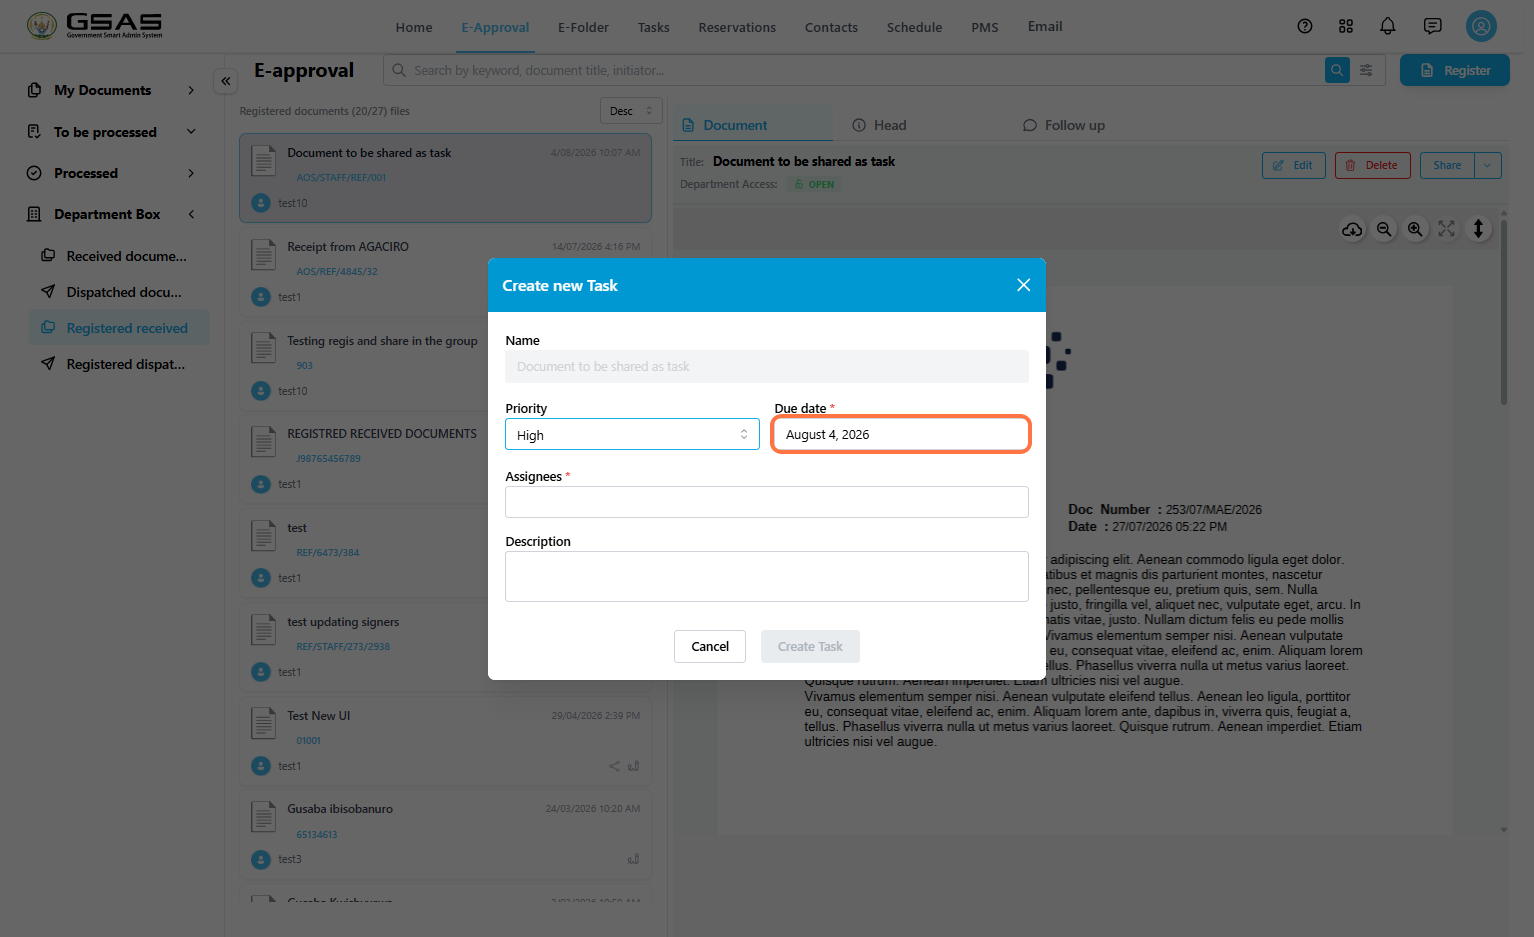
- Click the Due date field and choose the deadline.
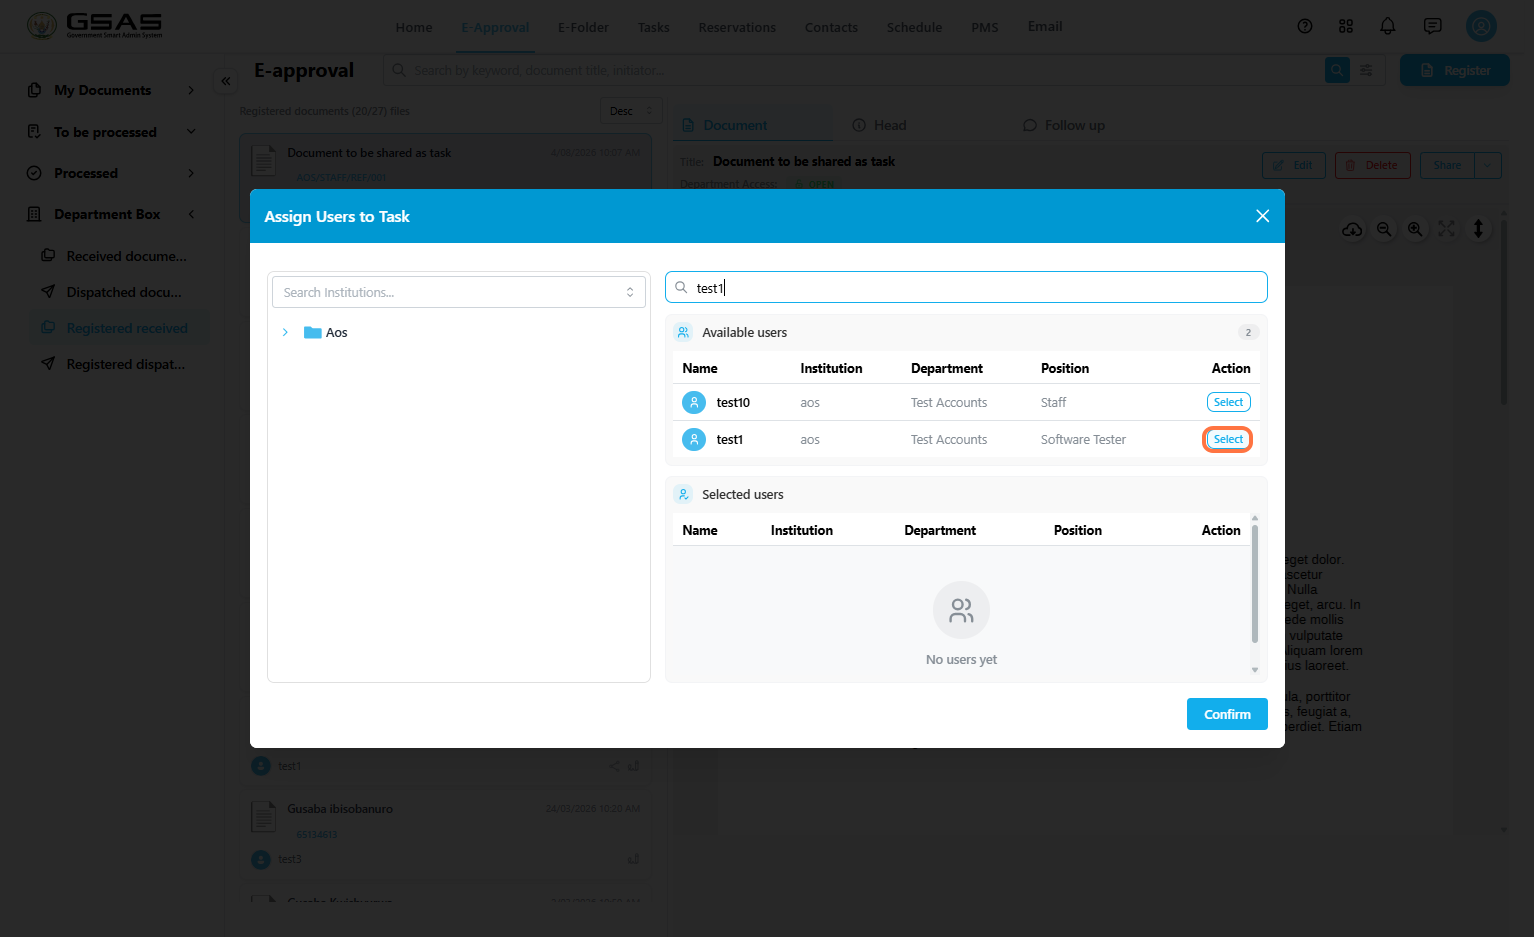
- Click the Assignees field to add users.
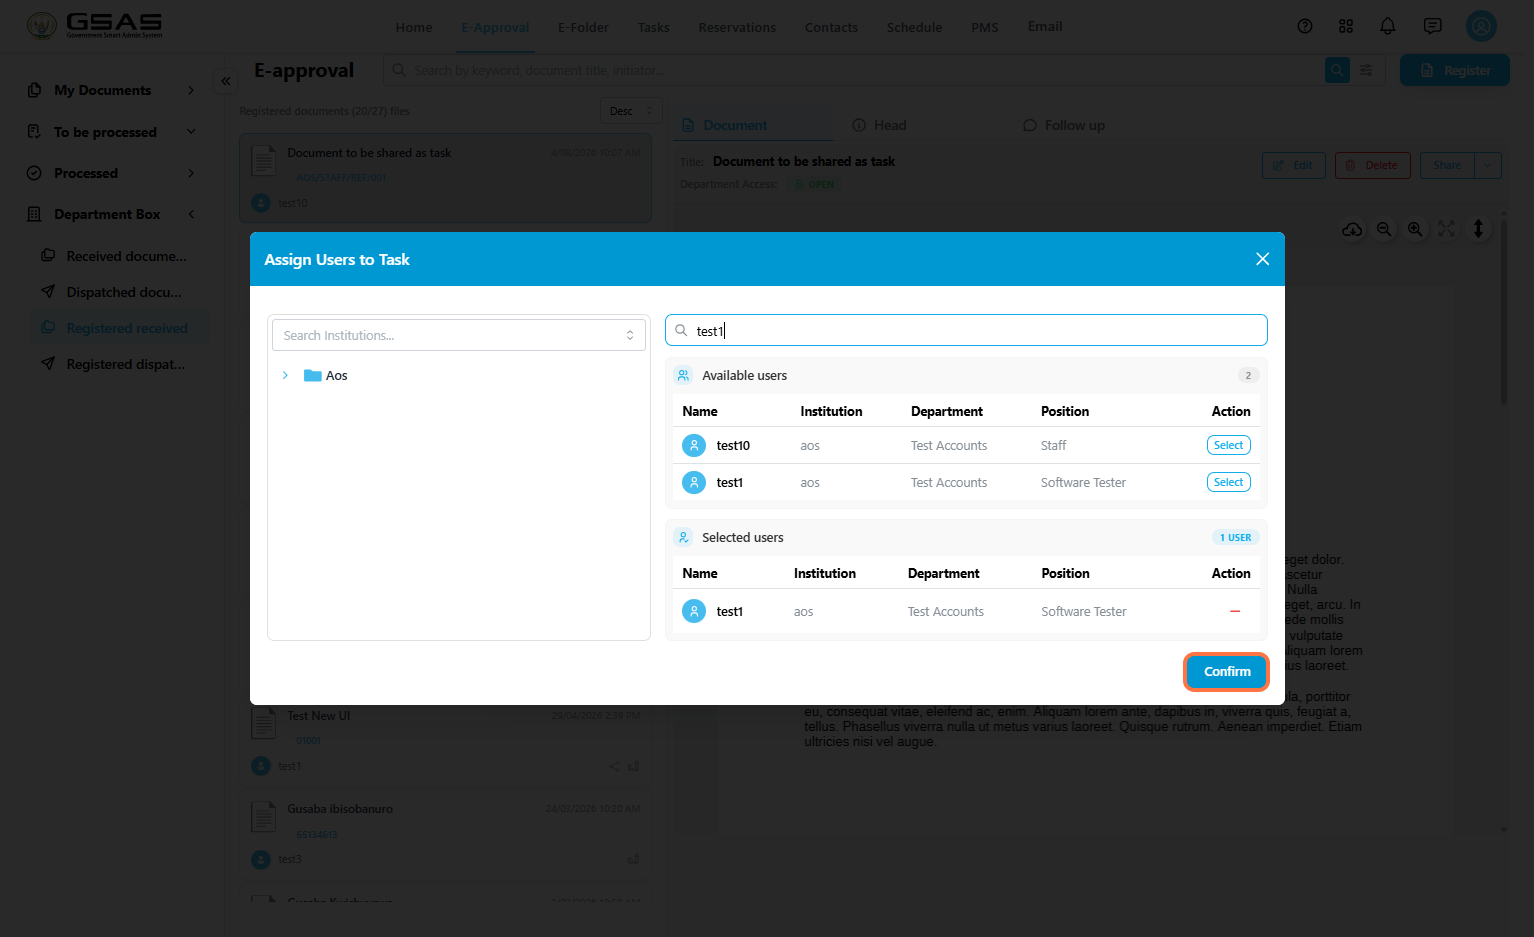
EnterSearch for the users you want to assign. Click Select next to the correct user.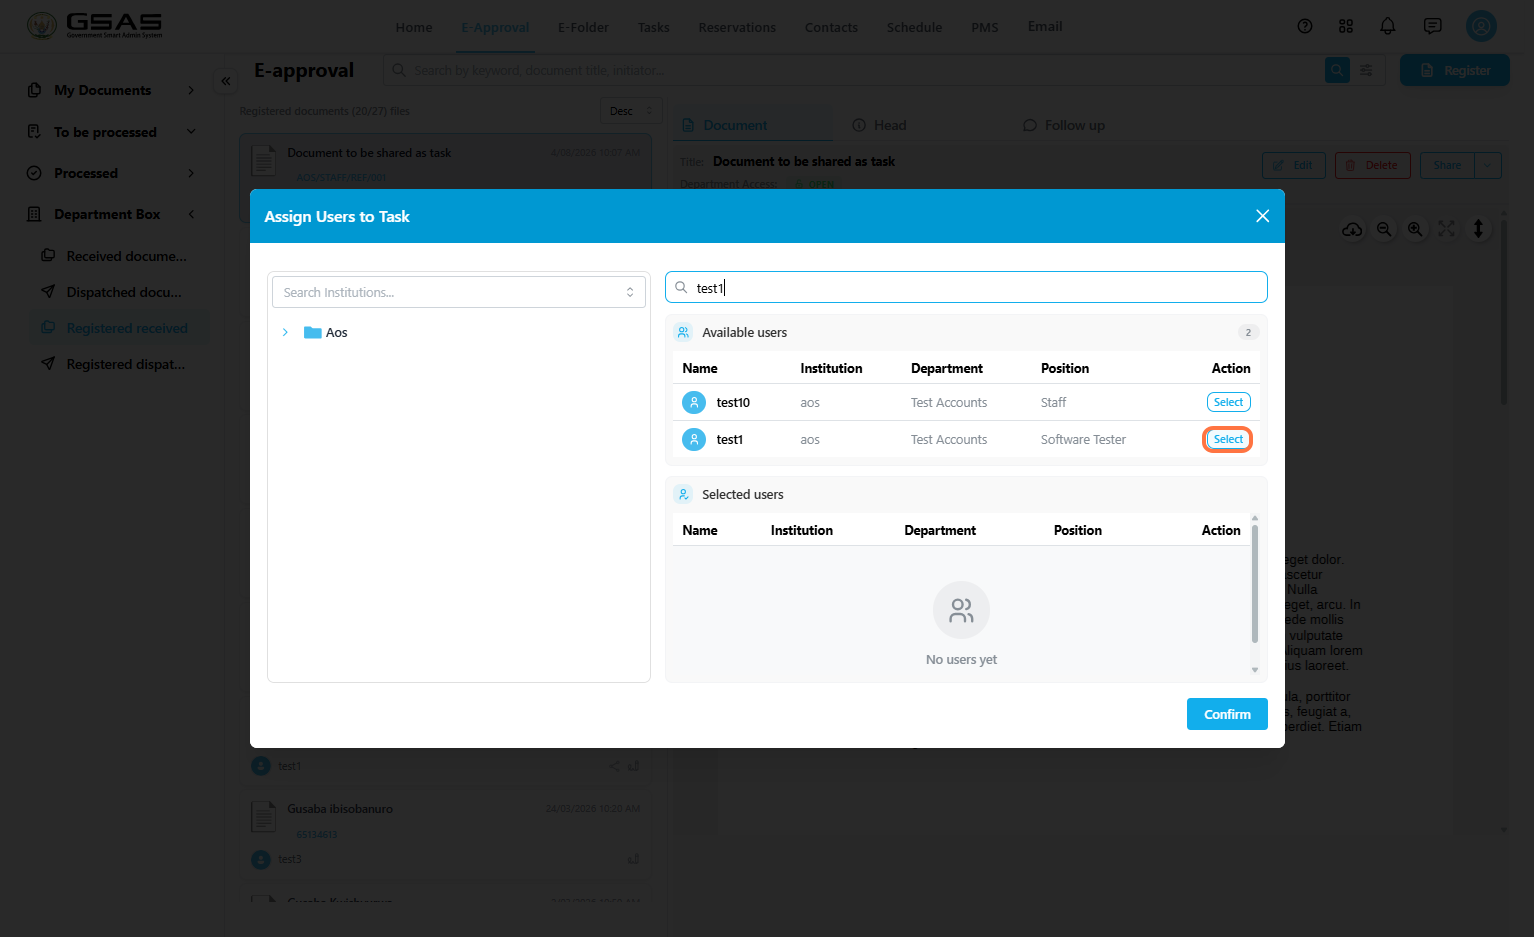
Step 4
Add assignees
Step 5
Create the task
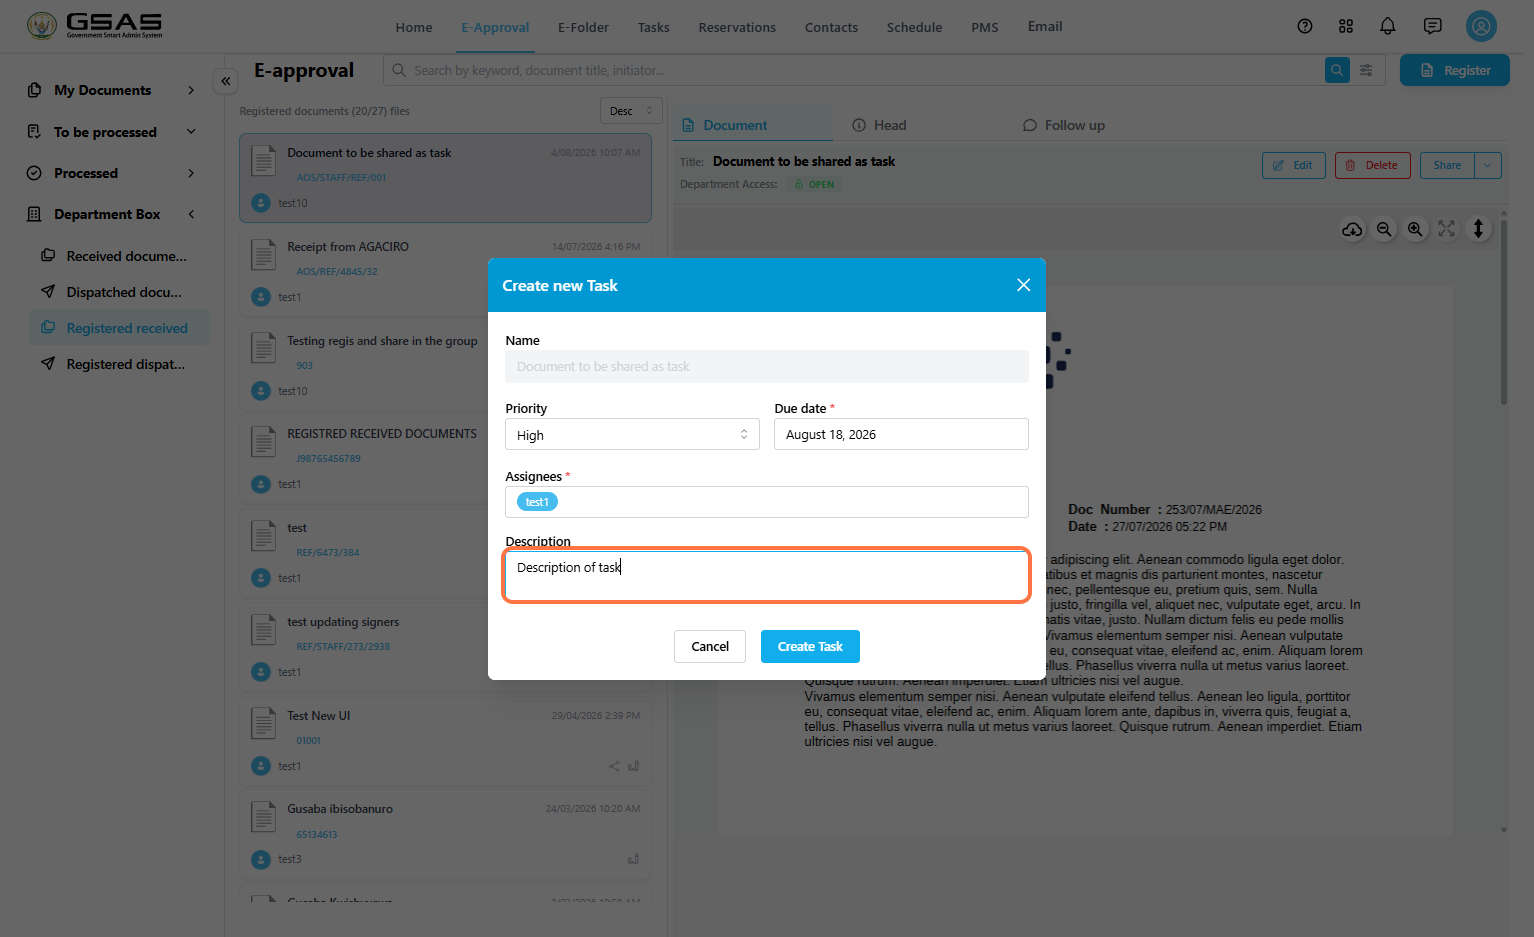
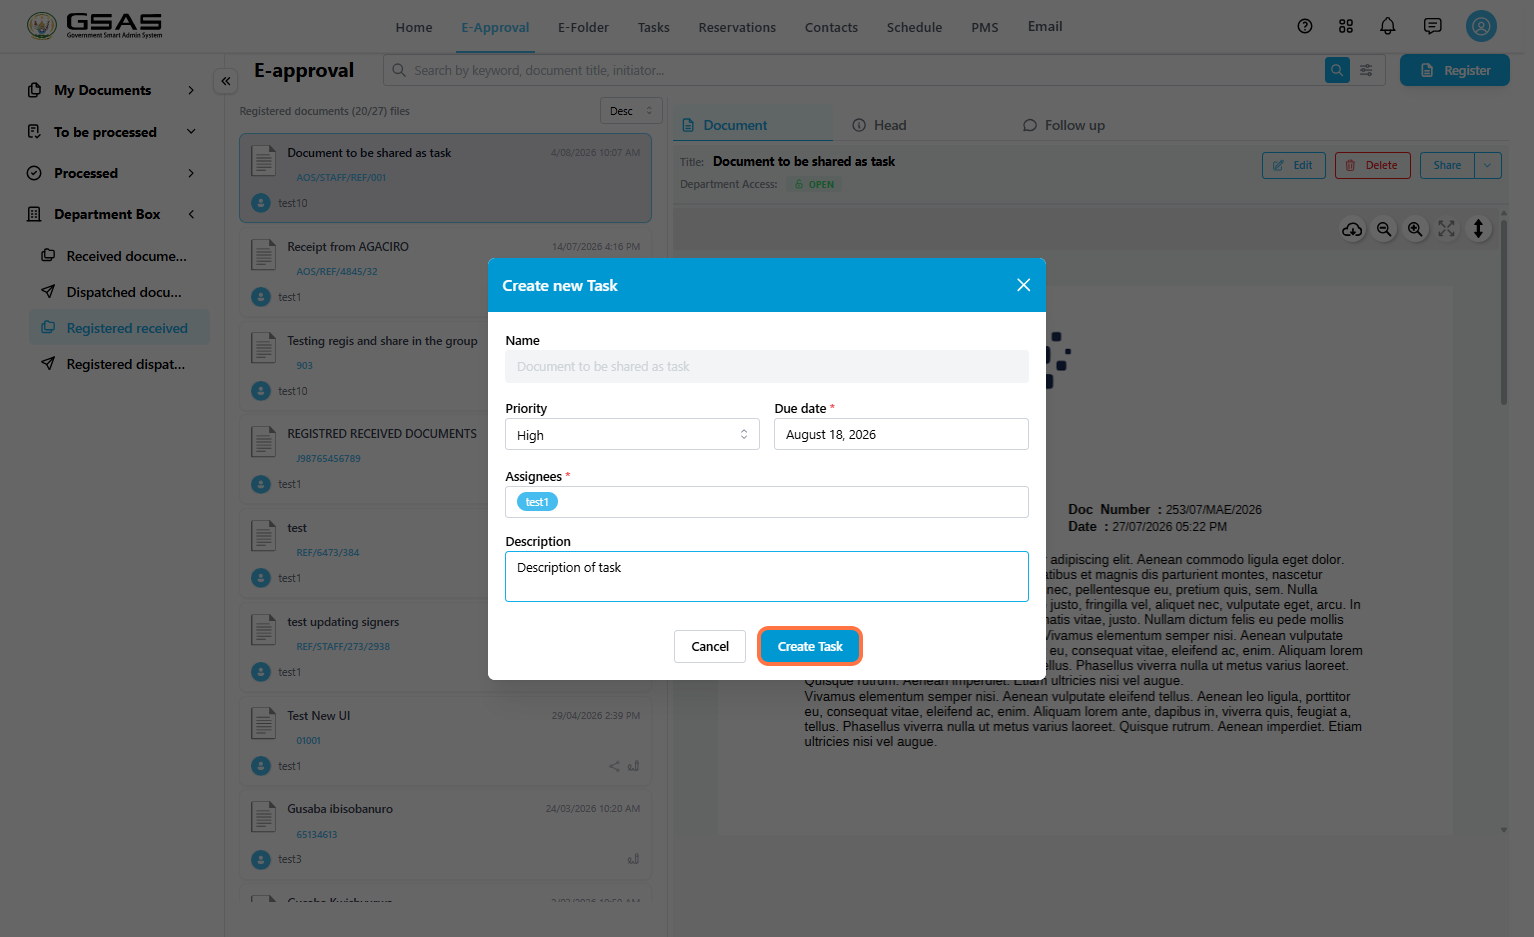
After the assignee and description are added, the Create Task button becomes active.
- Review the priority, due date, assignee, and description.
- Click Create Task.
Wait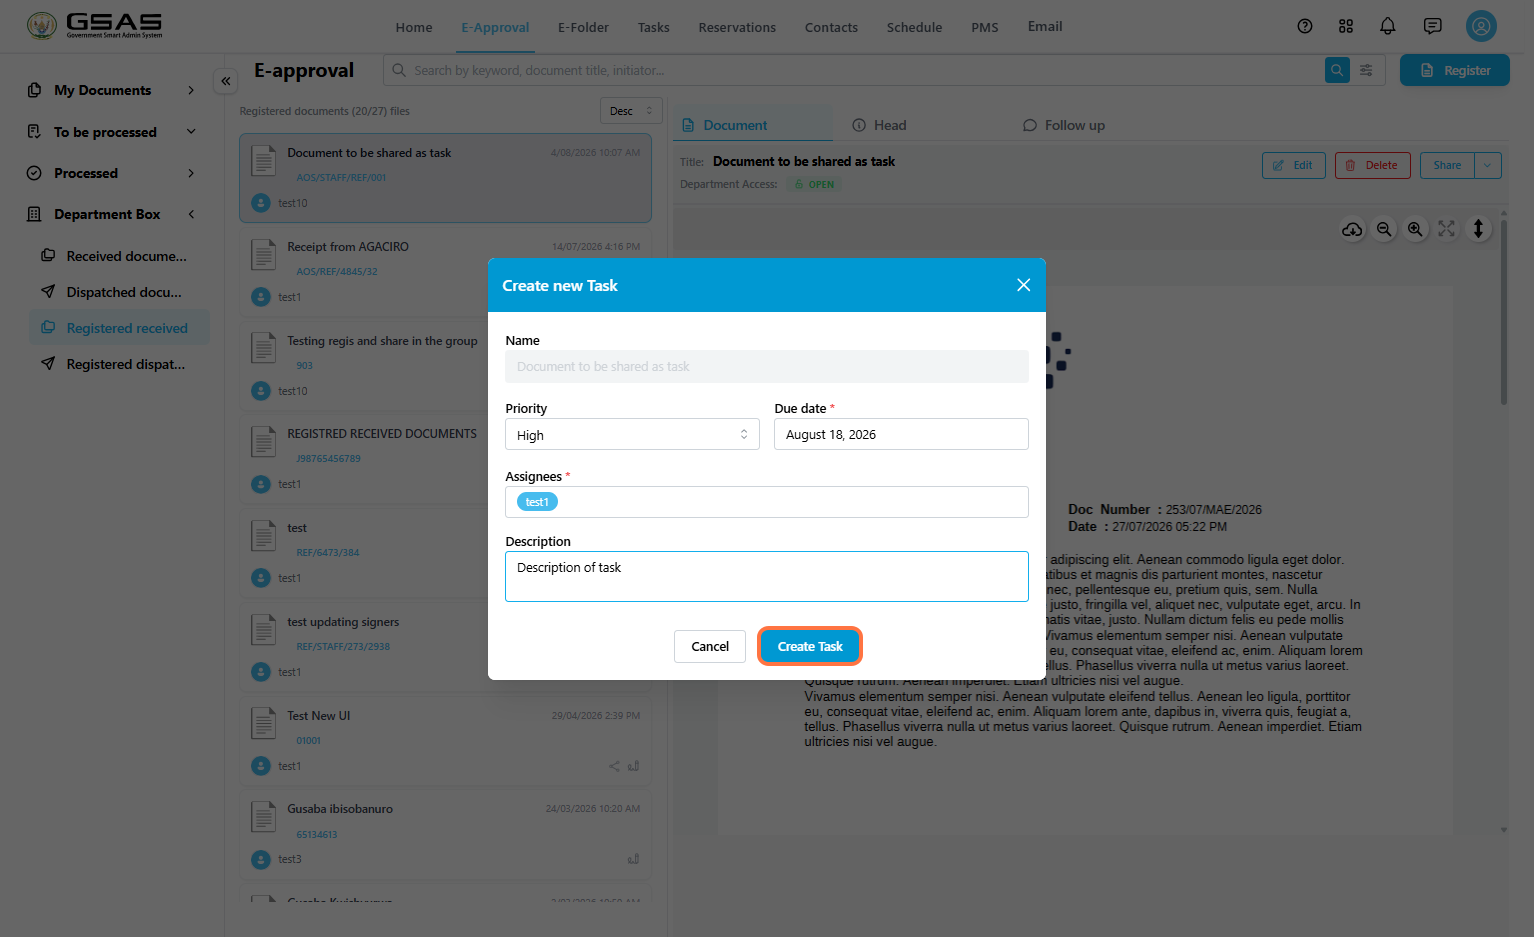
for the success message confirming that the task has been created.
Step 6
Open the created task project
After the task is created, the system creates or updates a related task project in the Tasks module.
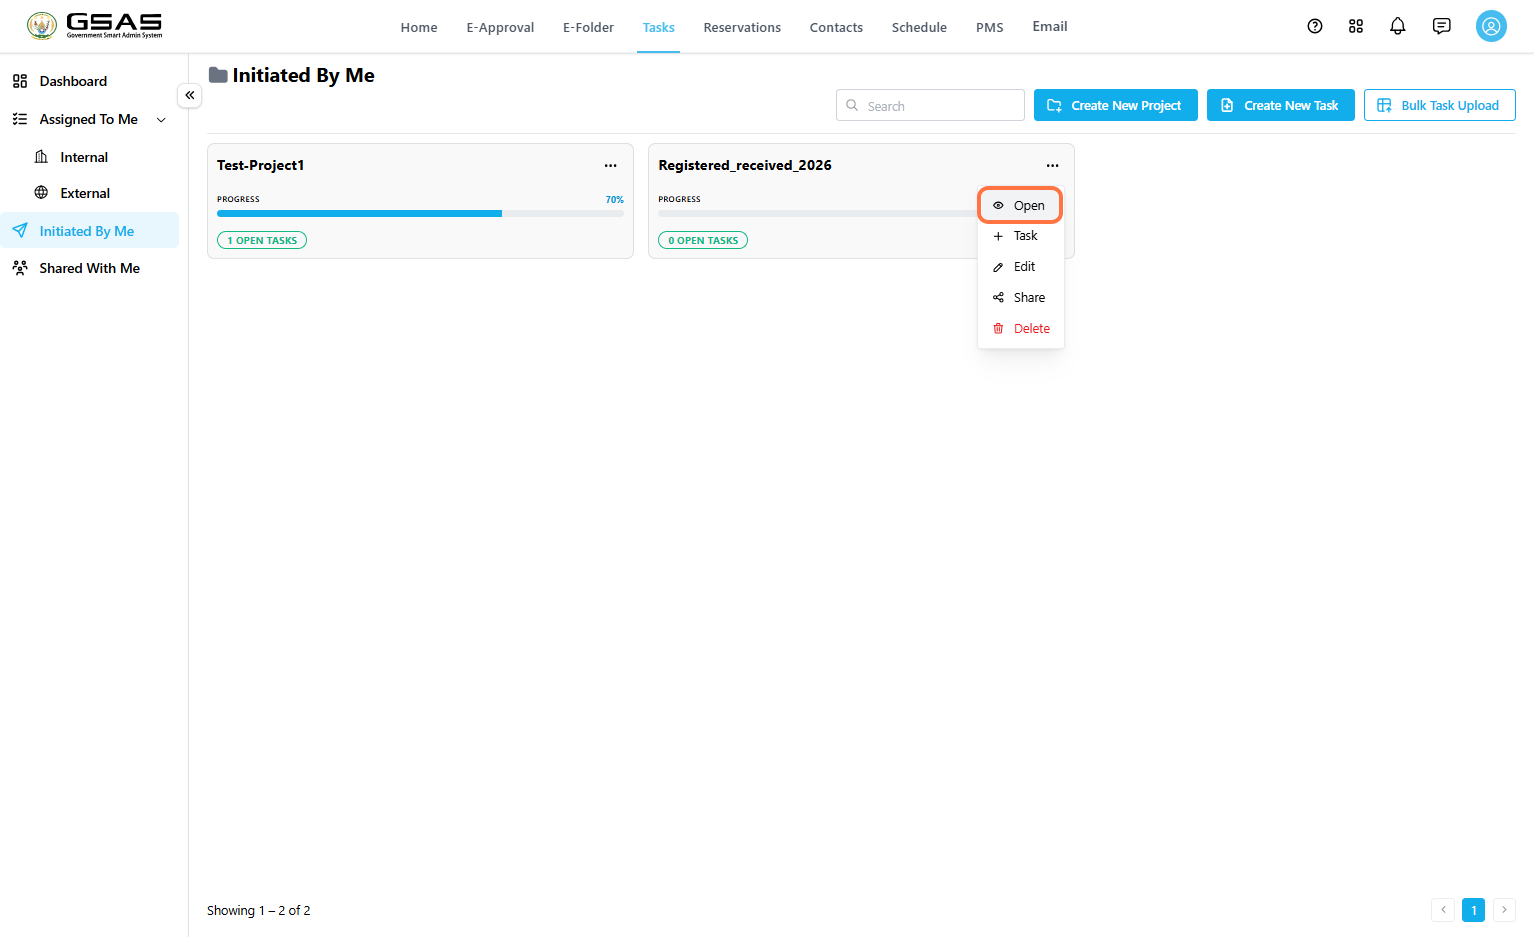
- Go to Tasks.
- Click Initiated By Me.
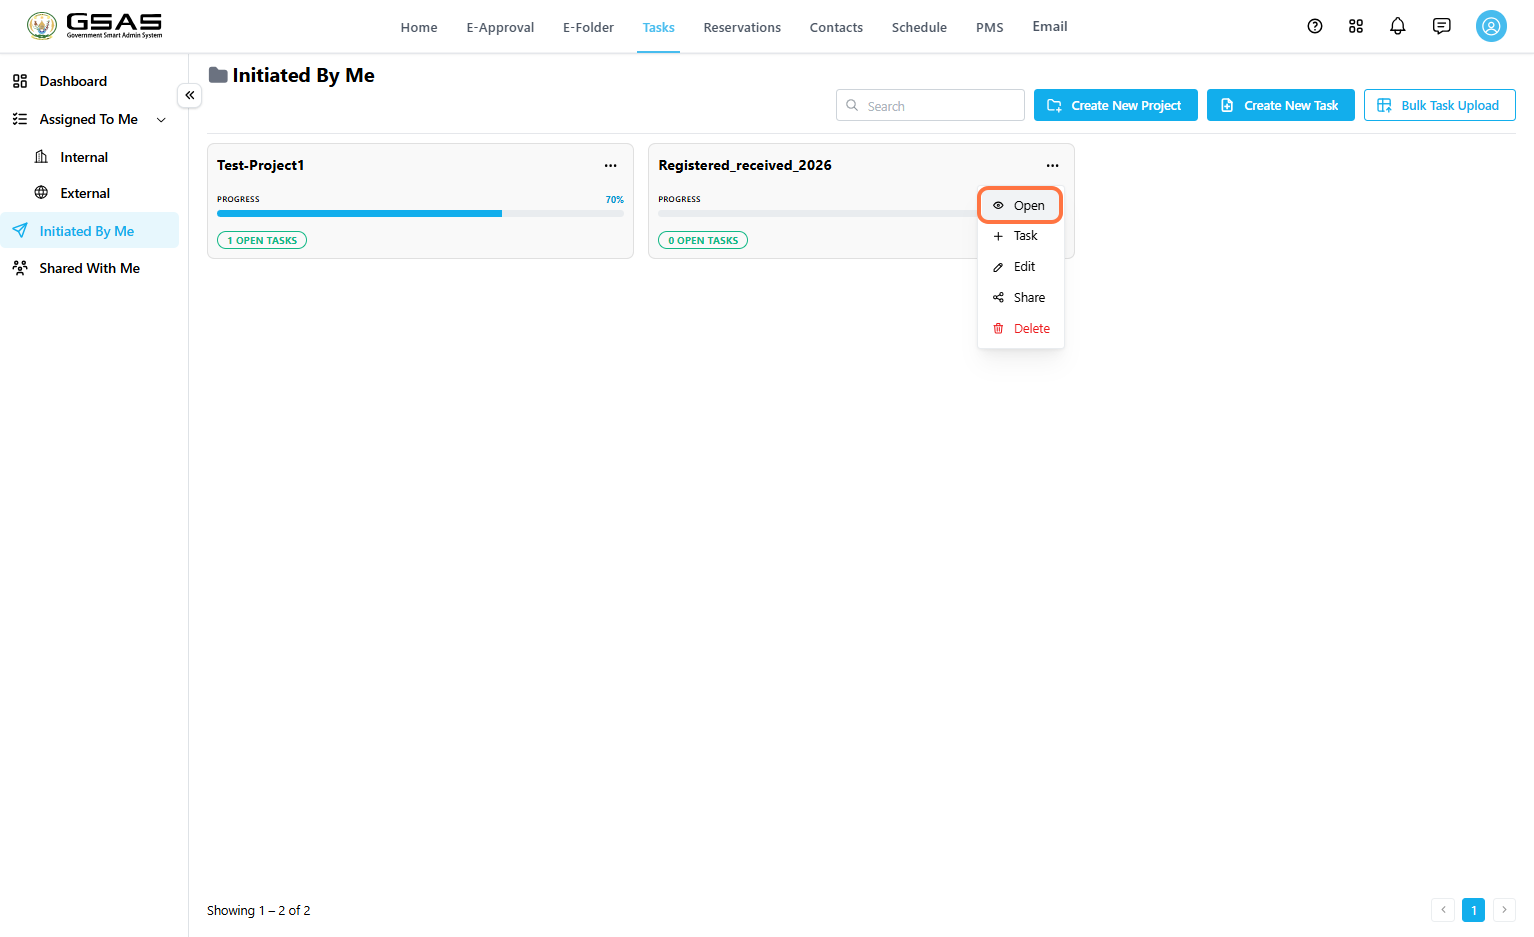
FindThe task project containing theprojecttaskcreatedisfromtitledthe registered document."Registered_Received_Year"- Click the three-dot menu on the project card, then click Open.
Inside the project workspace, the task appears in the task table. You can view the task name, progress, priority, status, assignee, and due date.
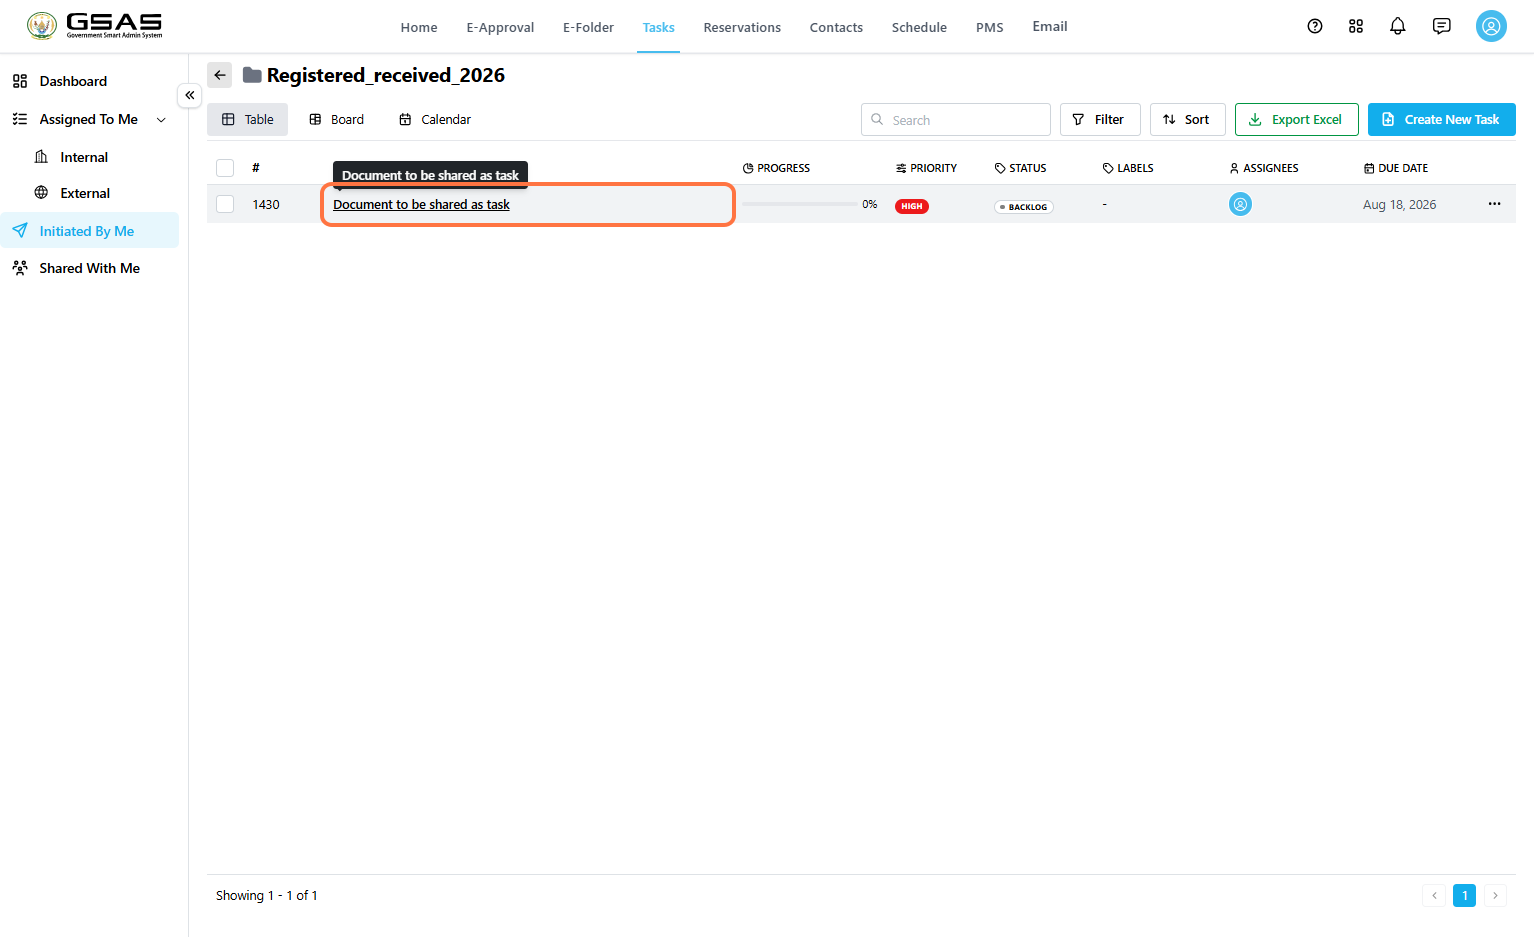
The task assignees will open the task from Tasks → Assigned To Me - Internal if it was assigned to them by a user within their institution or External if it was by a user from another institution.
Proceed to the Responding to and Tracking tasks page to see how to update a task assigned to you.
Step 7
Track the task progress from the document
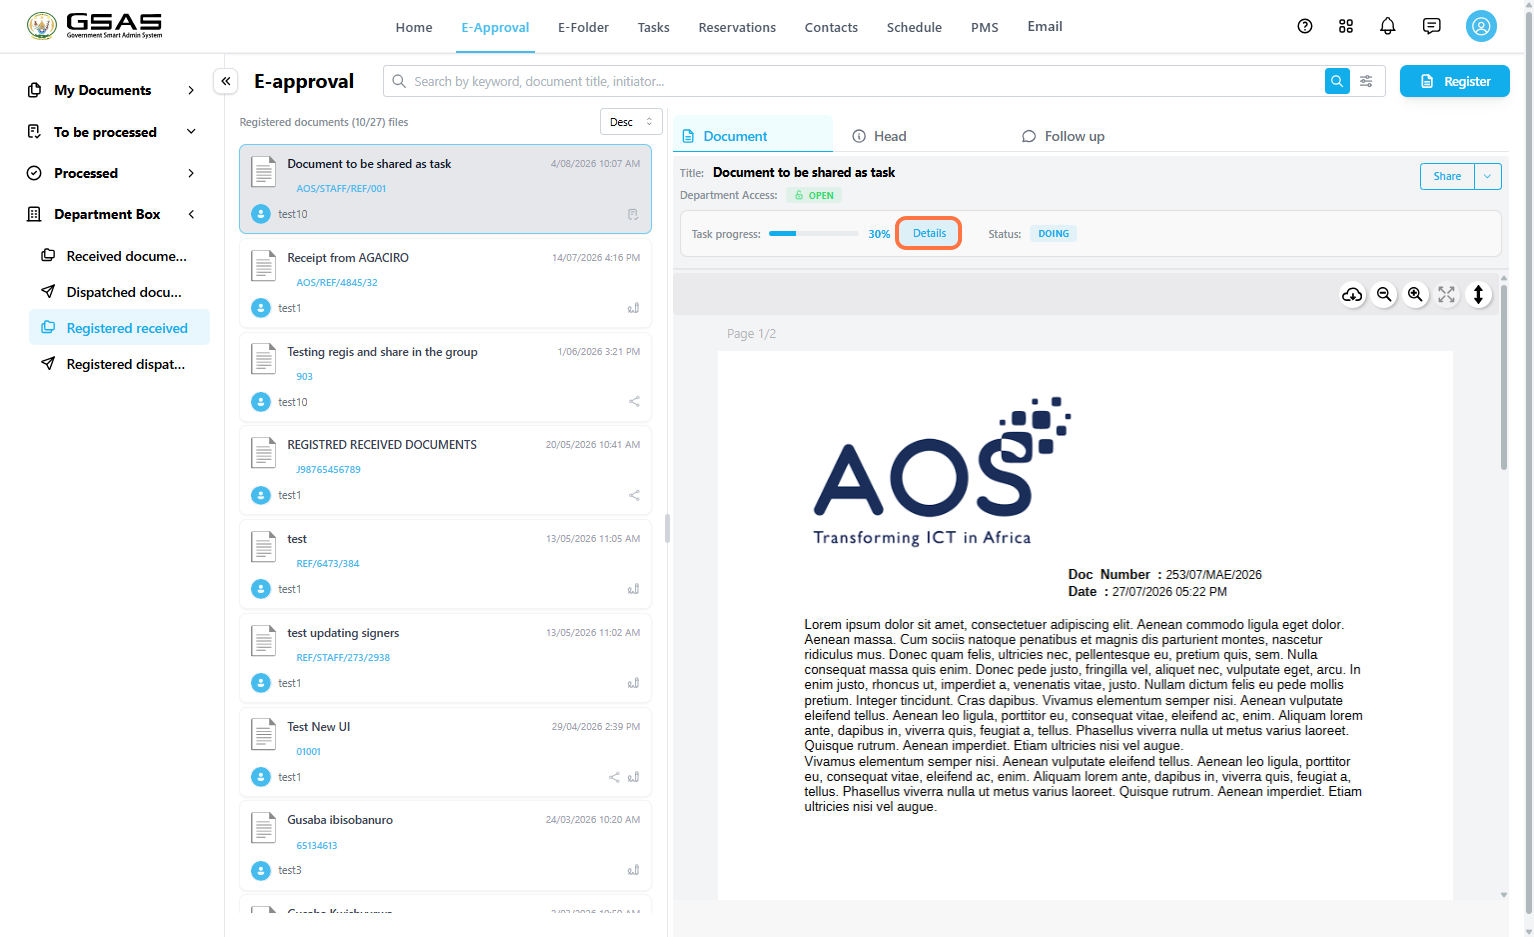
Return to the original document in E-Approval. The document now displays task progress, completion percentage, and task status.
OpenSelect the original registered document.- Review the Task progress section.
- Click Details to open the task details panel.
Step 8
Review task details and activity
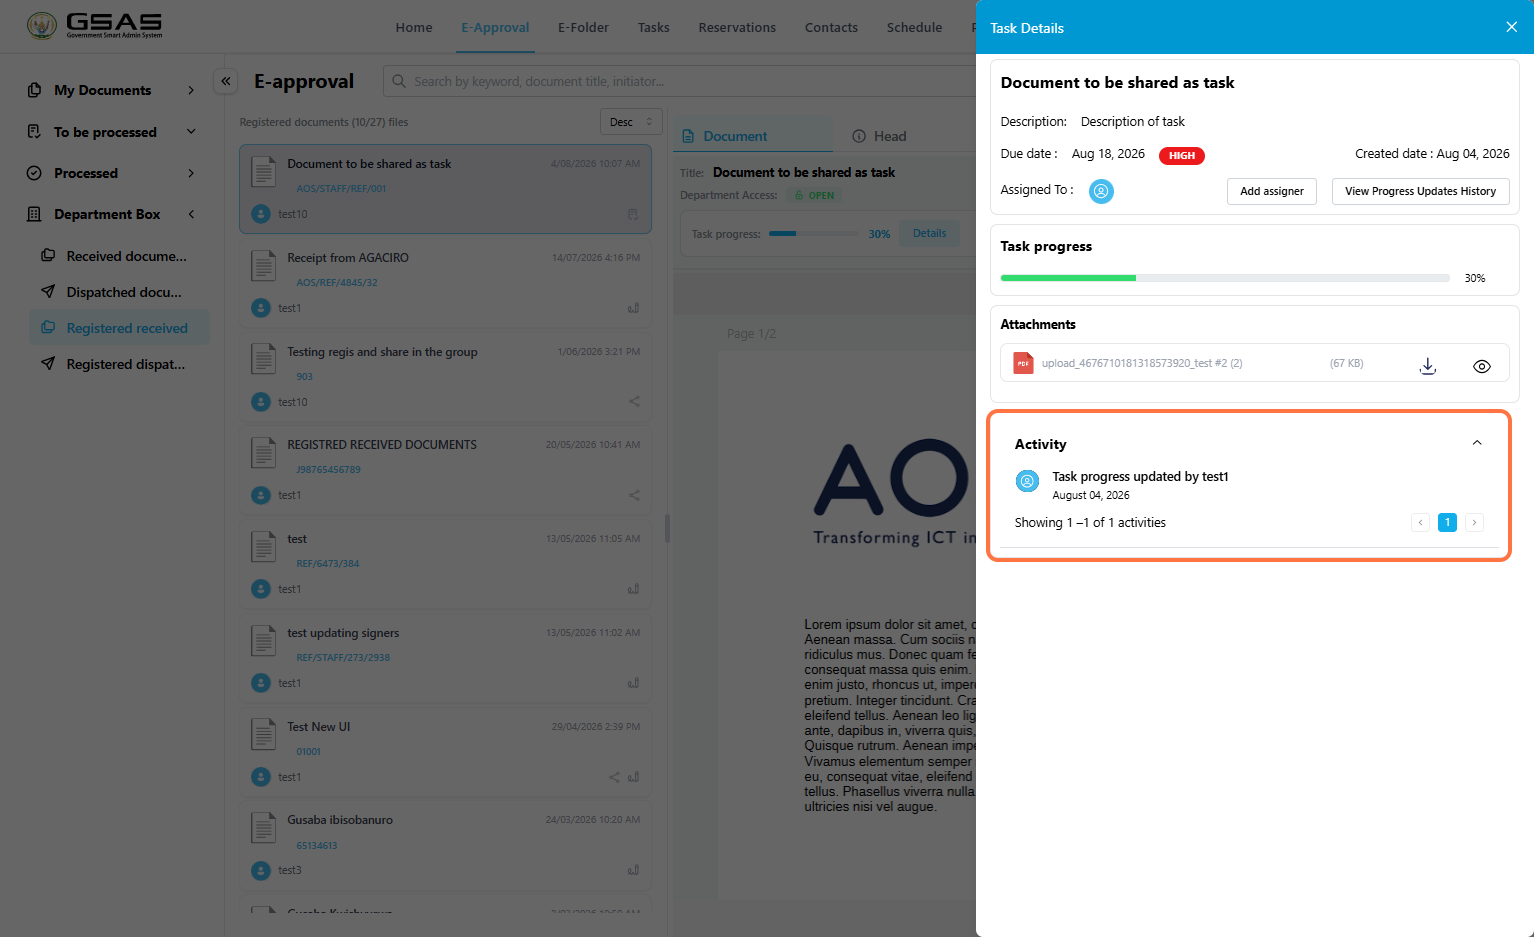
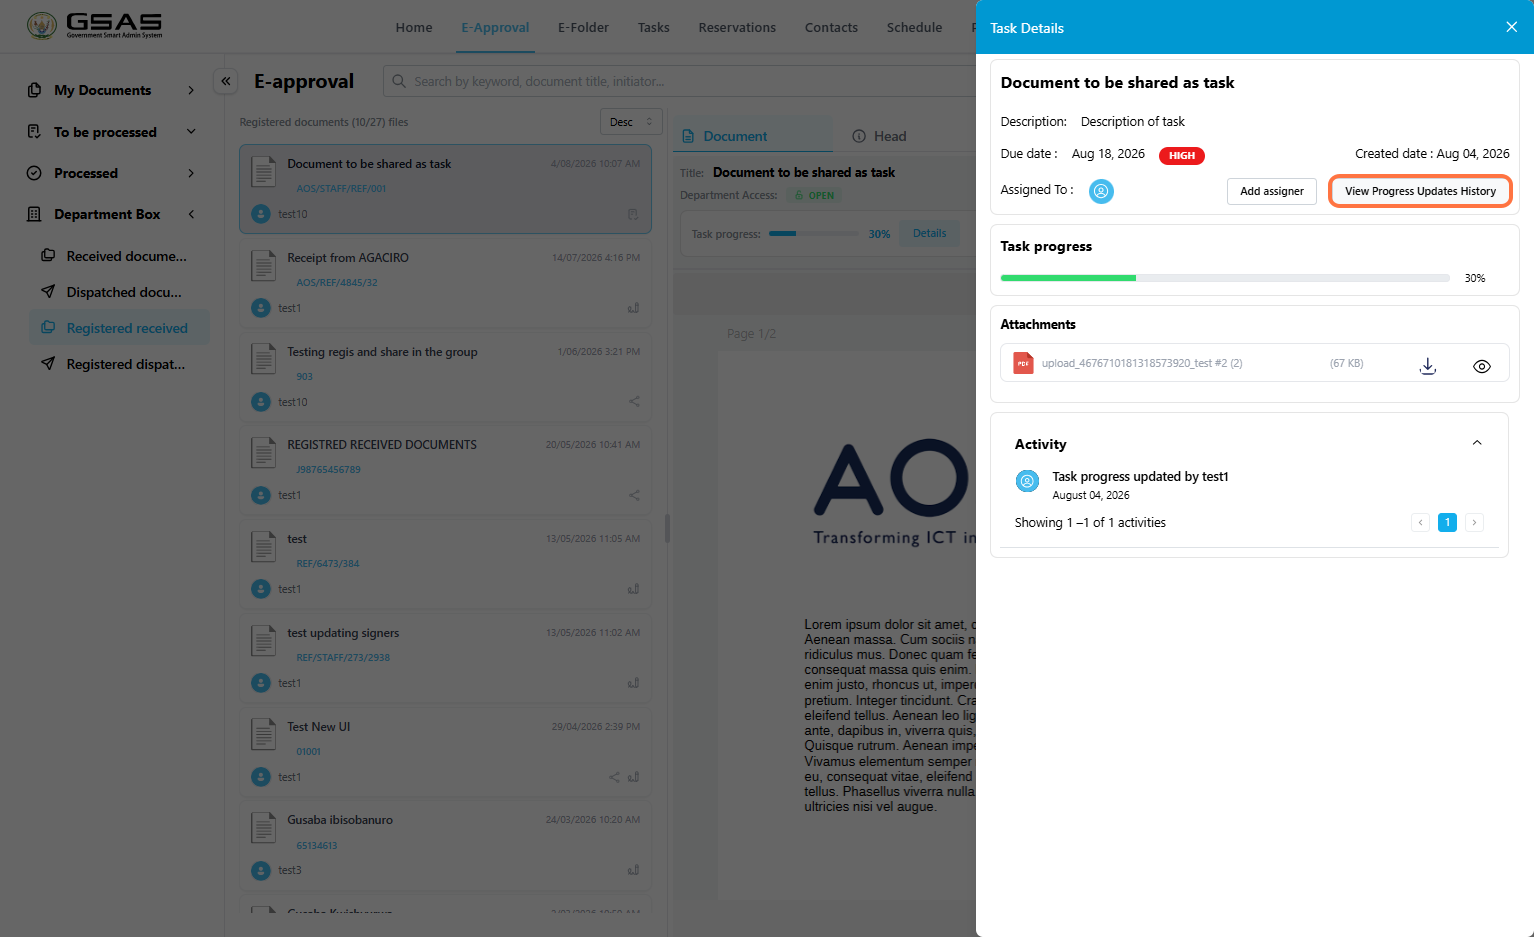
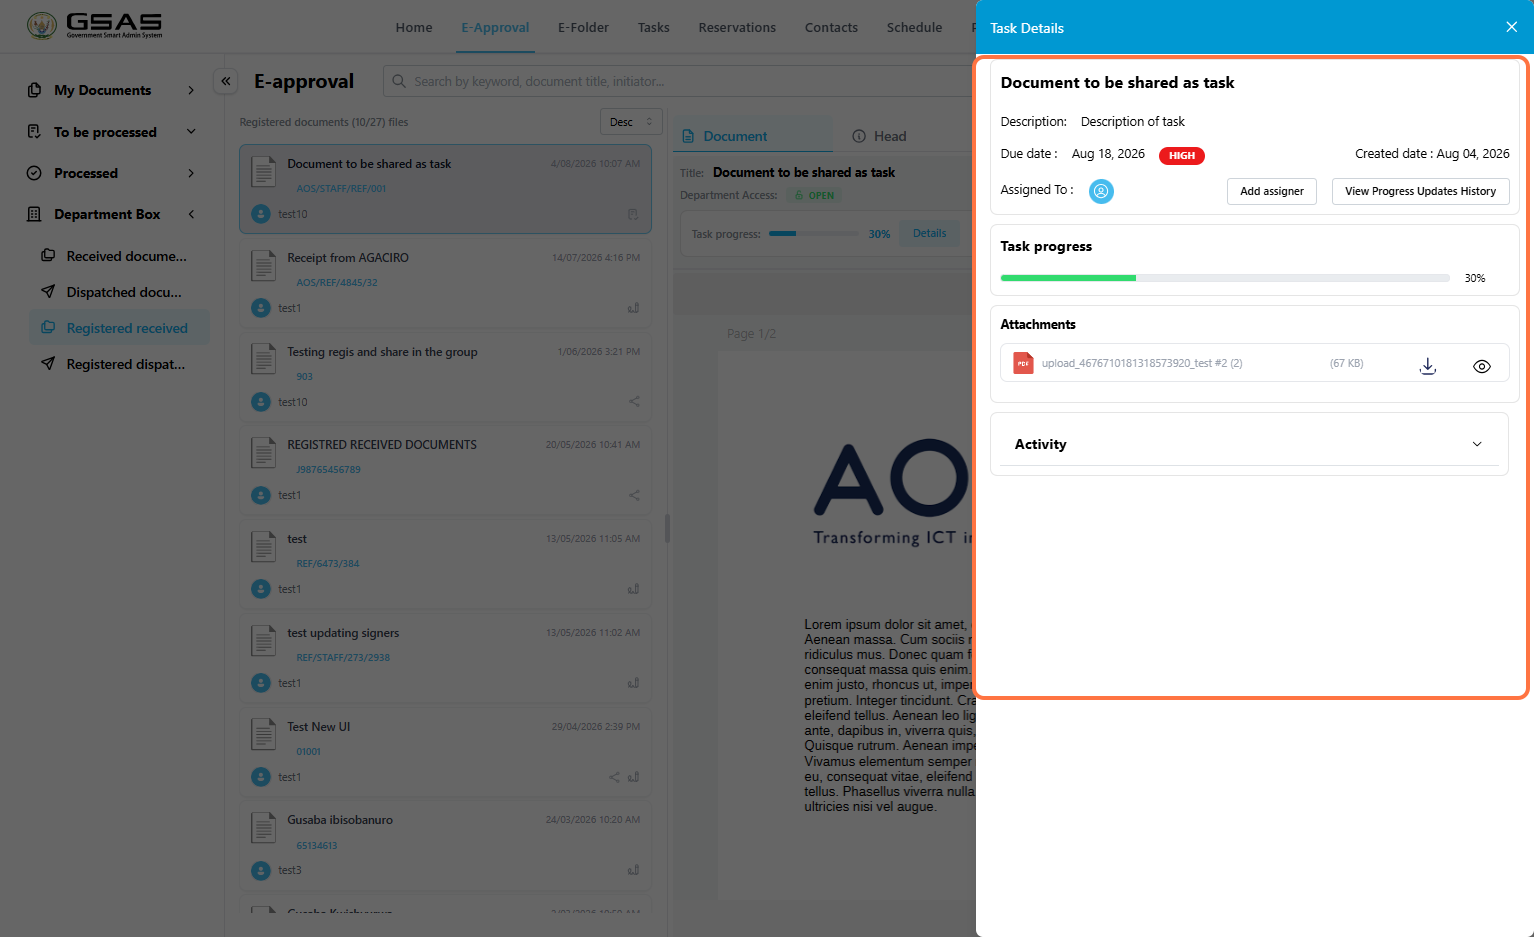
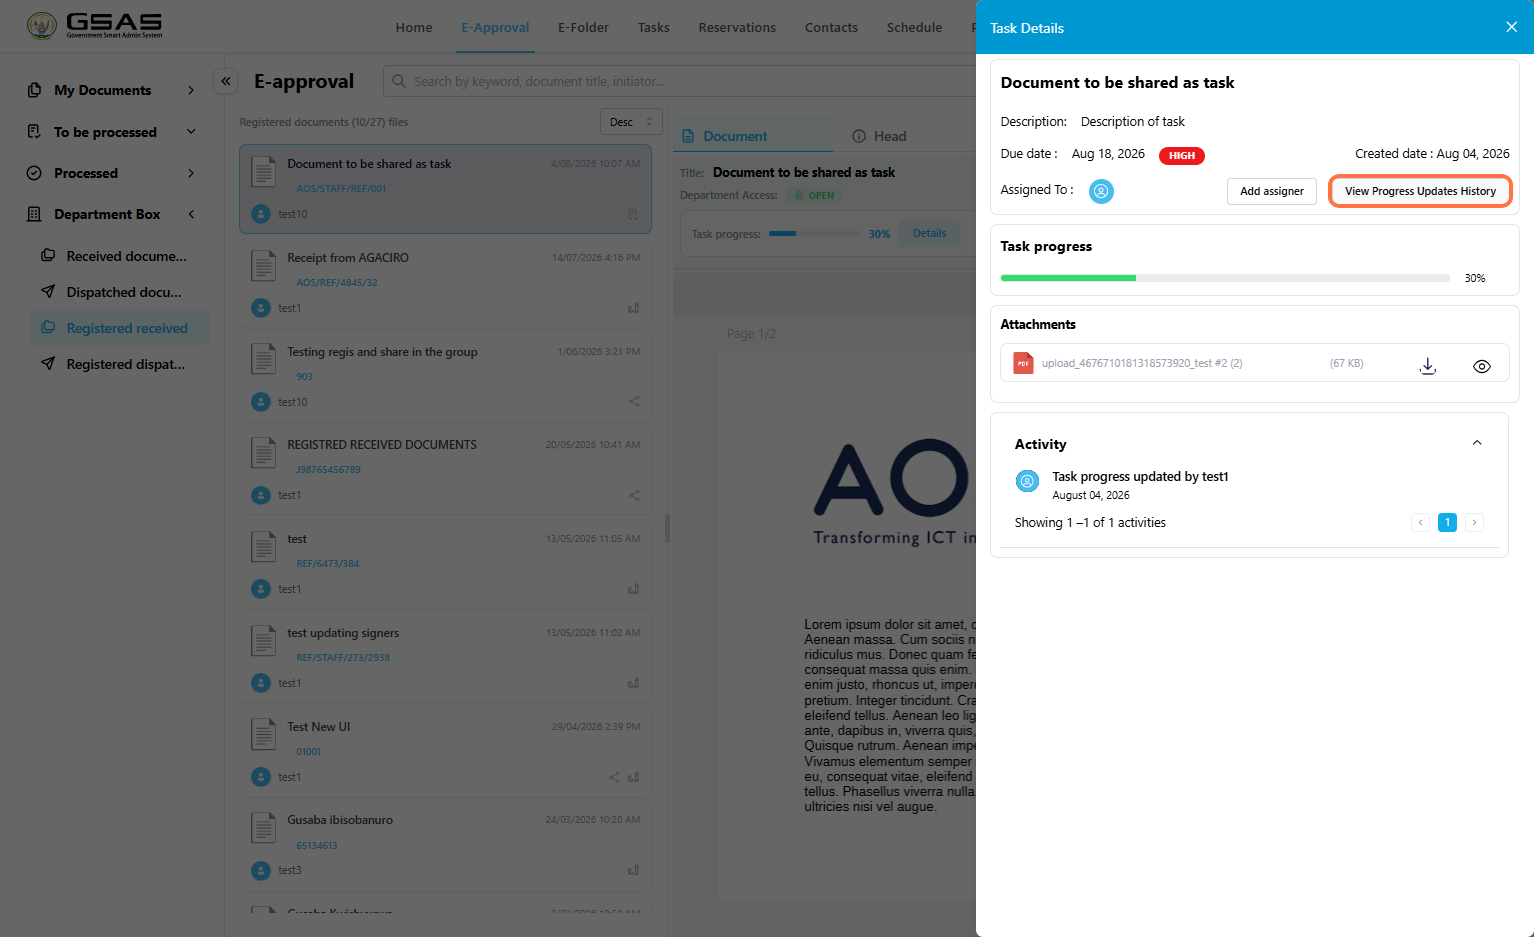
The Task Details panel shows the task description, due date, priority, created date, assignee, progress, attachments, and activity.
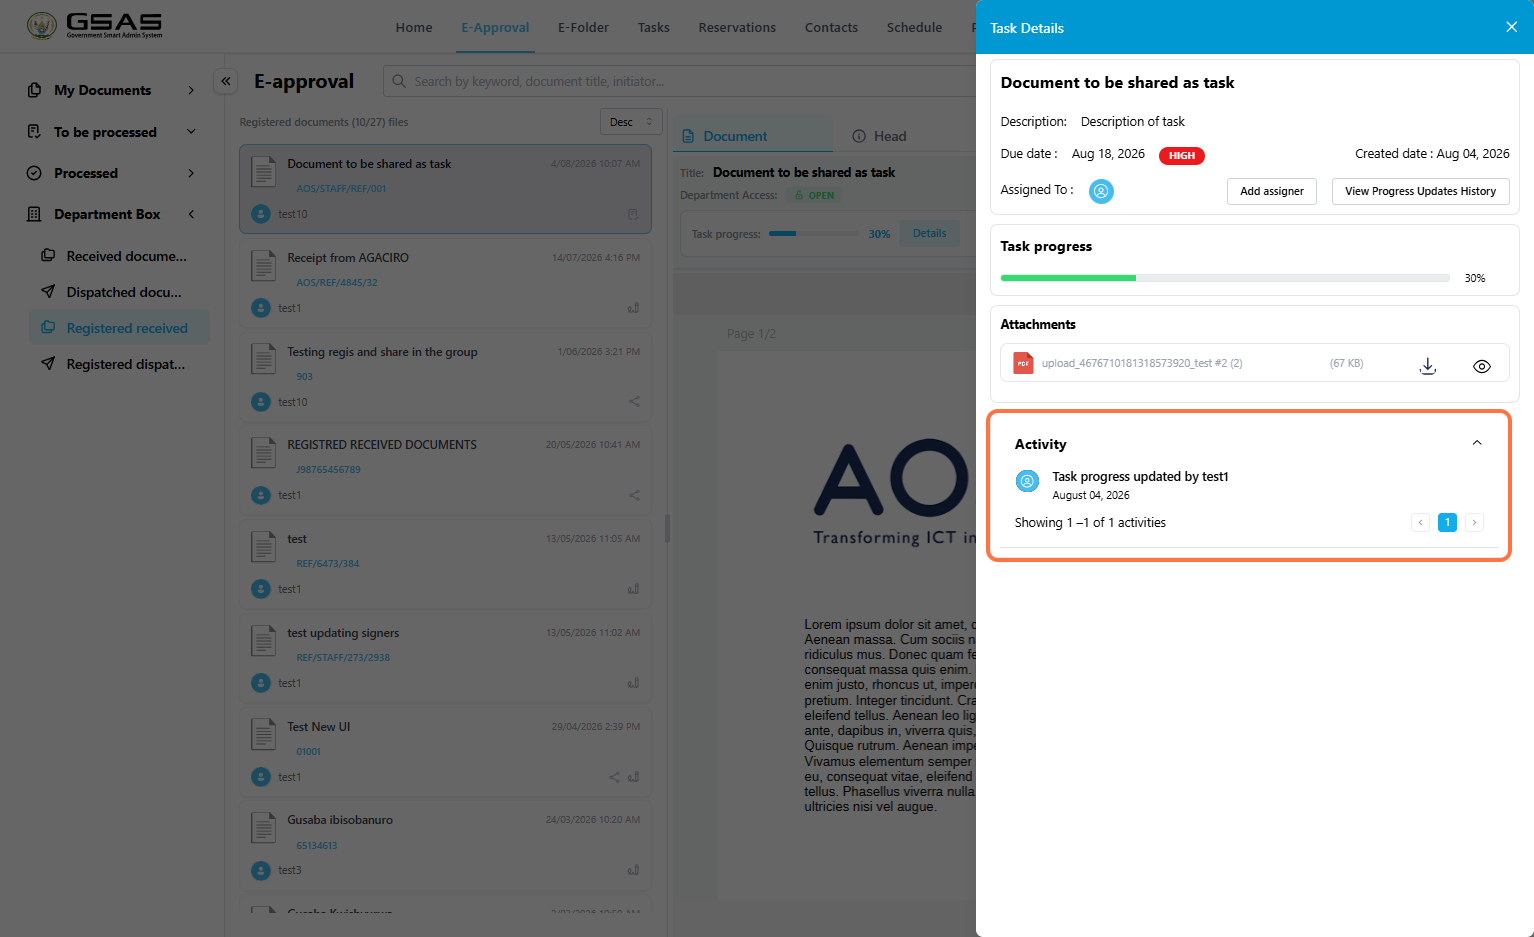
- Expand Activity to view recent task activity.
- Click View Progress Updates History to see submitted progress updates.
- Review the update details, attachments, update date, and the user who submitted the update.