Responding to and Tracking Tasks
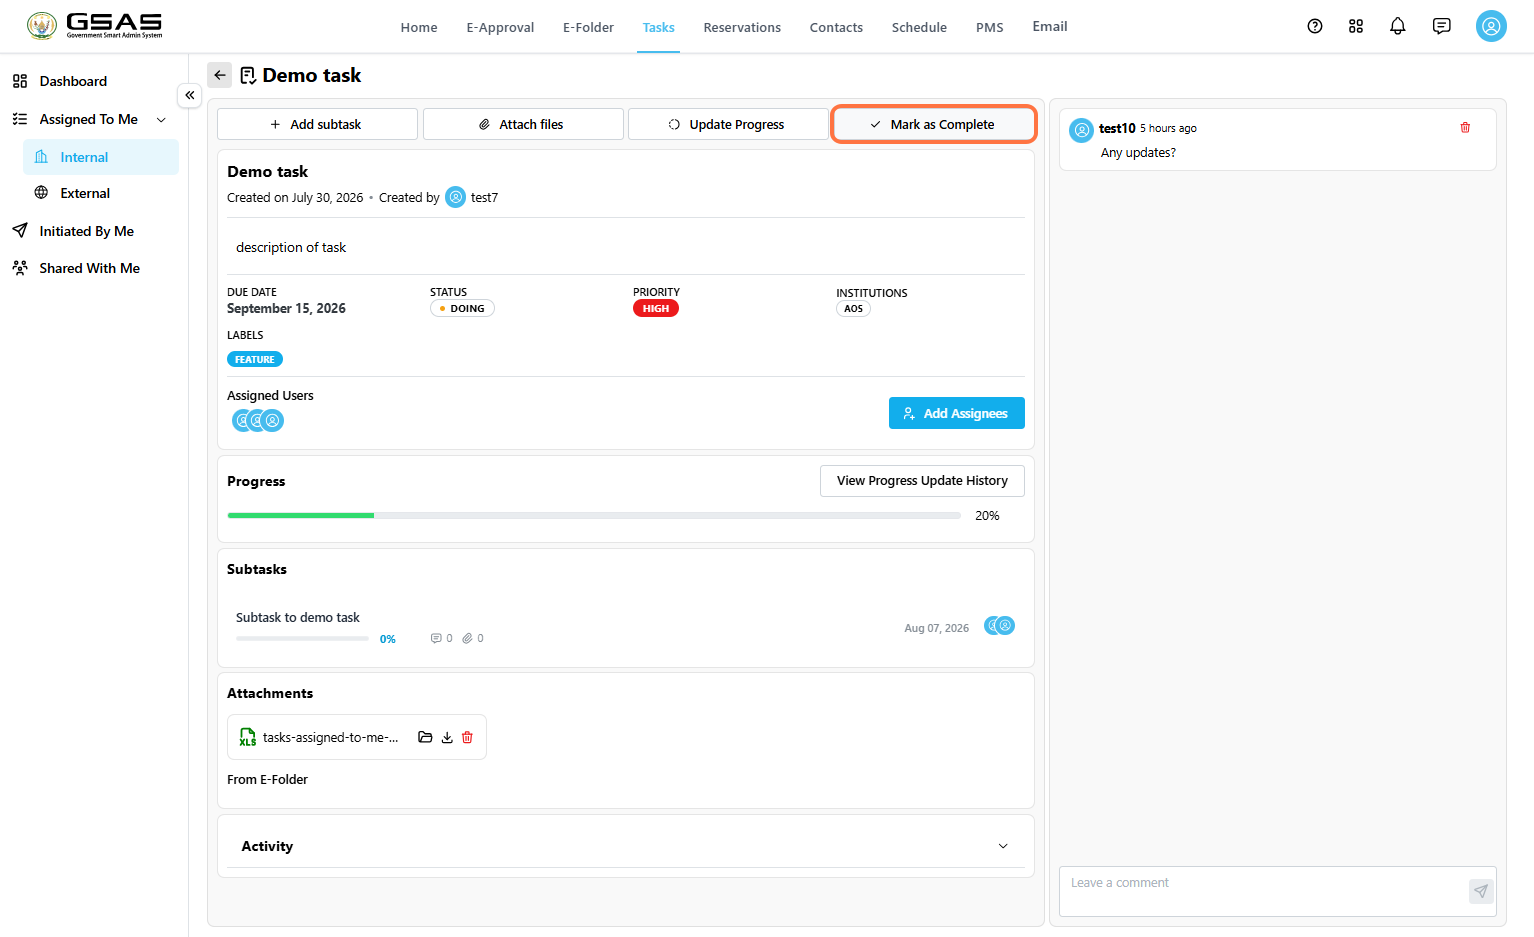
Use the task details page to review a task, update its progress, add supporting files, communicate through comments, and track its history. Anyone with access to a task — whether they were assigned to it or created it — can open it and use the actions on this page, unless noted otherwise below.
Task Actions at a Glance
| Action | Use it to |
|---|---|
| Update Progress | Record progress percentage, status, updates, next steps, blockers, and escalation needs. |
| View Progress Update History | Review previous progress updates and attached evidence. Editing an entry is limited to the assignee who logged it. |
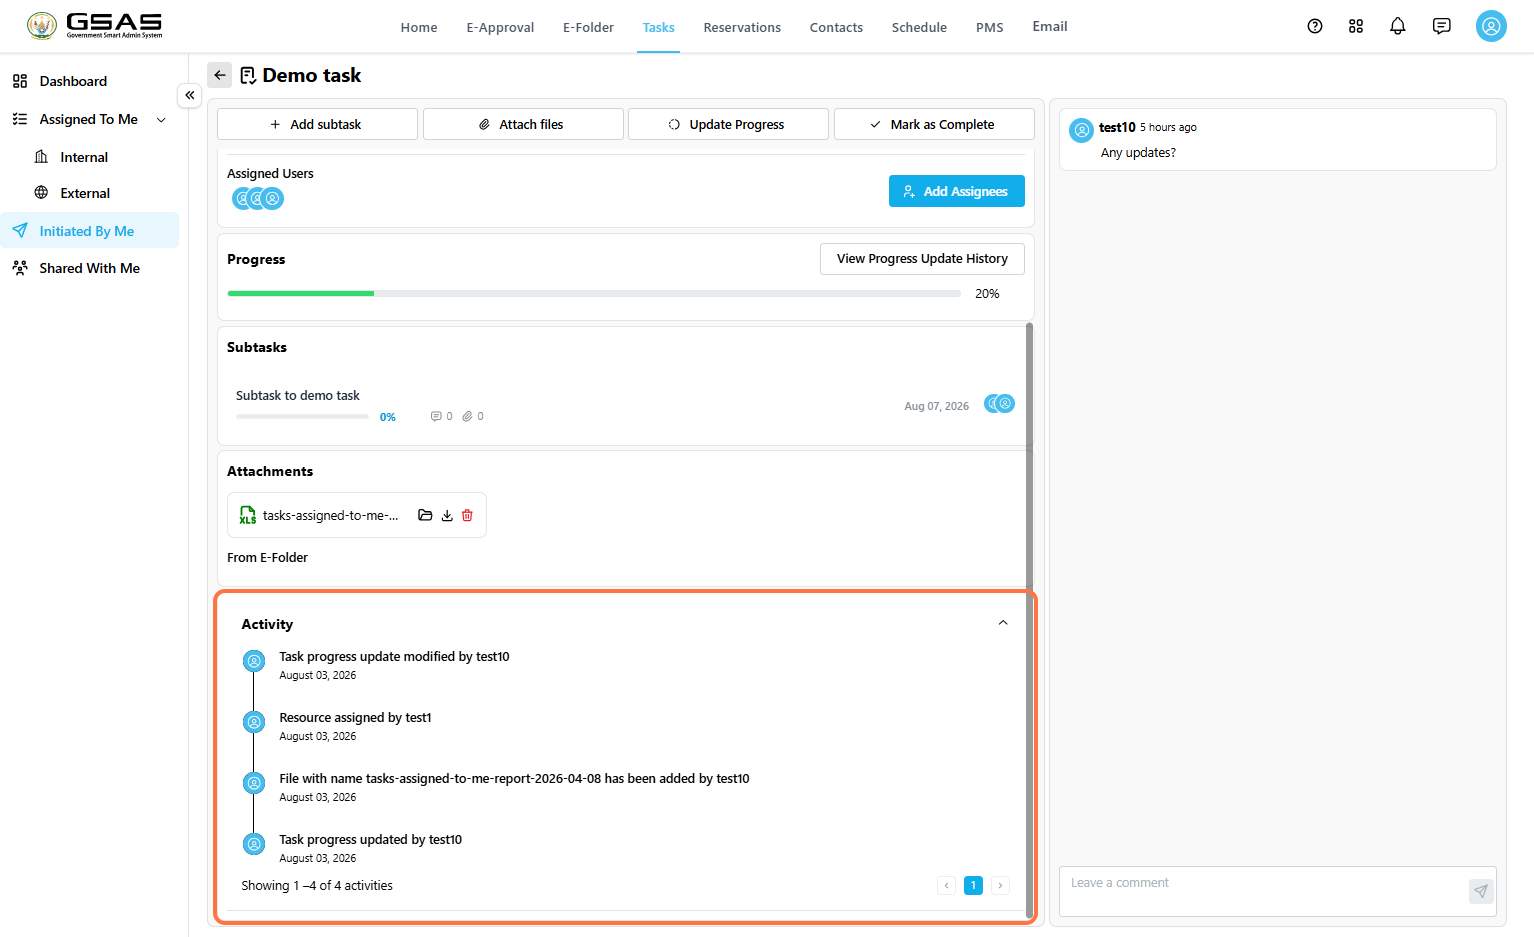
| View Activity | See a running log of everything that has happened on the task. |
| Comments | Discuss the task and keep follow-up communication in one place. |
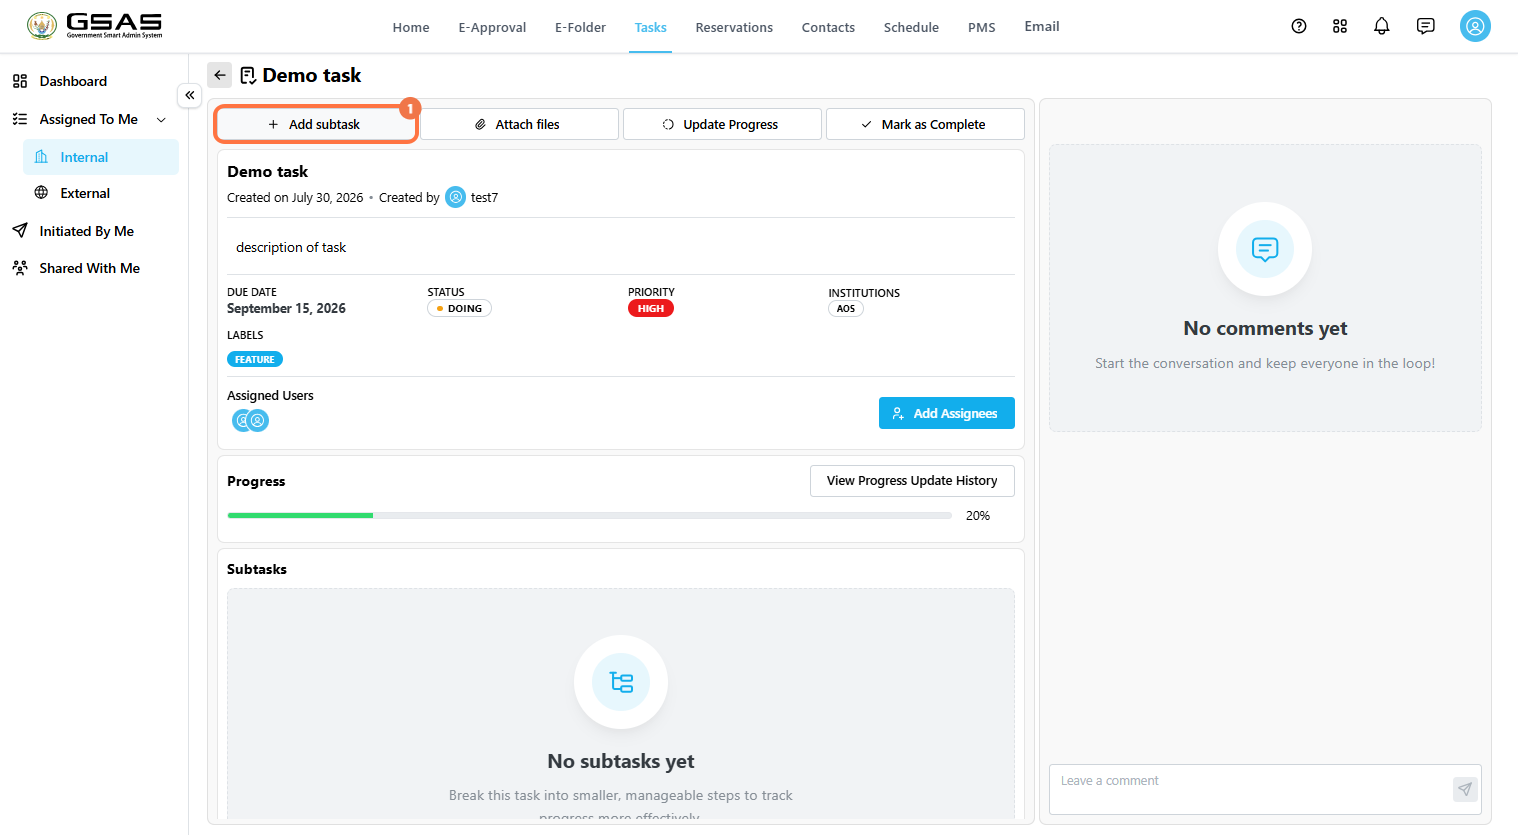
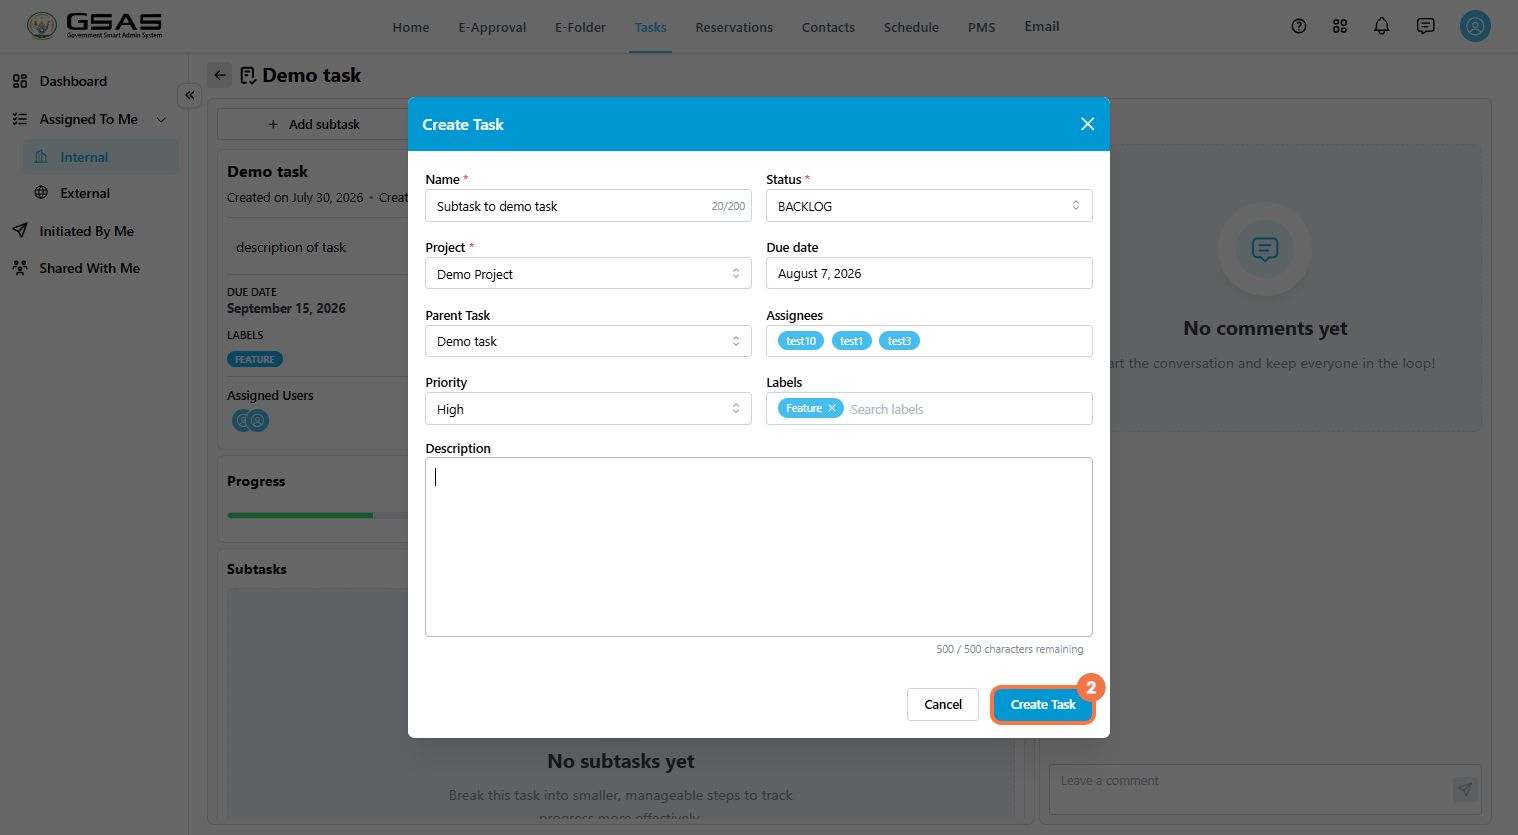
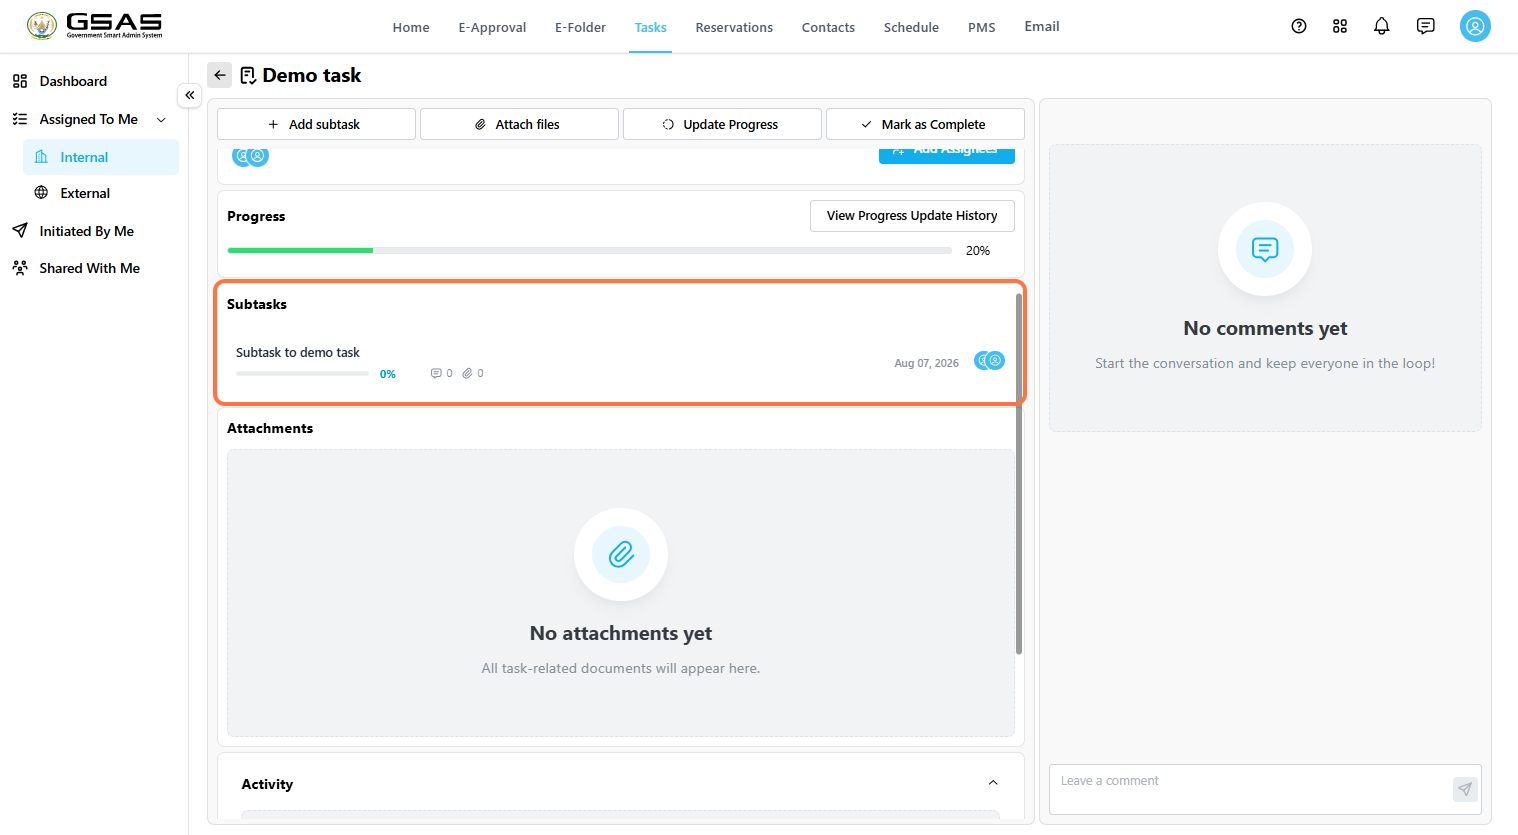
| Add subtask | Break a larger task into smaller related tasks. |
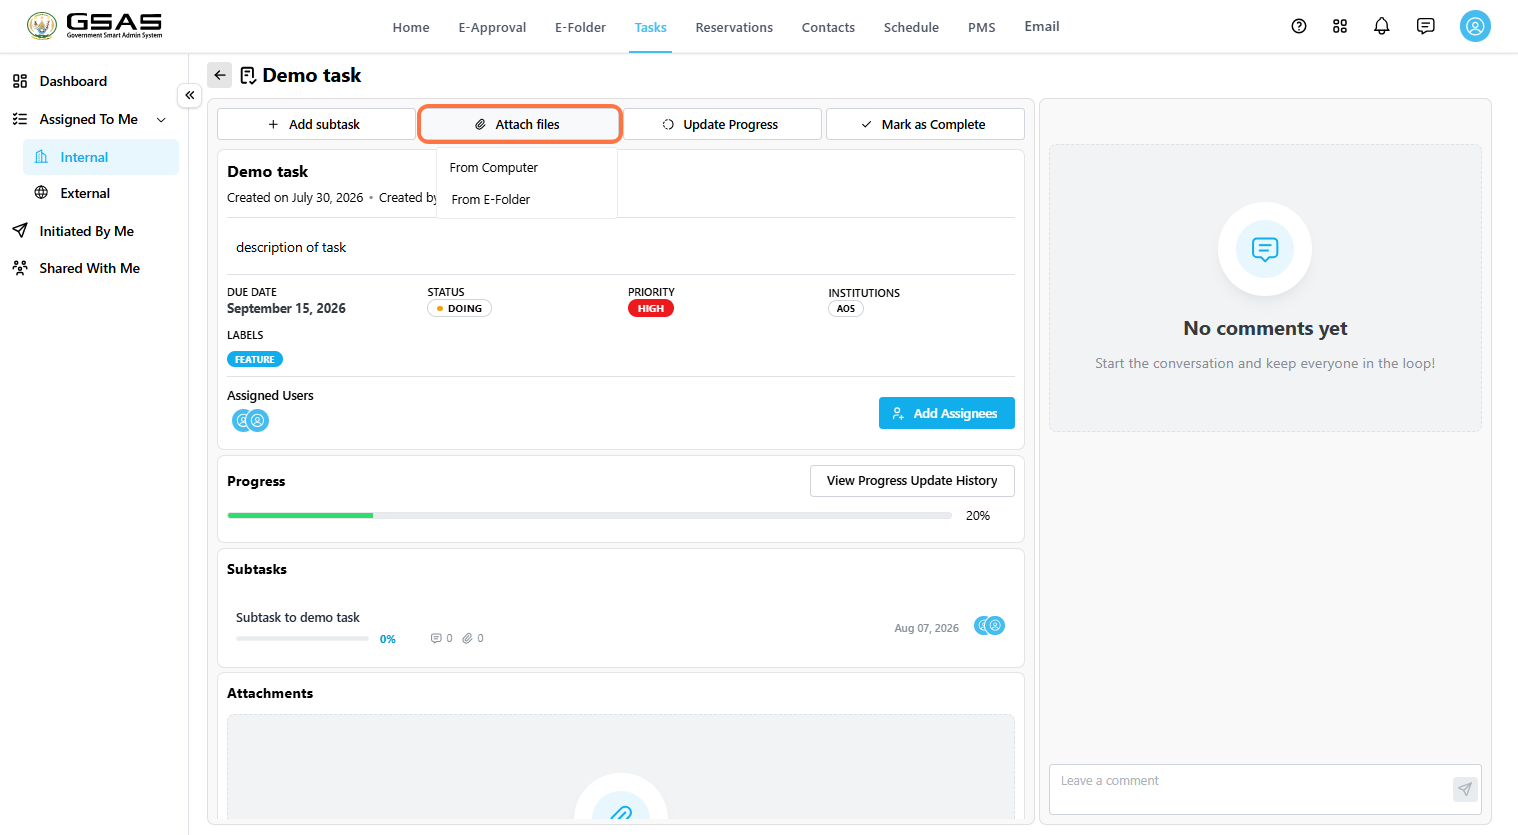
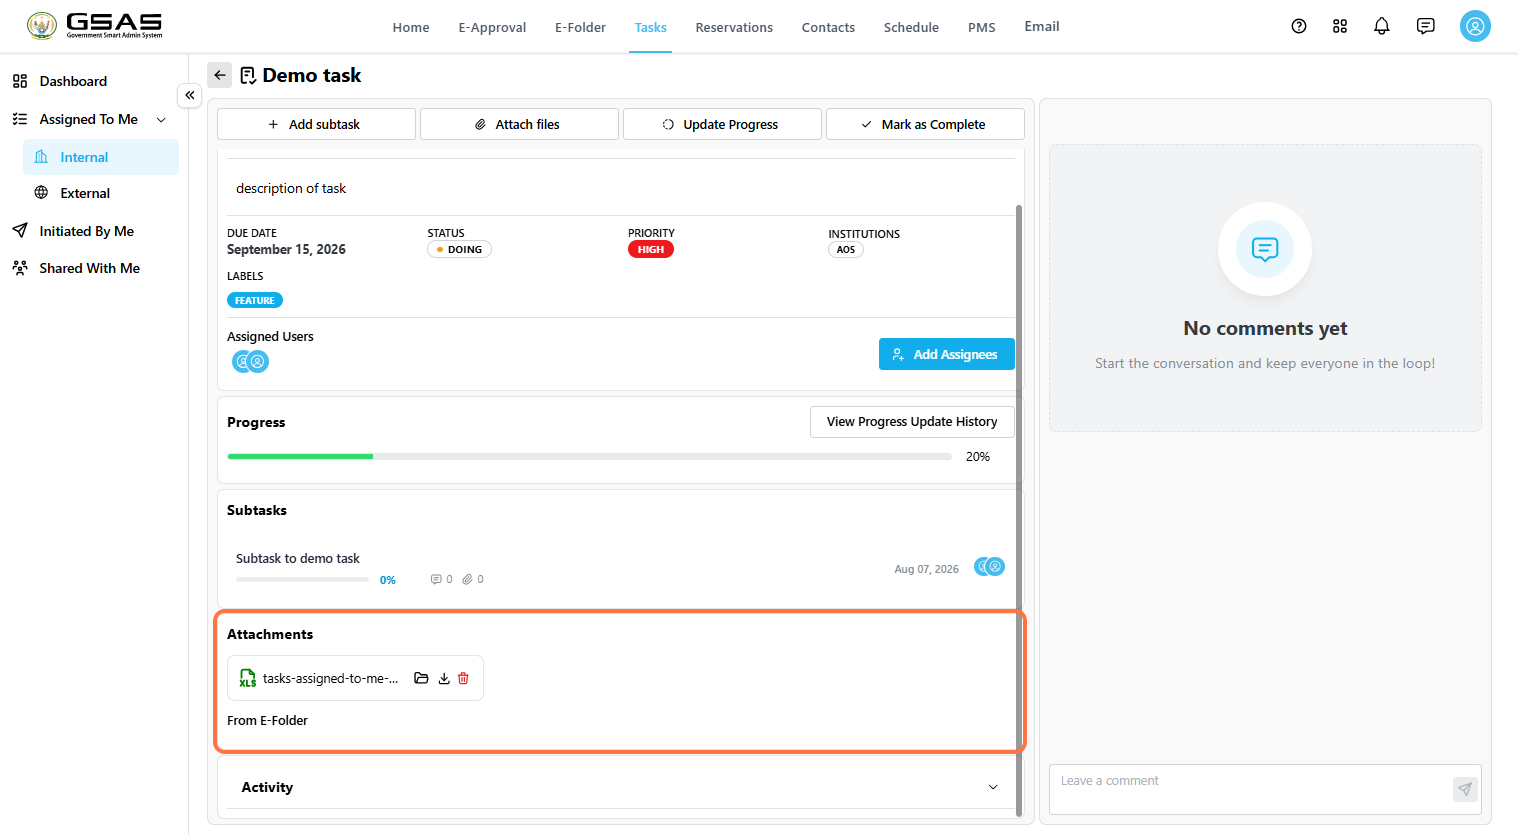
| Attach files | Add supporting documents from your computer or E-Folder. |
| Mark as Complete | Close the task when the work is finished. |
Open a Task
Where you find the task depends on whether it was assigned to you or created by you.
If the task was assigned to you
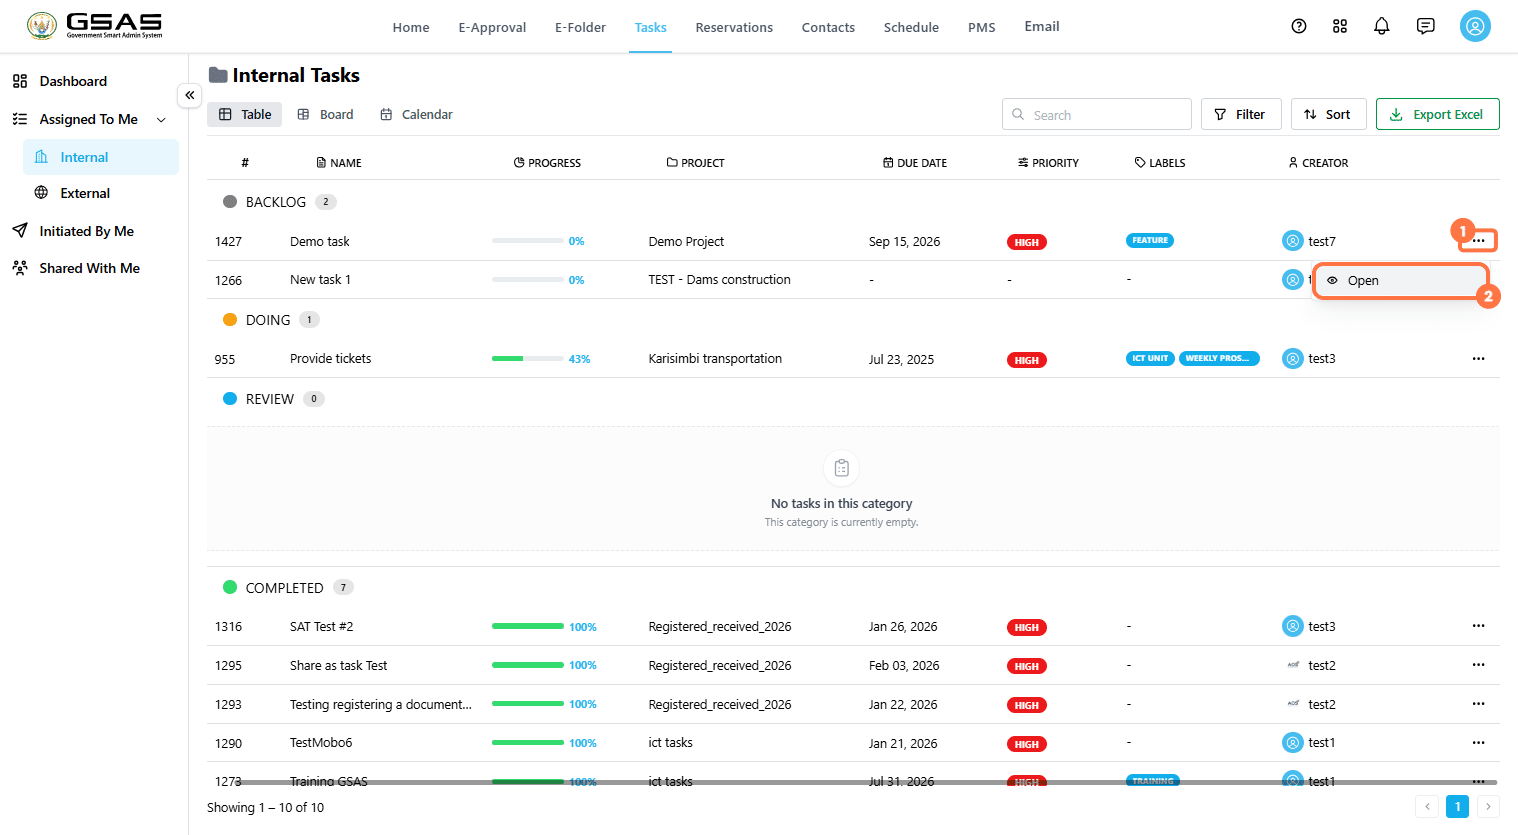
- Go to Tasks → Assigned To Me.
- Choose Internal (assigned by someone within your institution) or External (assigned by someone outside it).
- Find the task in the list.
- Click the task name to open it, or click the … icon and select Open.

If you created and delegated the task
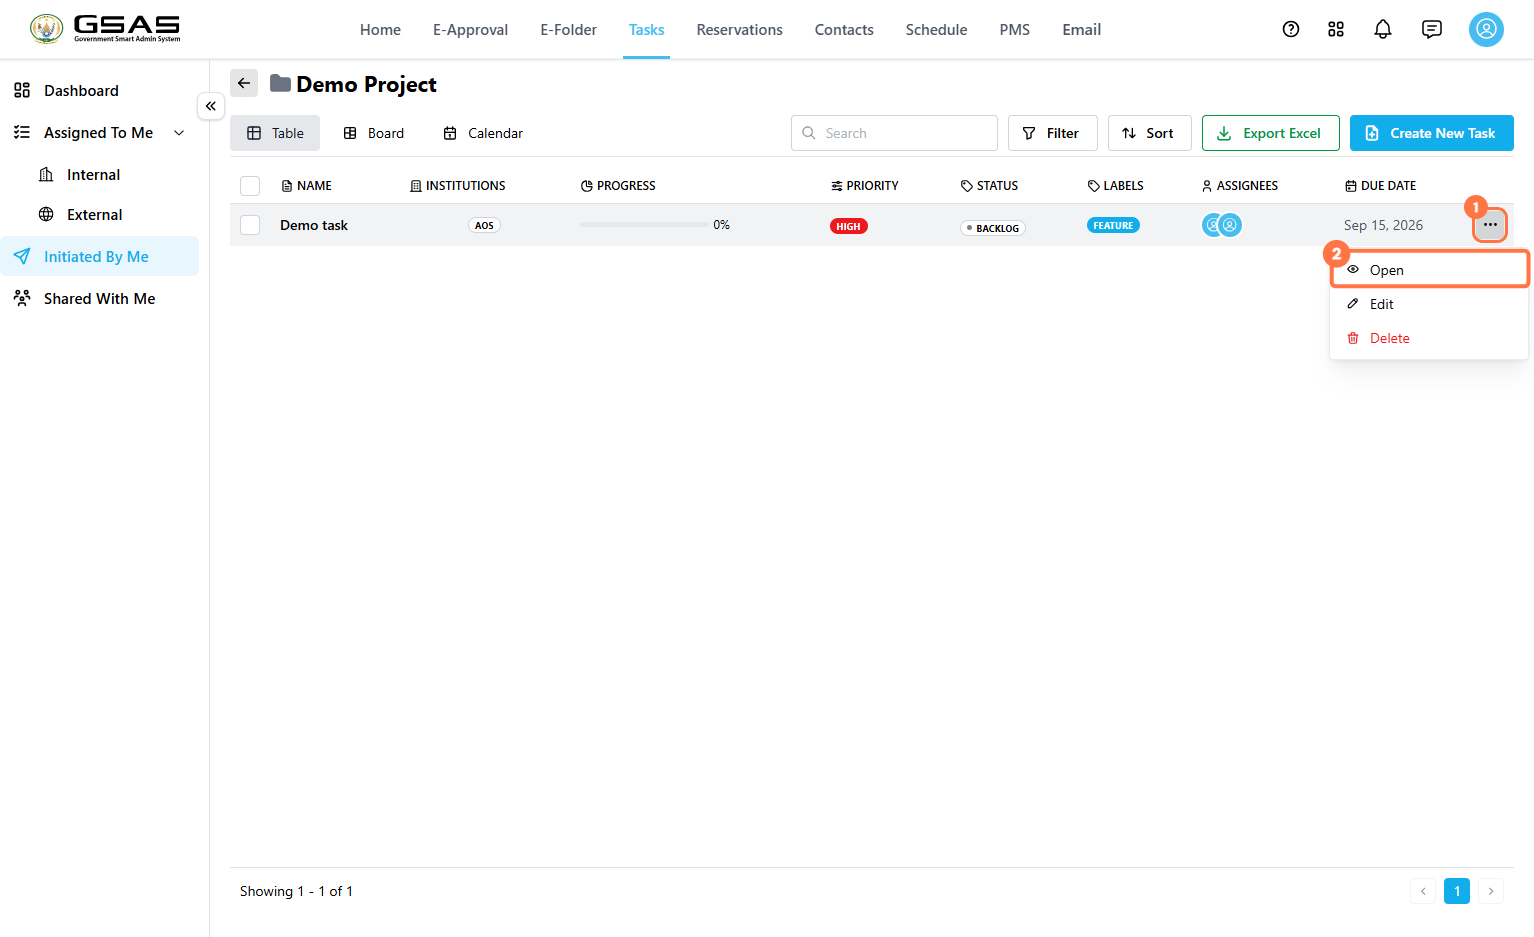
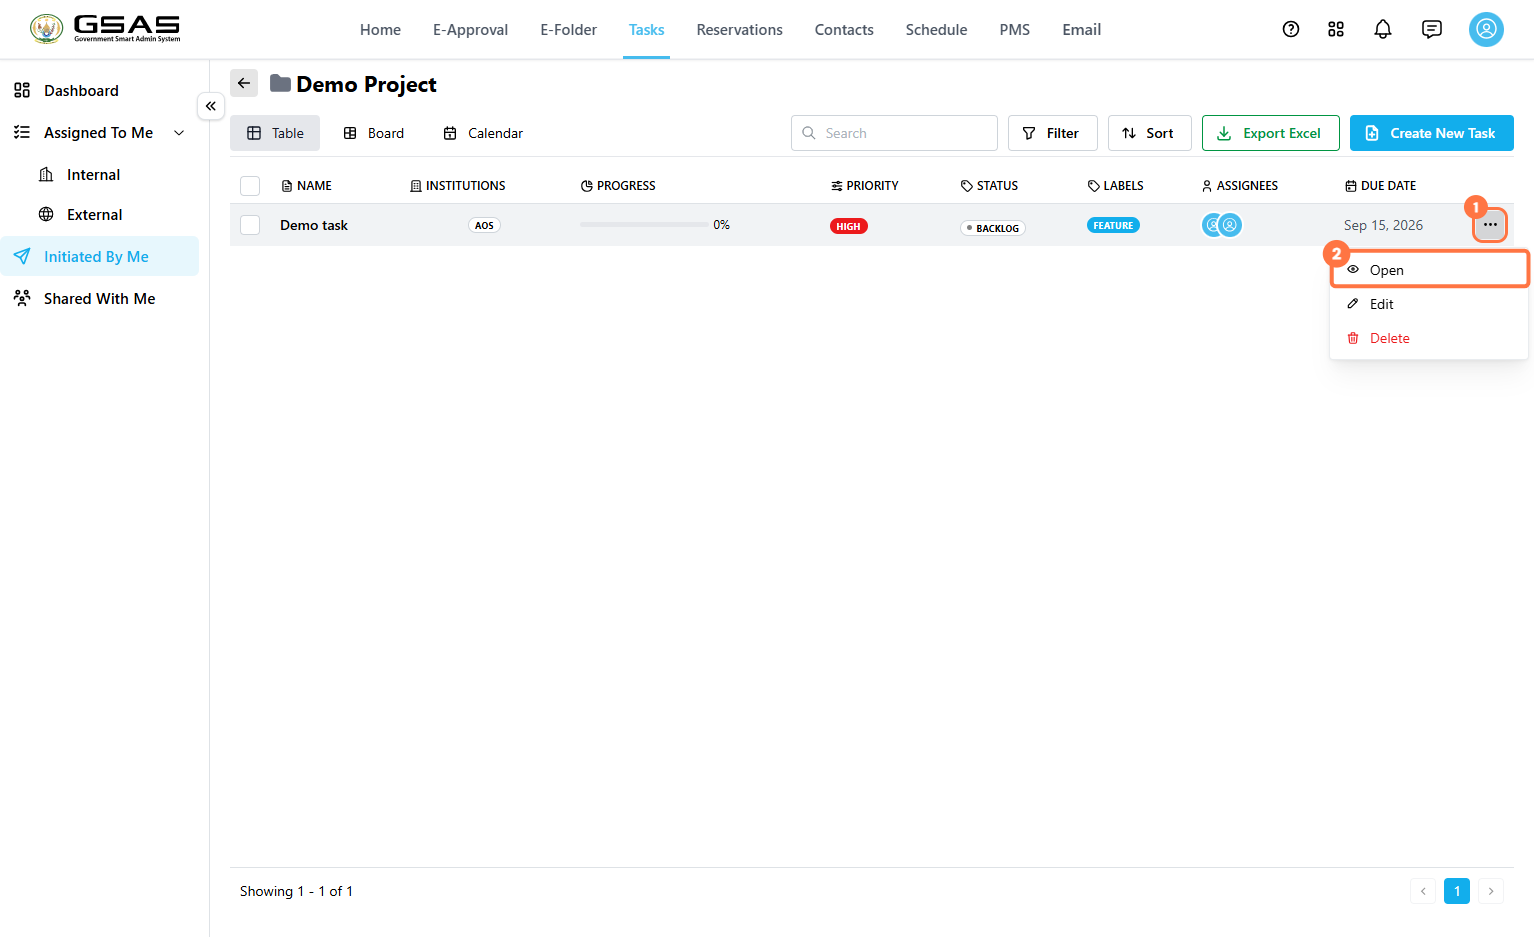
- Go to Tasks → Initiated By Me.
- Open the project the task belongs to.
- Find the task in the project's task list.
- Click the task name to open it, or click the … icon and select Open.
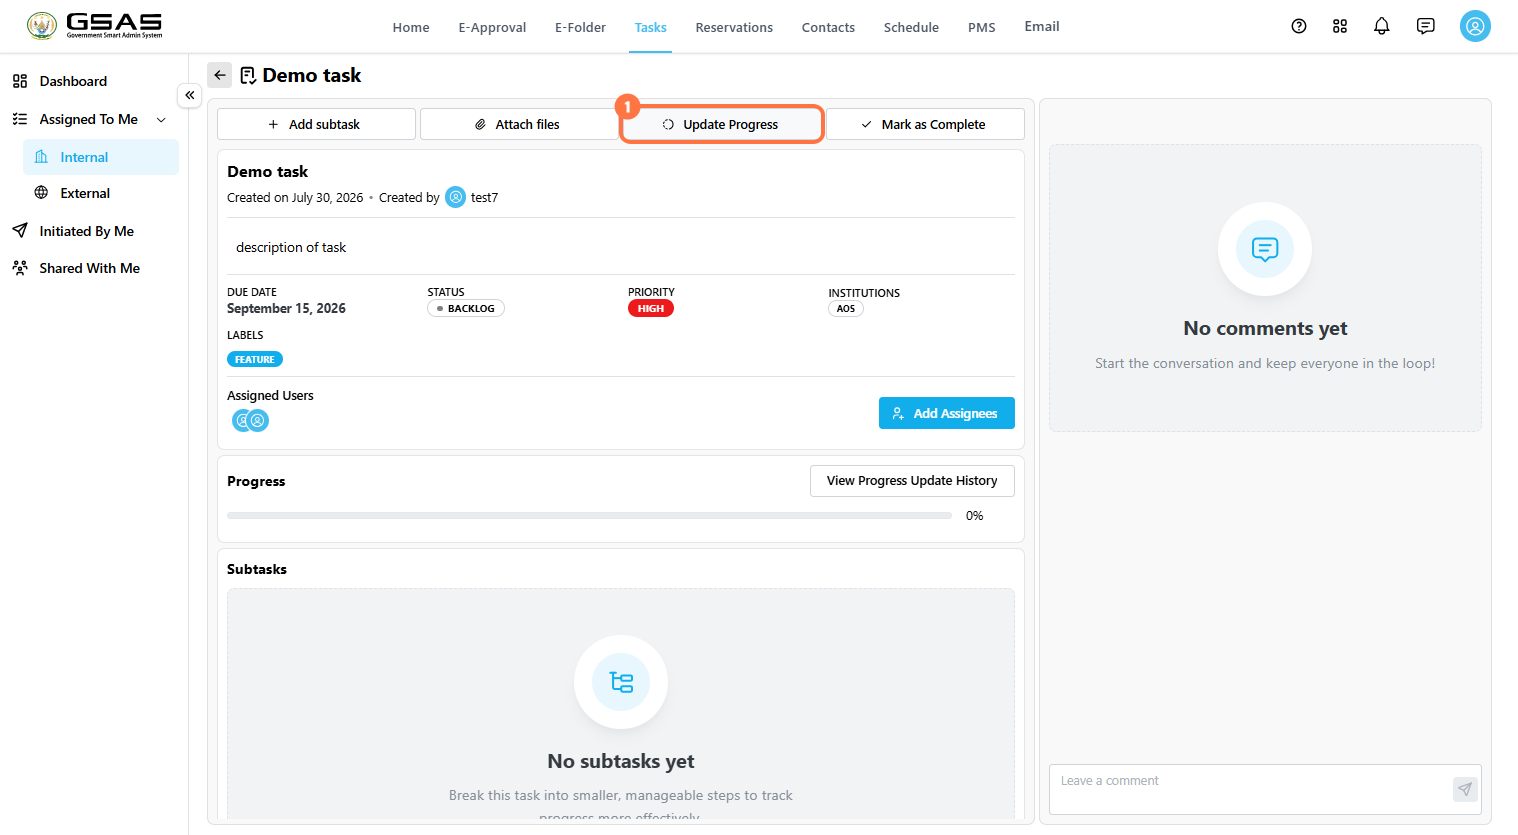
The task details page shows the task description, due date, status, priority, labels, assigned users, progress, subtasks, attachments, activity, and comments.
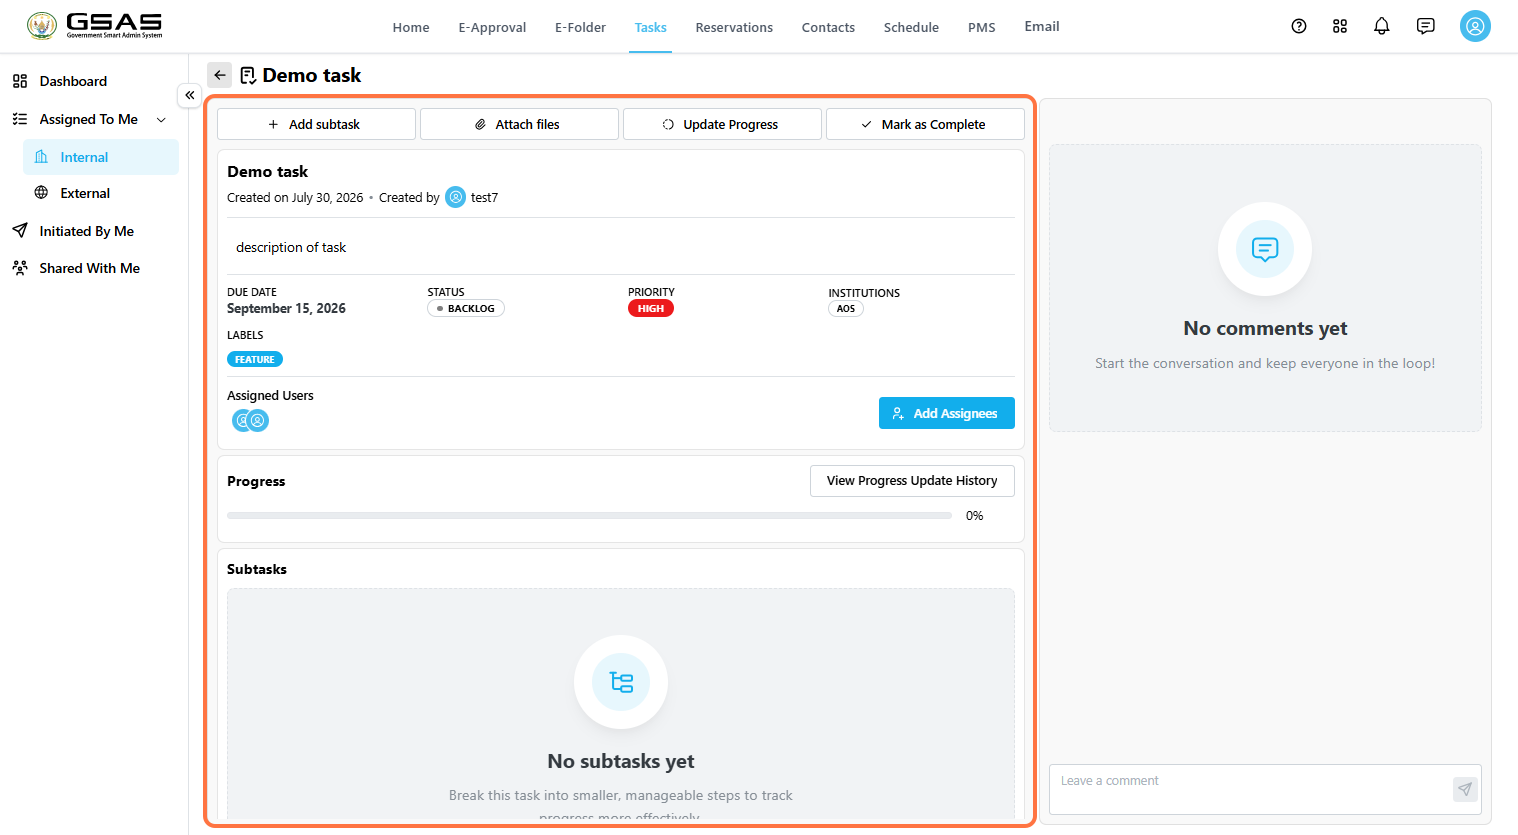
Update Progress
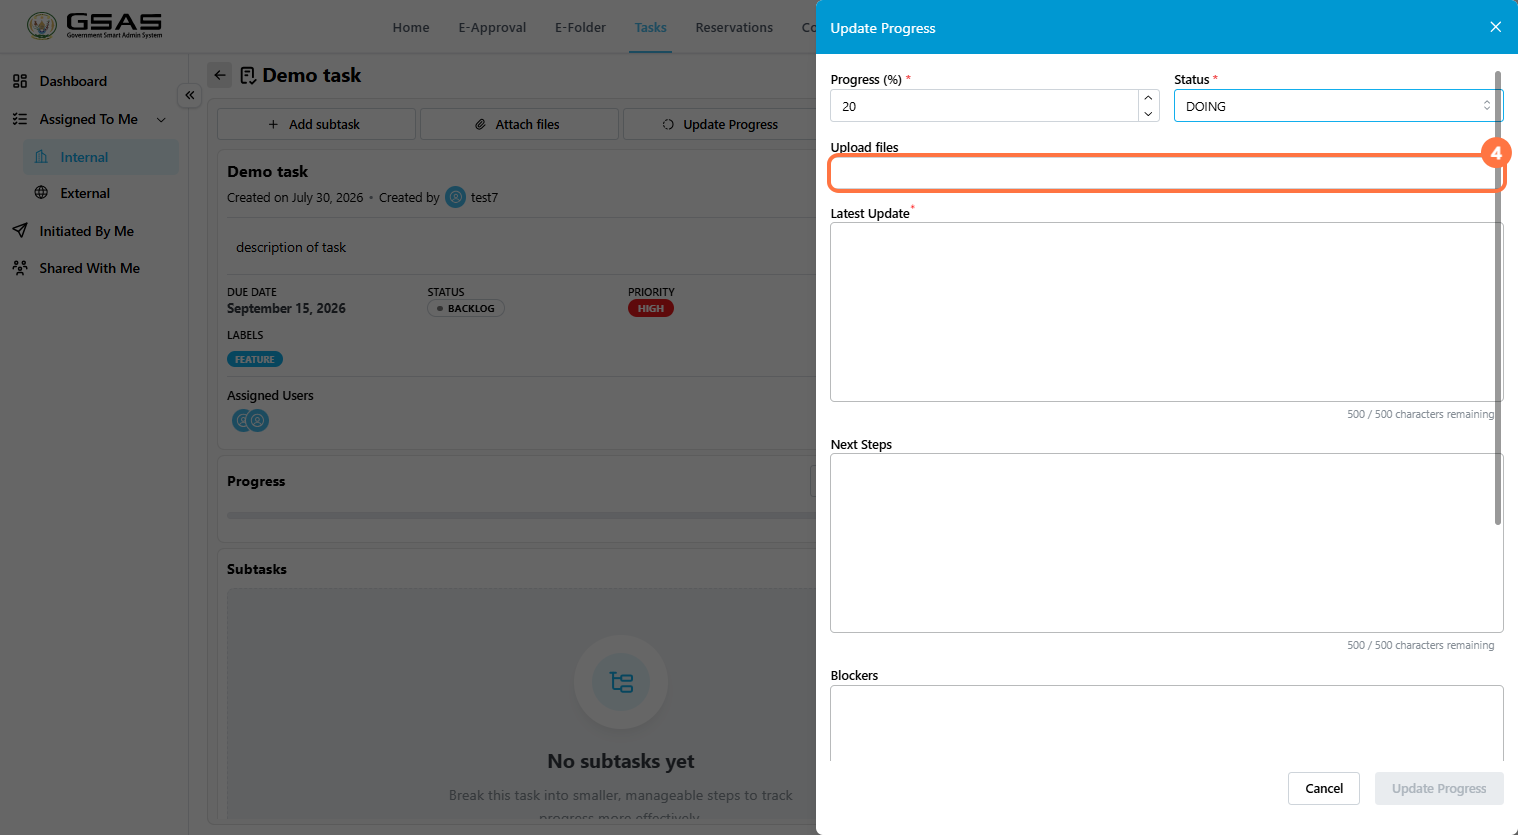
- Click Update Progress.
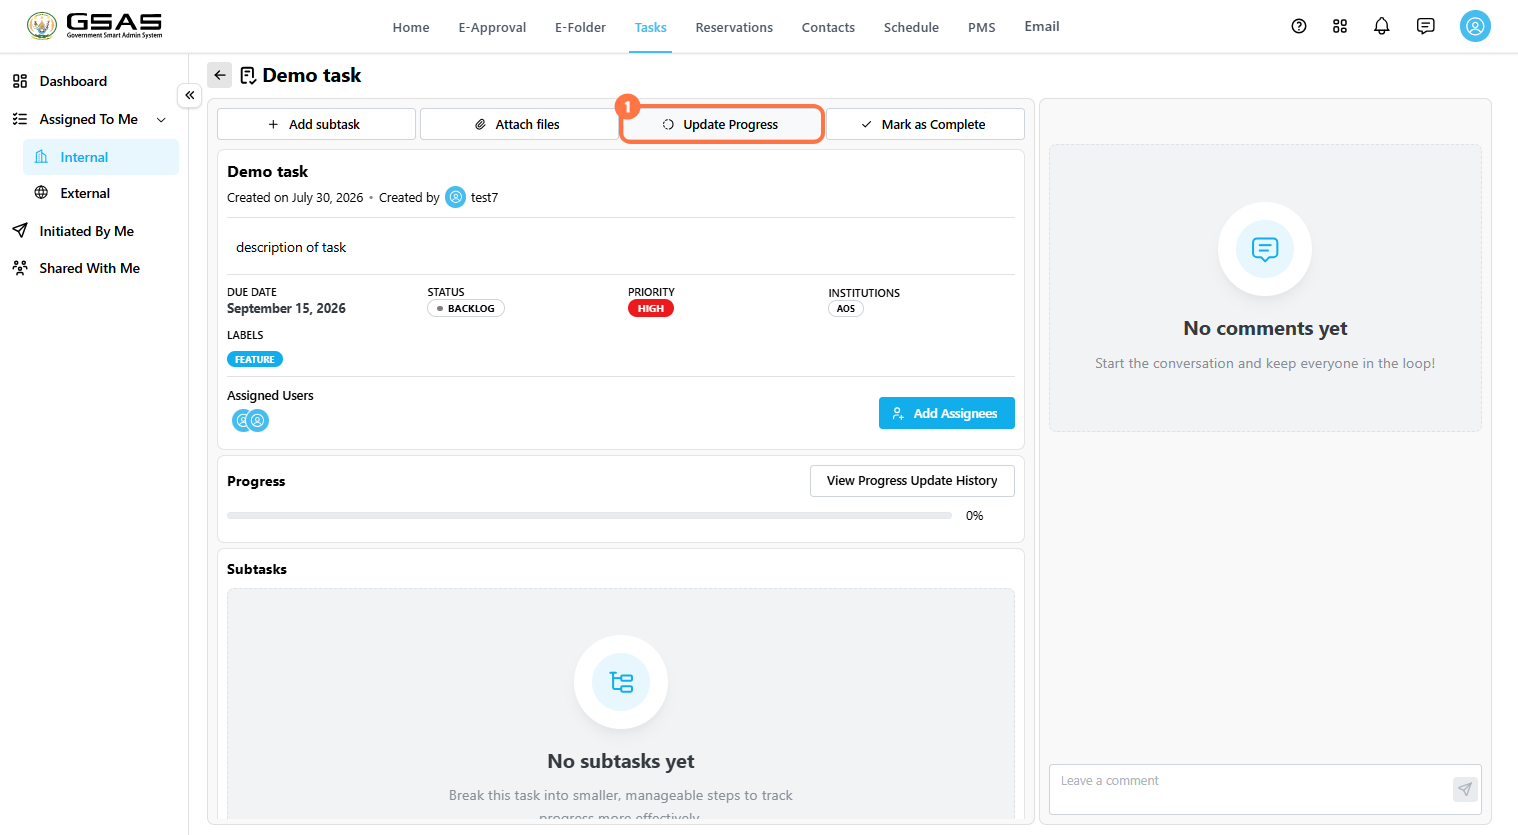
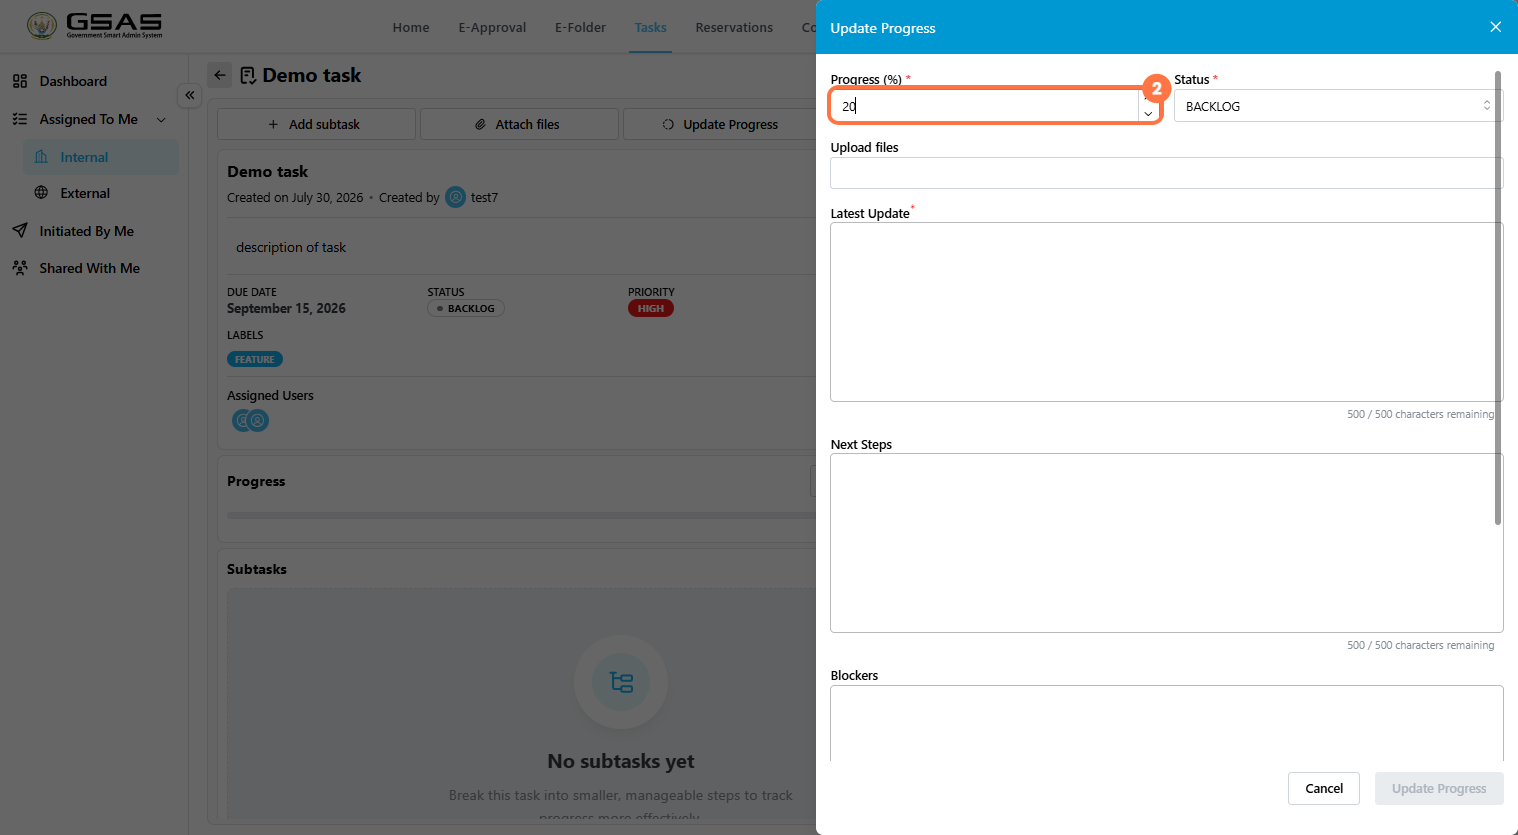
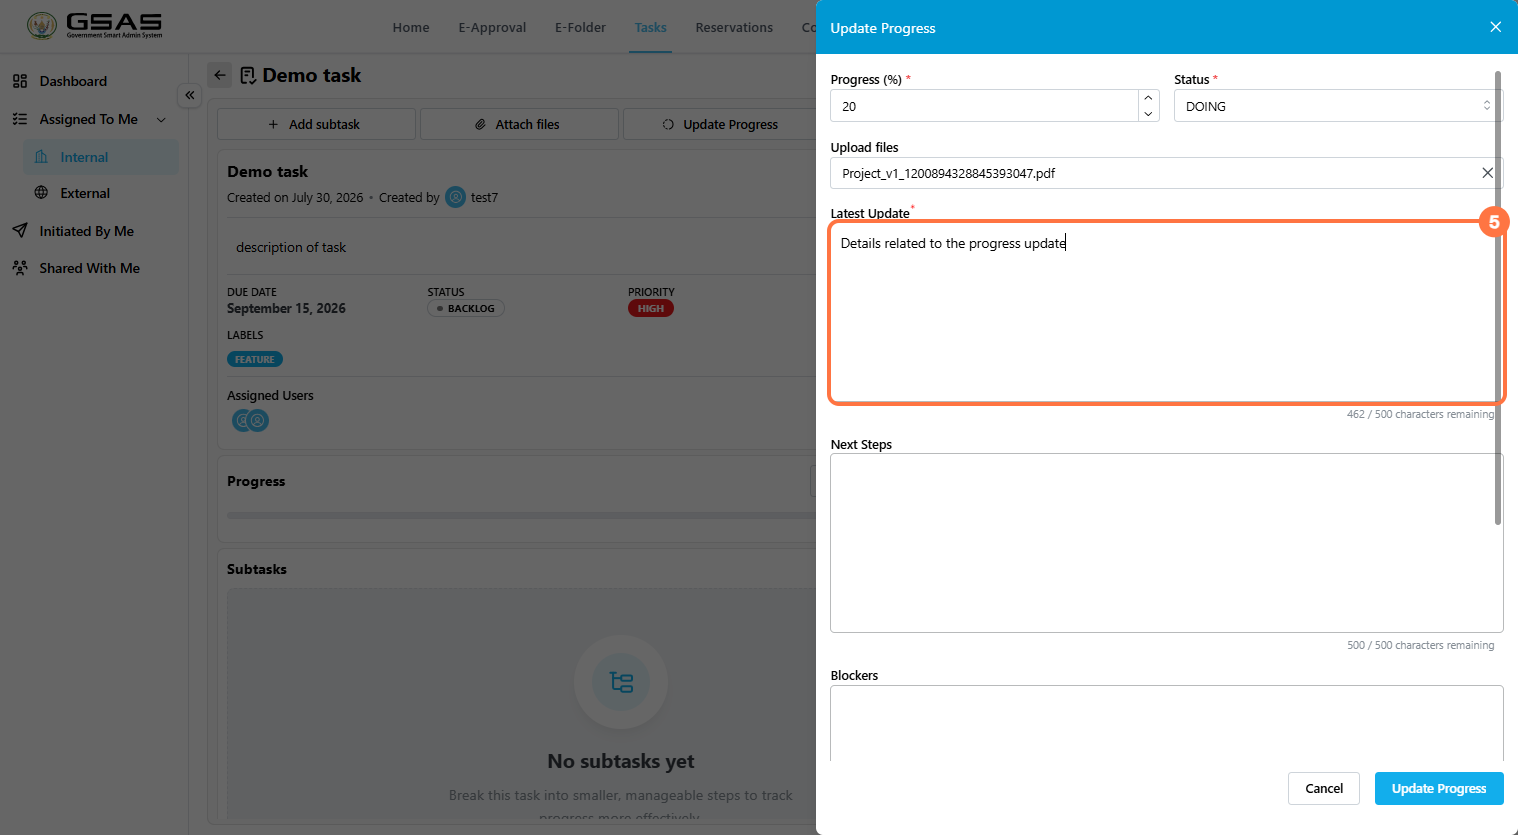
- Enter the current Progress (%).
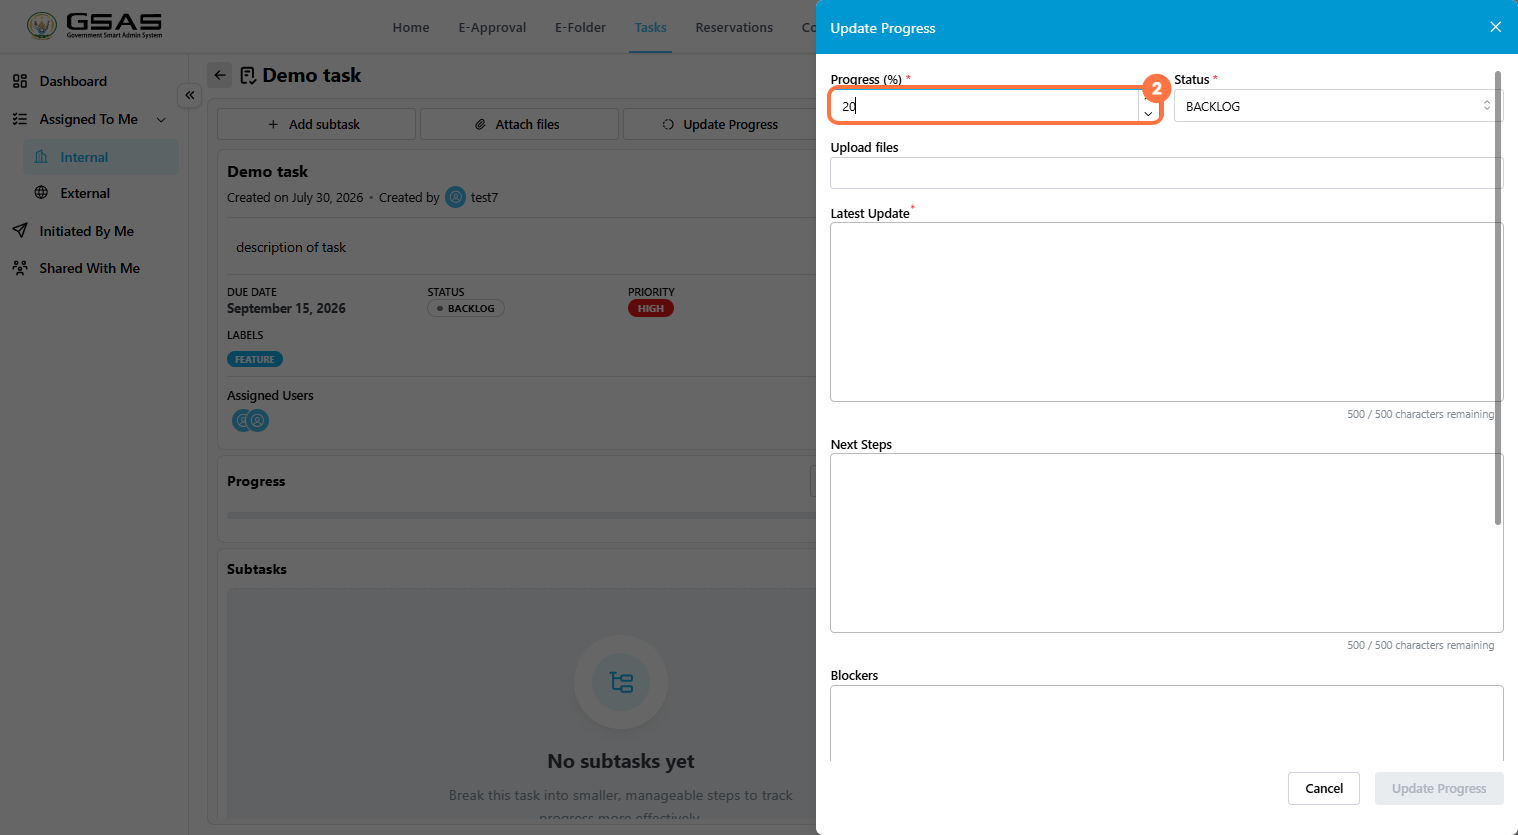
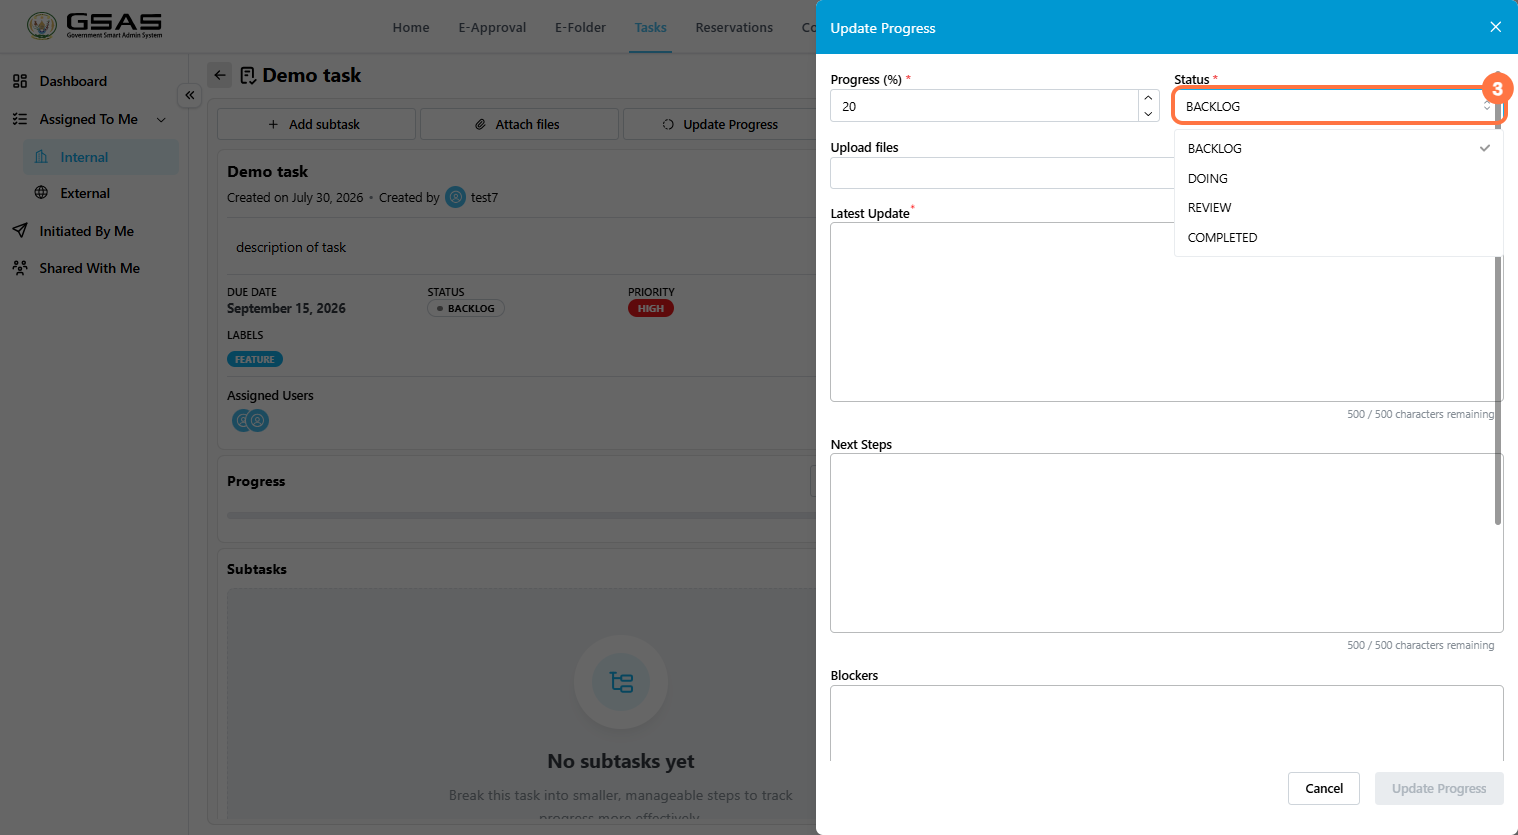
- Select the current Status, such as Backlog, Doing, Review, or Completed.
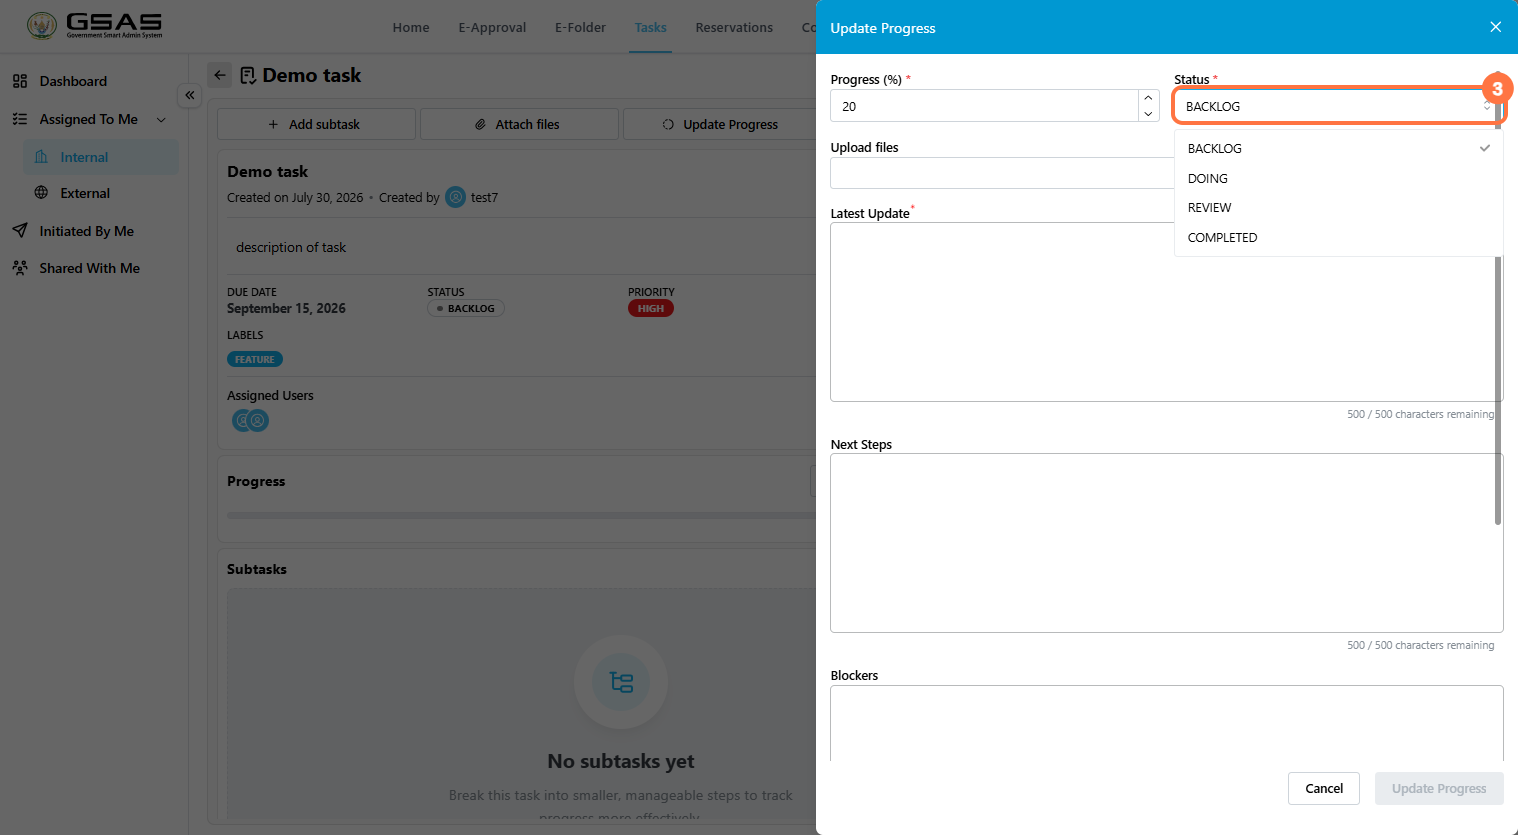
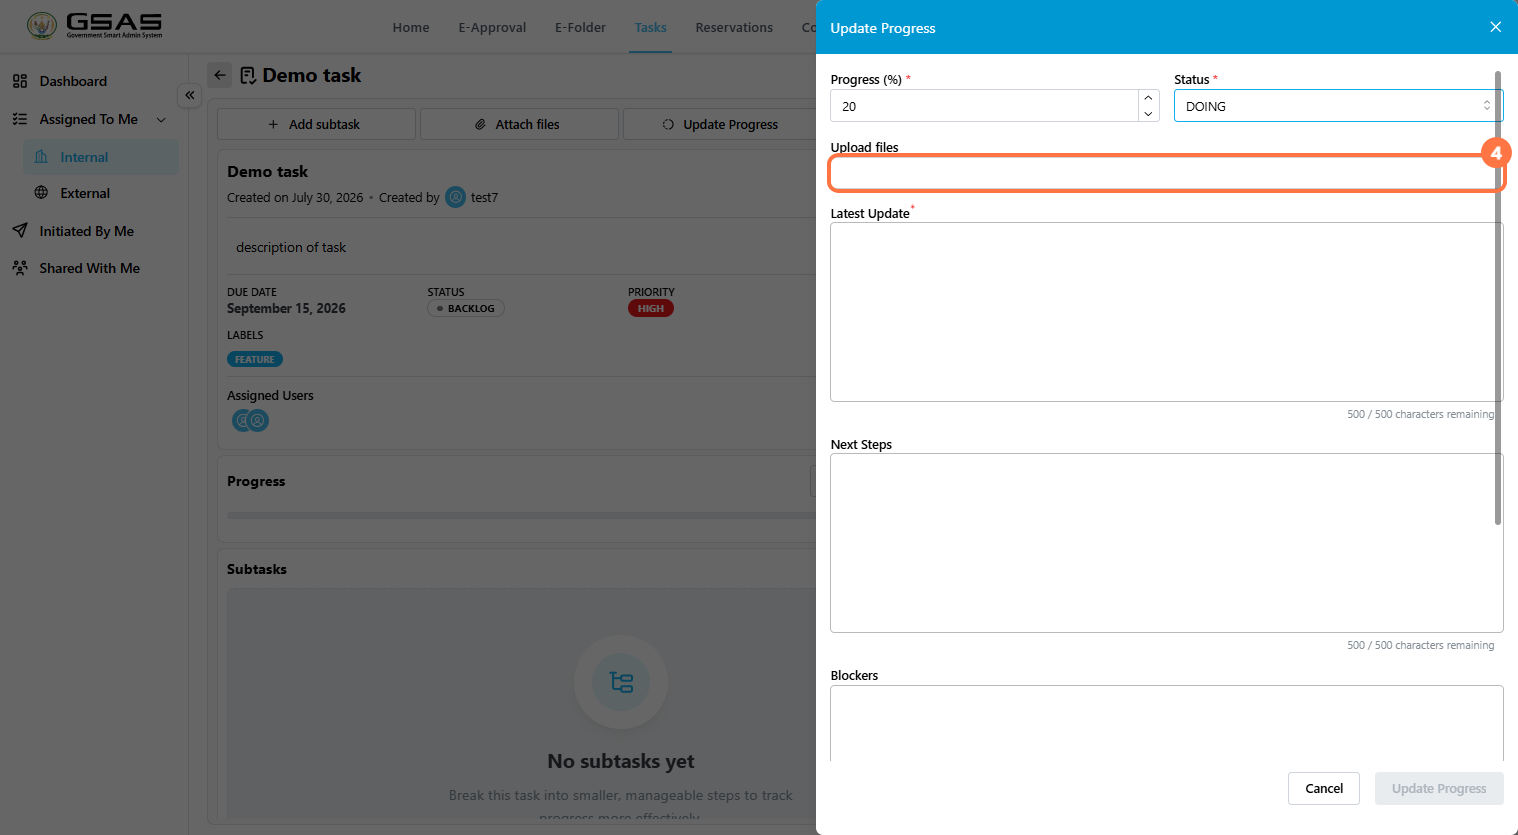
- Upload supporting files, if needed. This step is optional.
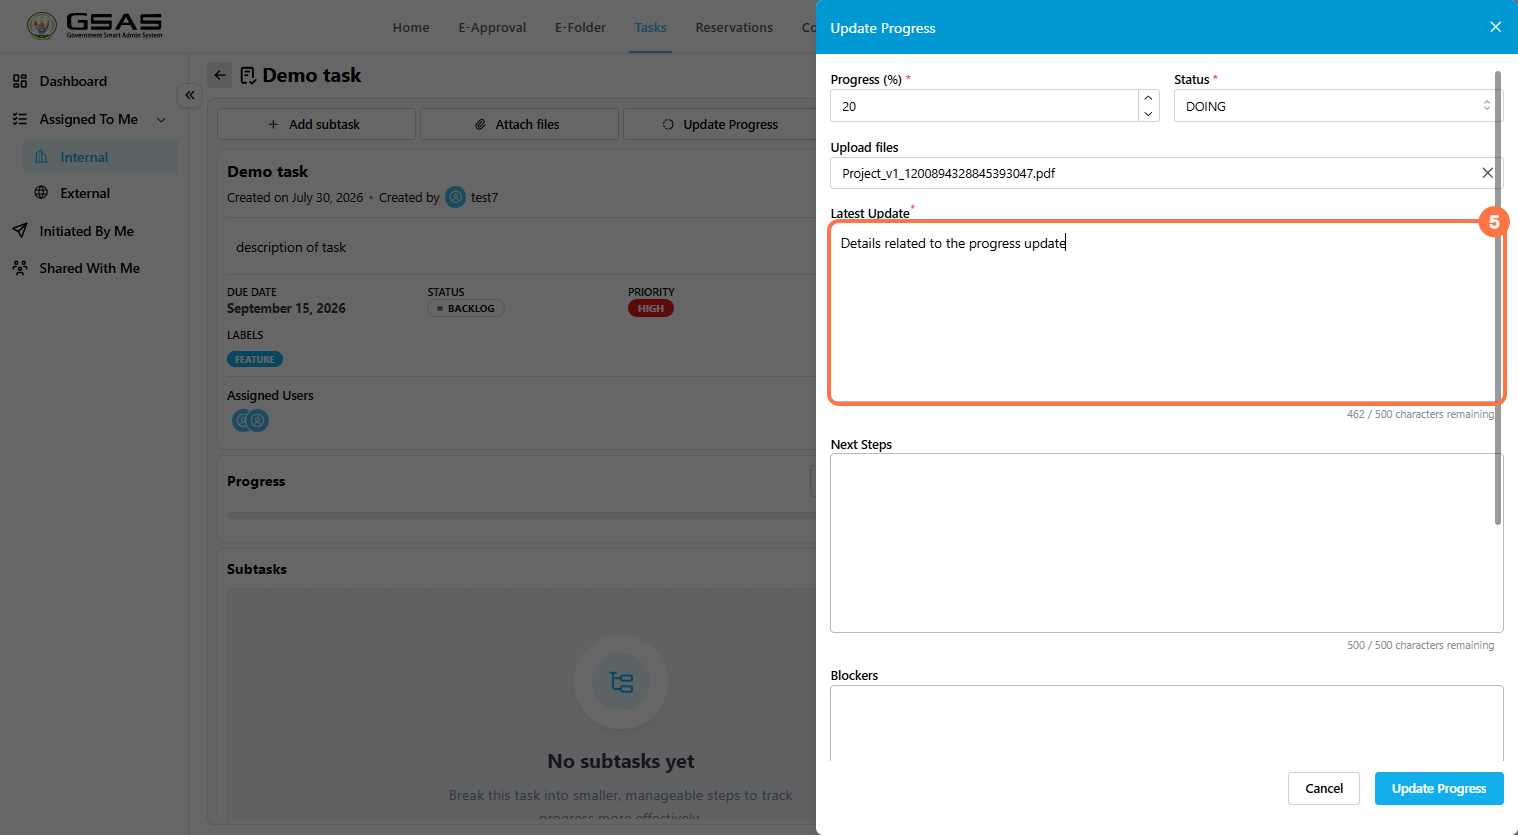
- Enter the Latest Update.
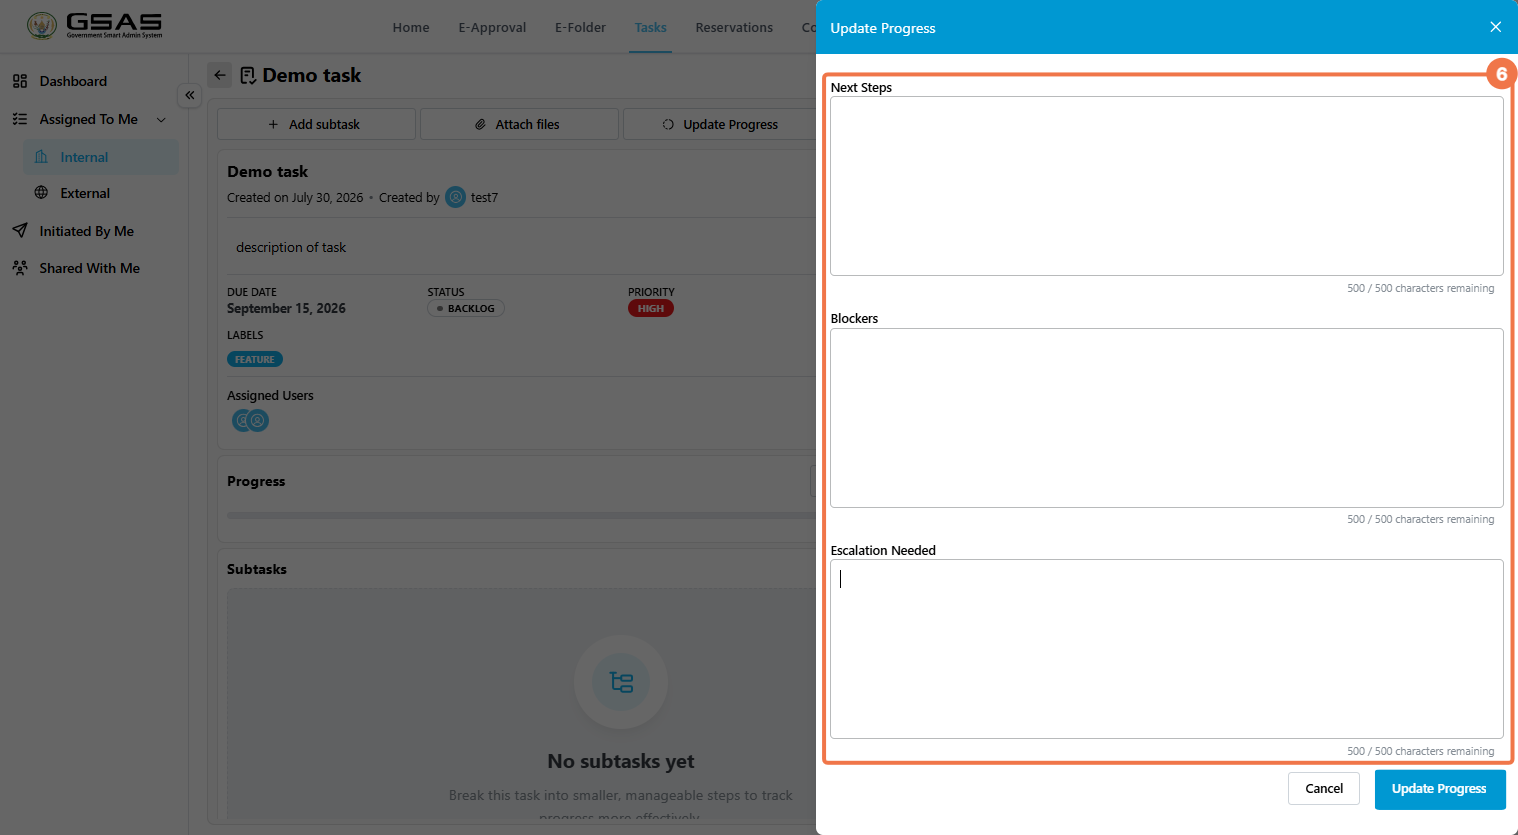
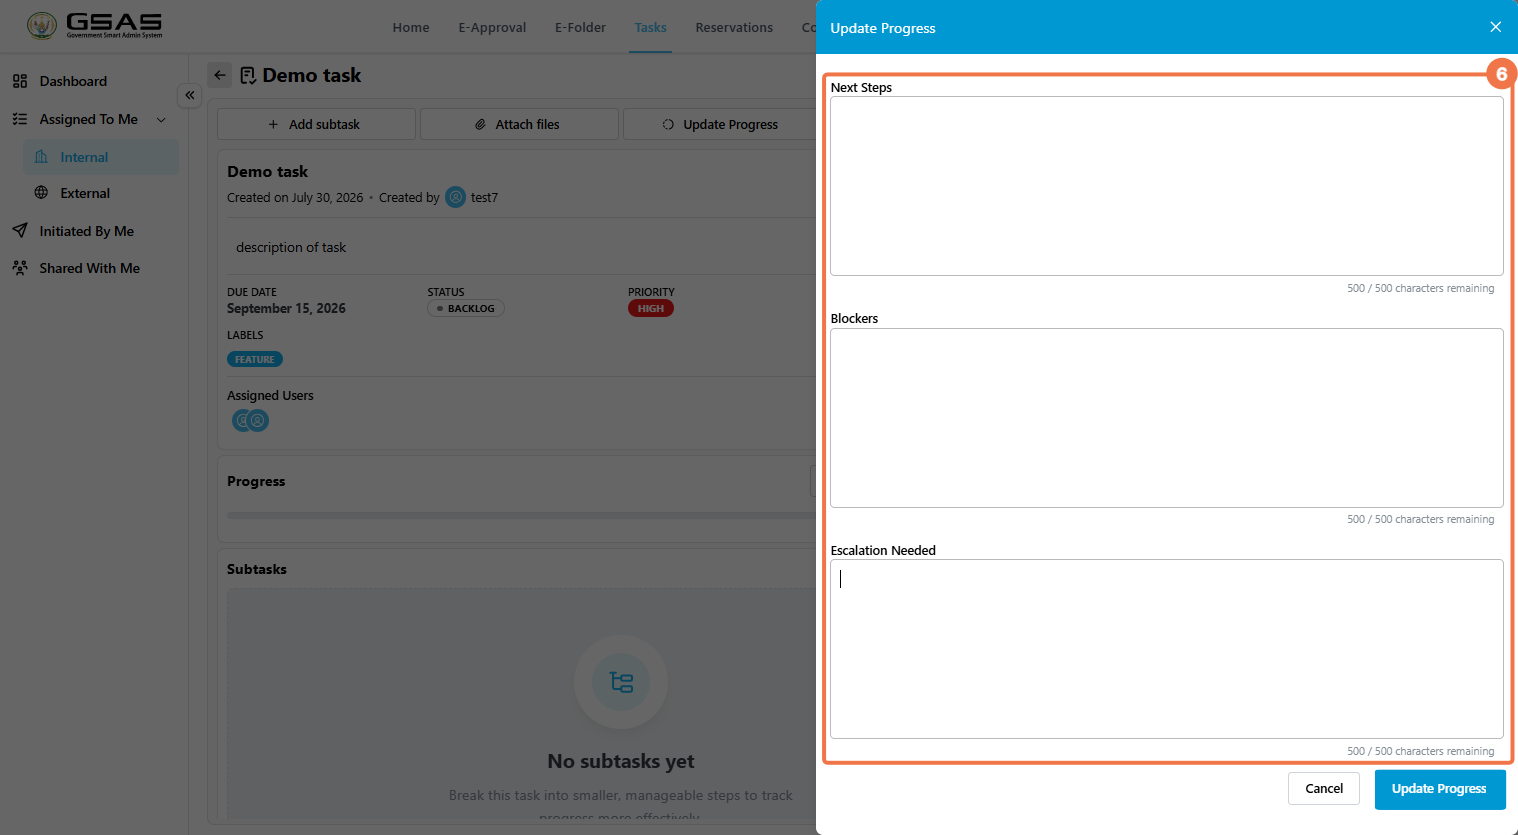
- Add Next Steps, Blockers, or Escalation Needed where relevant.
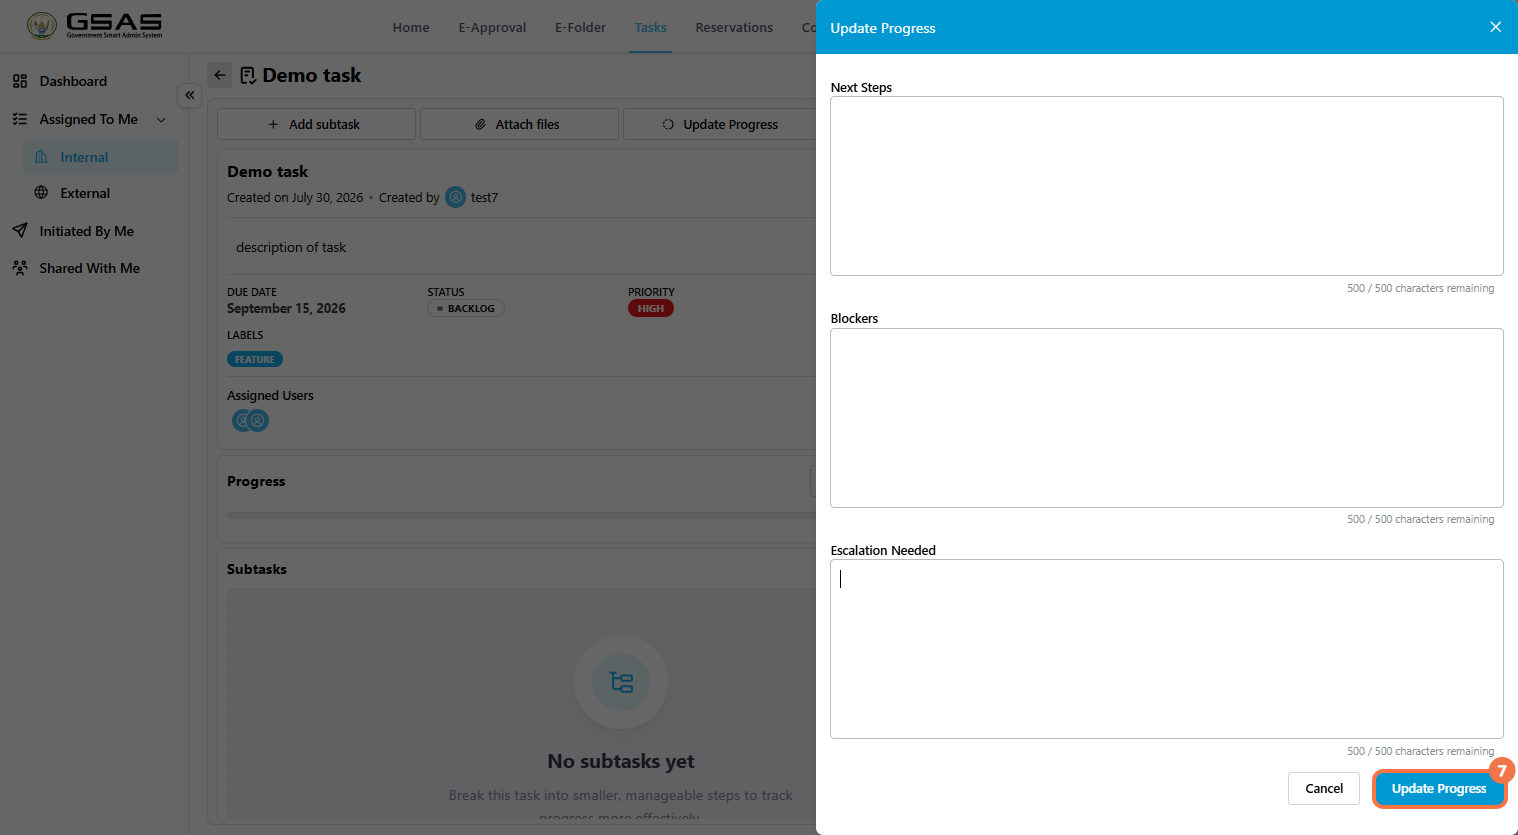
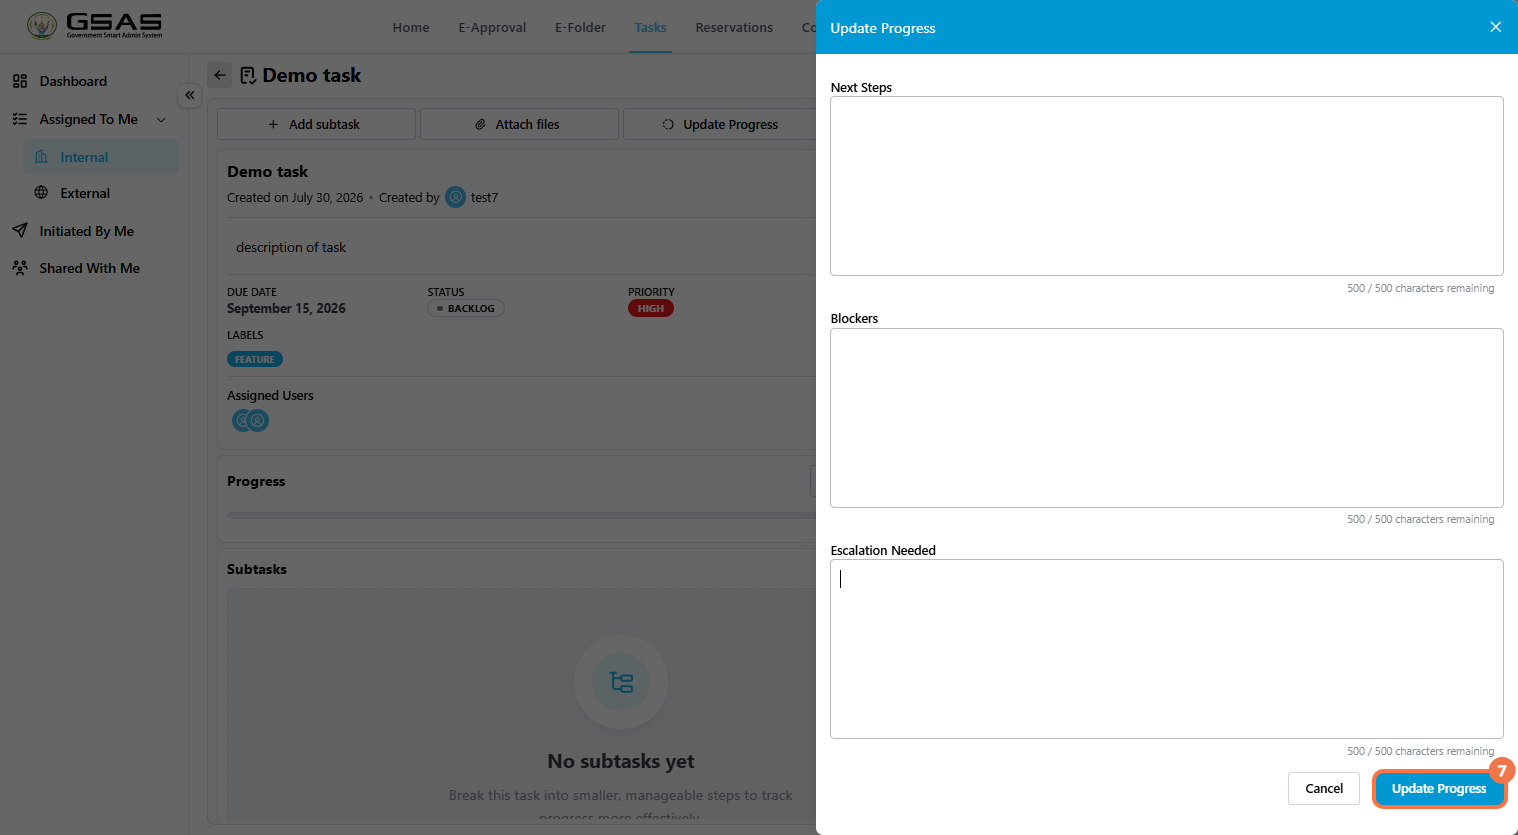
- Click Update Progress.
| Tip: Progress percentage, status, due date, and priority affect the dashboard cards and charts. Keep them updated so dashboard statistics remain accurate. |
Use Subtasks for Smaller Work Items
Subtasks help break a larger task into smaller pieces. They appear inside the parent task and can be opened like regular tasks.
Attach Supporting Files
Add a Comment
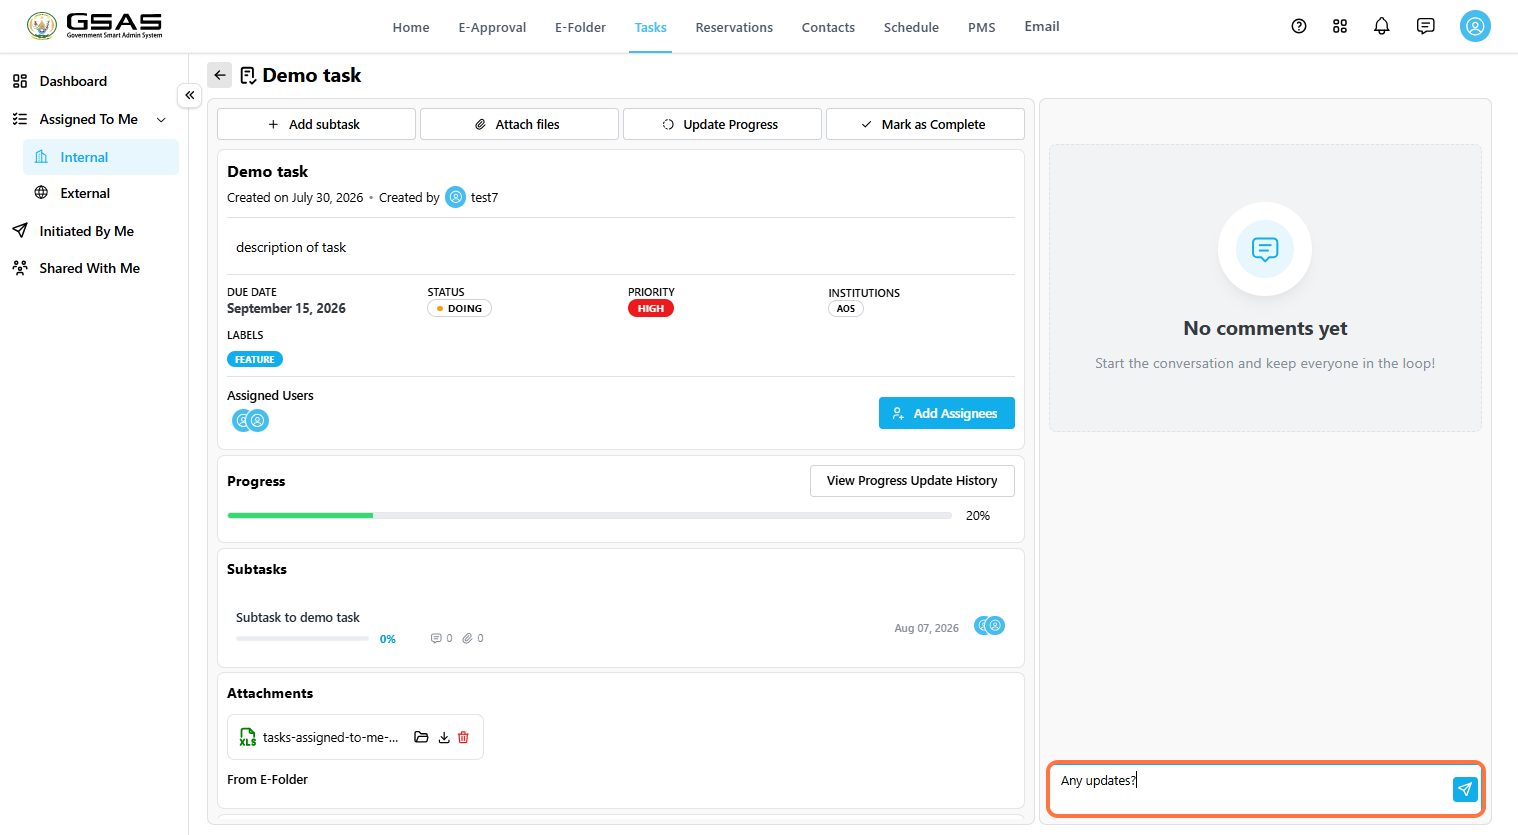
Use the comments panel to ask questions, share quick updates, or follow up with other users on the task.
Type your message in the comment box and click on the send icon.
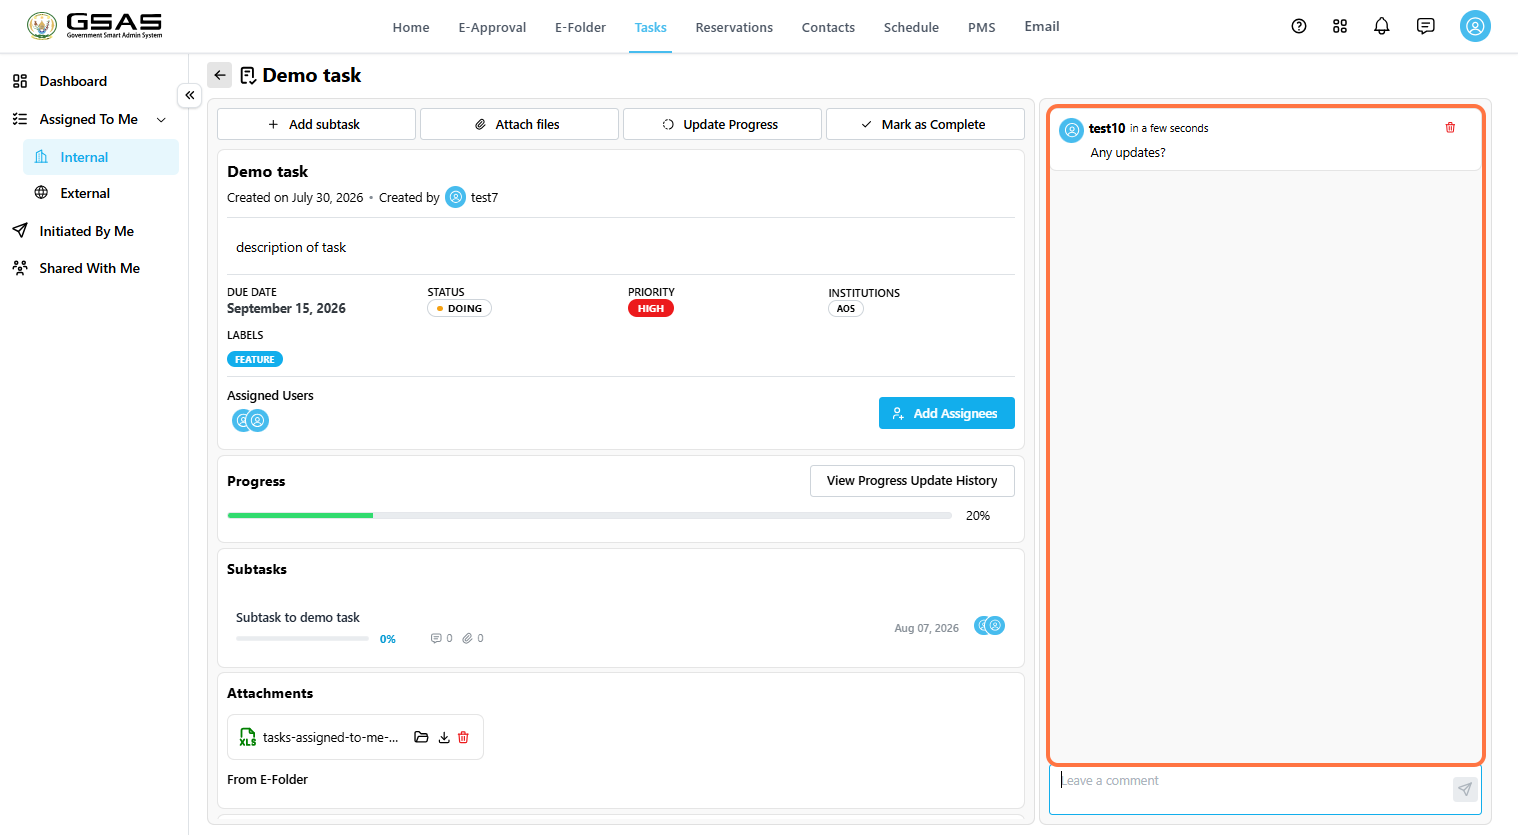
The comment can be deleted by clicking on the trash icon visible in the upper right side of the comment.
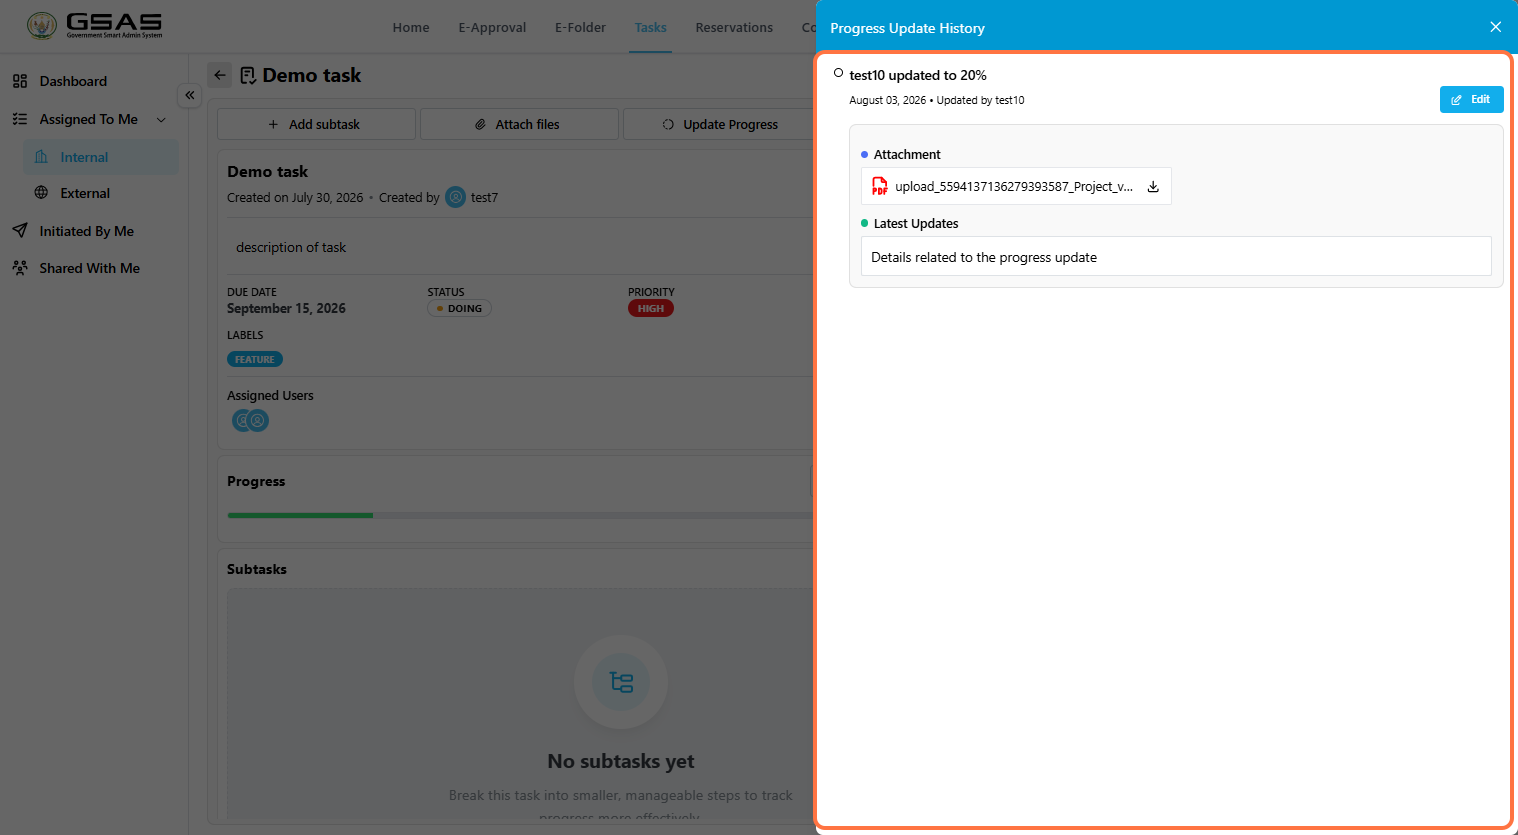
View Progress Update History
This is most often checked by whoever assigned the task, as a way to follow how work is progressing over time — though anyone with access to the task can view it.
- Open the task.
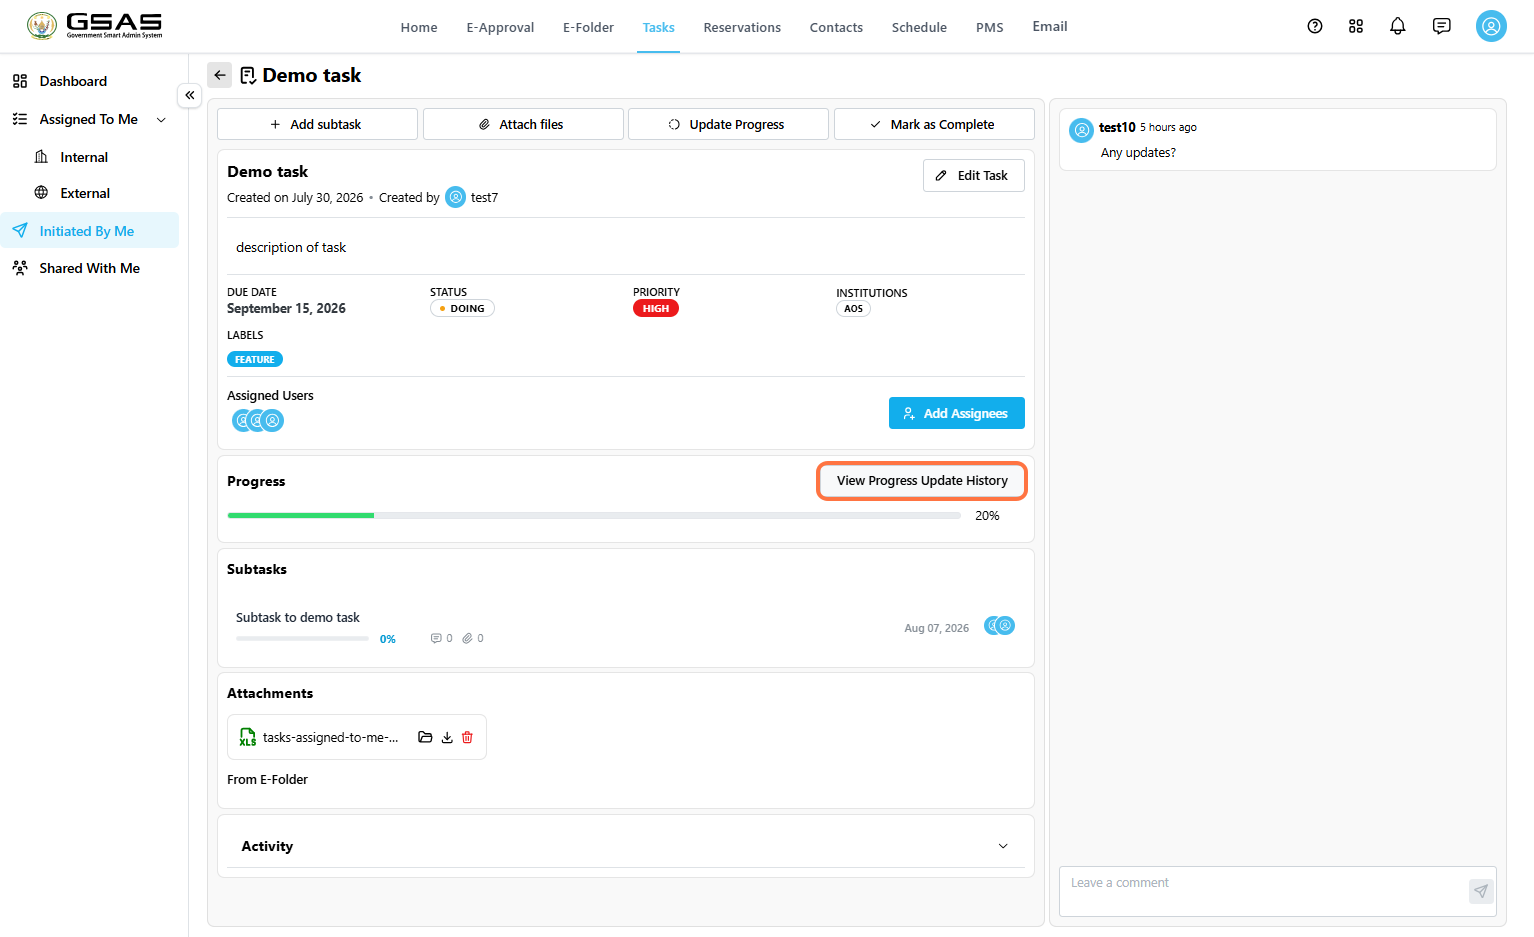
- Click View Progress Update History.
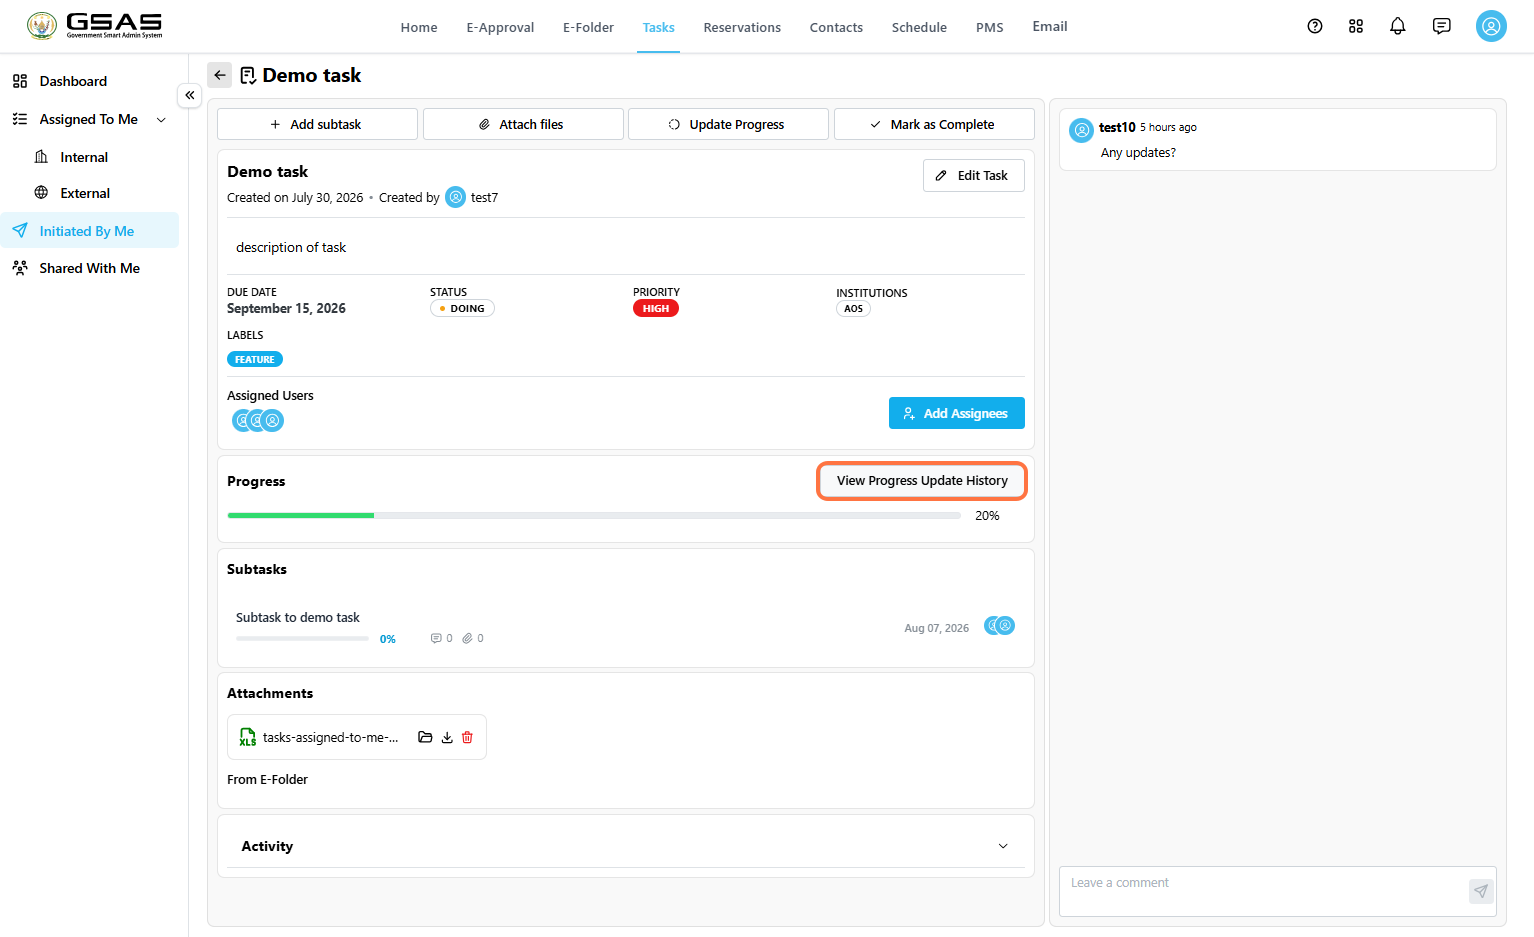
- Review the update percentage, date, user, attachment, and latest update notes.
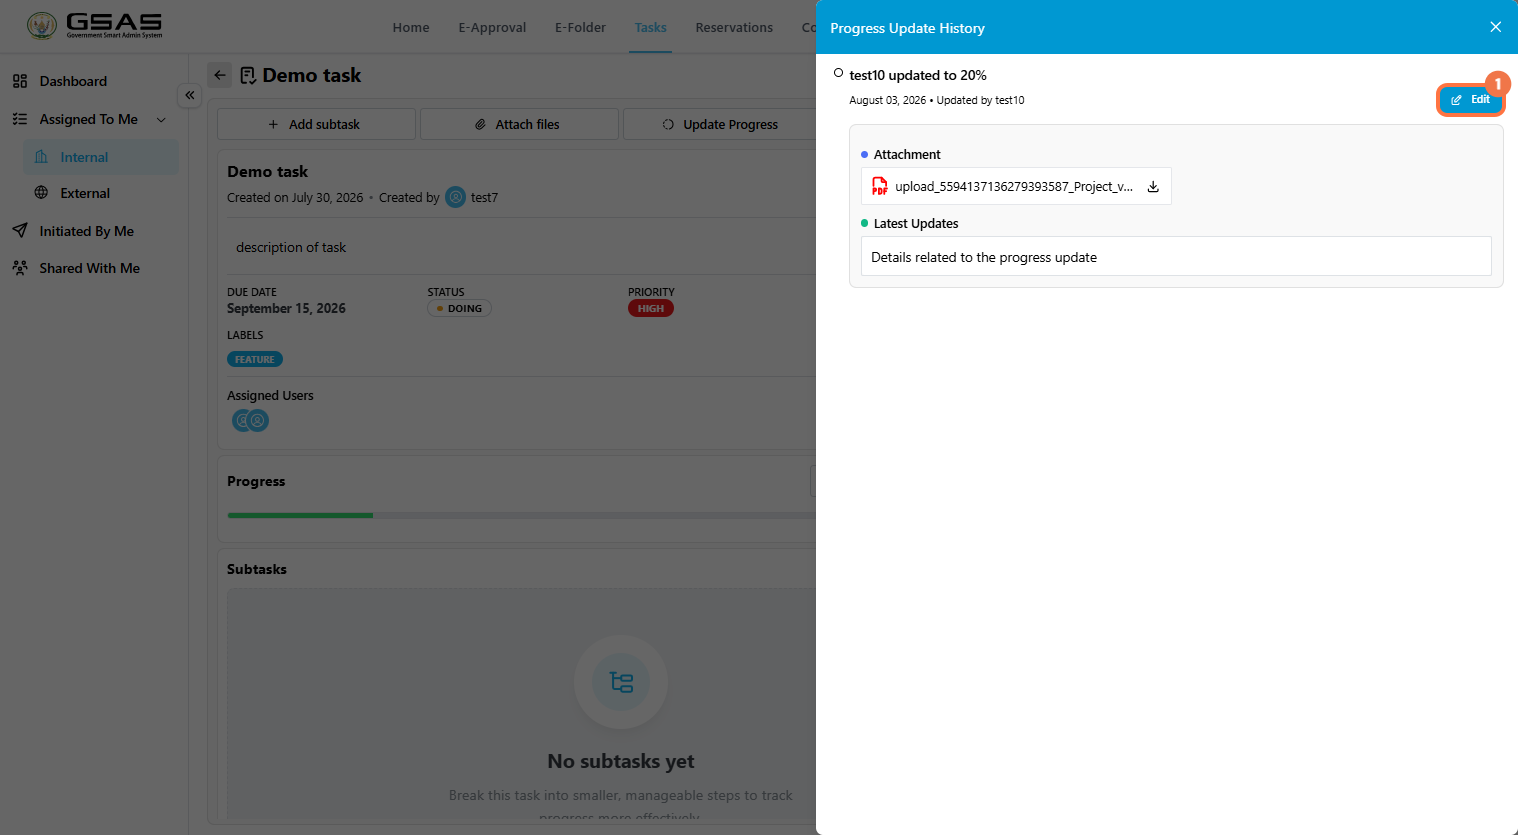
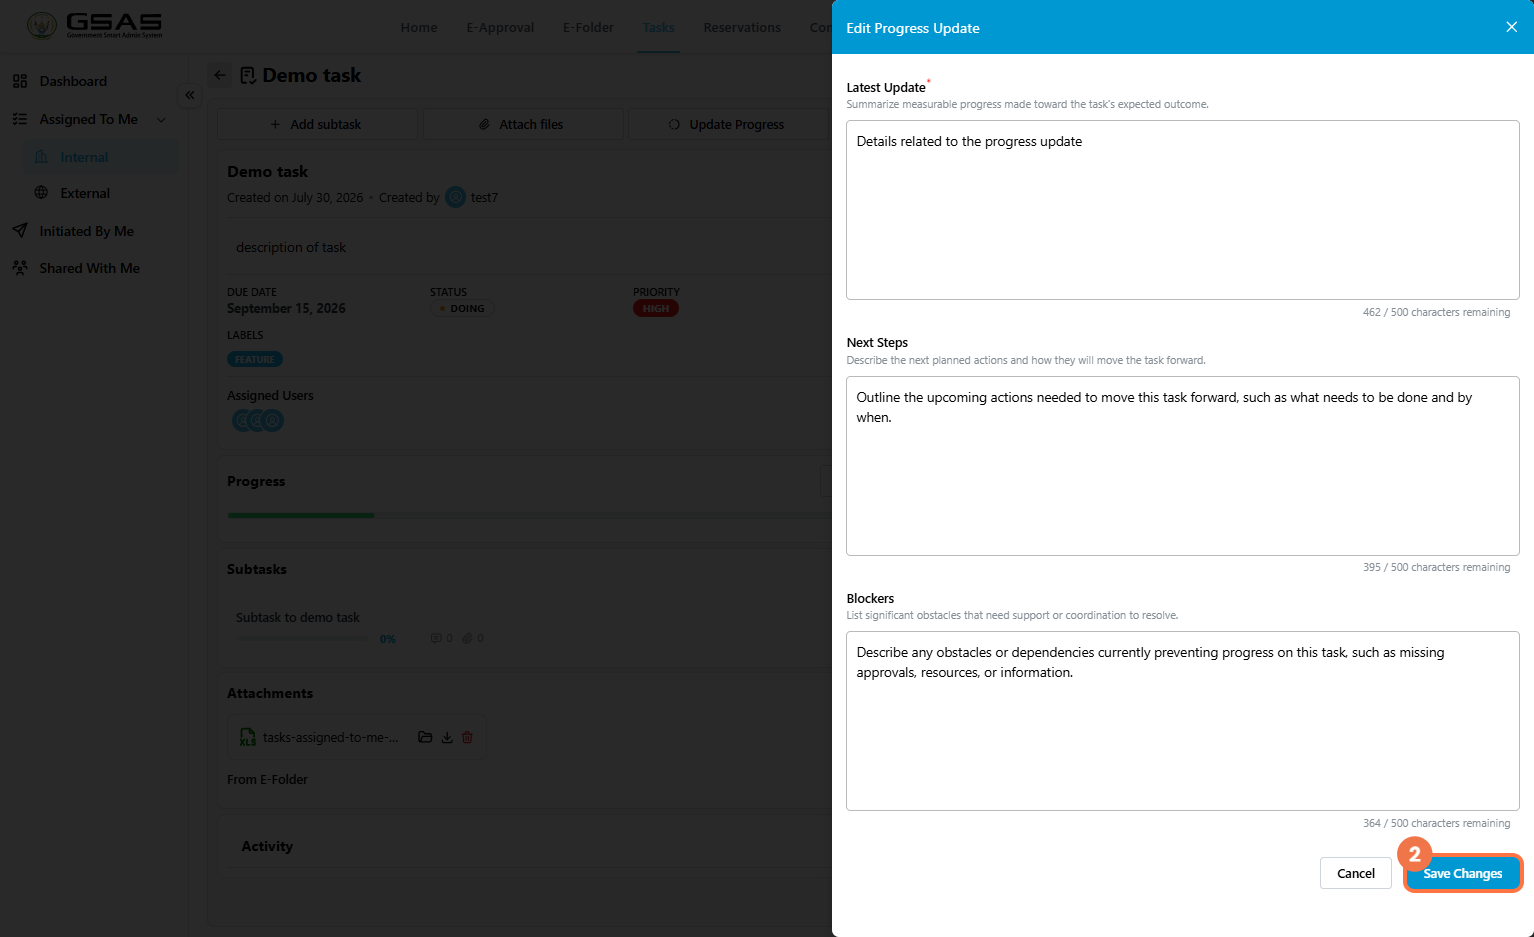
Editing Progress Update History
Only the assignee who logged a progress update can edit it.
View Activity
The Activity log is a running record of everything that has happened on the task — creation, assignment changes, progress updates, and more — separate from the detailed progress percentage history above. Like progress history, it's most often reviewed by whoever assigned the task, though it's visible to anyone with access.
Mark the Task as Complete
When the work is finished, click Mark as Complete. This updates the task status and contributes to the task completion rate shown on the dashboard.